LUTE AMPLIFICATION
OLD TECHNOLOGIES MEET NEW

Not enough thought has been given to the amplification of lutes for public performance, although guitars, both classical and steel string, are regularly and sympathetically amplified.
As well building lutes, I have made and repaired steel string acoustic guitars and have fitted amplification to many. I am a pickup installer for the Headway Music Audio Ltd. of Oxford. Outside of work hours, I've played in rock bands, jazz bands and folk groups giving me the chance to observe and use various amplified musical instruments. One of the bands, The Dubious Bros., owns an Allen and Heath 20 channel powered mixer and speakers which have proved very useful for testing amplified instruments.
To help understand the possibilities of lute amplification, here is a summary of current methods of guitar amplification.
GUITAR AMPLIFICATION TODAY
The most obvious method of amplifying a guitar is to place a microphone in front of it. Although this can work well and is often used for recording, the instrument needs to be kept at a fixed distance from the microphone, not always an easy task when performing.
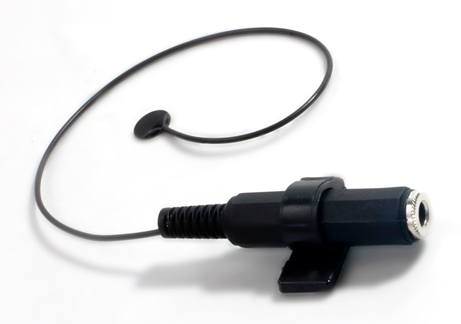
A second technique involves using piezoelectricity. This is electricity generated when particular materials are squeezed or submitted to pressure. The material is so sensitive to pressure that a disc about 15mm in diameter attached to the inside or outside of a guitar will generate an electric signal that can be used for amplification. This device is known as a bug and is common and often inexpensive. The very inexpensive bugs often don’t create very accurate sound reproduction and worse, unless fiercely glued in place, they can fall off at the most inconvenient moment.

A typical bug attached to a 1/4 inch jack socket. The socket and bug are are attached to the outside of the guitar using double sided tape.
Better quality bugs are available. One company that makes them is K&K in Oregon. They are more expensive, but the sound quality is vastly superior. K&K have developed various systems using arrays of bugs inside the guitar.
The same piezo material that is used in bugs has also been used to make pickups that fit under the saddle of the guitar. The strings press down on the saddle which transmits the vibration to what is known as an under-saddle pickup. Under-saddle pickups are commonly and successfully used on both Classical and steel string guitars. There are many manufacturers; Ashworth, Fishman, Headway, Martin to name a few.

An Ashworth under-saddle pick up in the bridge of one of my own guitars.
In the world of music amplification, it is common practice to raise or lower the volume of high, middle or low frequencies of a sound. This is done with an electronic tool known as a graphic equaliser. Boosting or reducing bass or treble can help to help create a more natural sound. Graphic equalisers come in many types including some mounted control boxes fitted into the side of a guitar.
There are drawbacks to using under-saddle pickups. They create a sound which is strong in certain higher frequencies and this can be heard in the final reproduced sound. It is often possible to tell that such a pick up is being used, though adjustments with a graphic equaliser can be very effective. There is also an occasional concern that the acoustic sound of the guitar is altered by the presence of the under-saddle pickup. However, this is still the most common form guitar amplification.
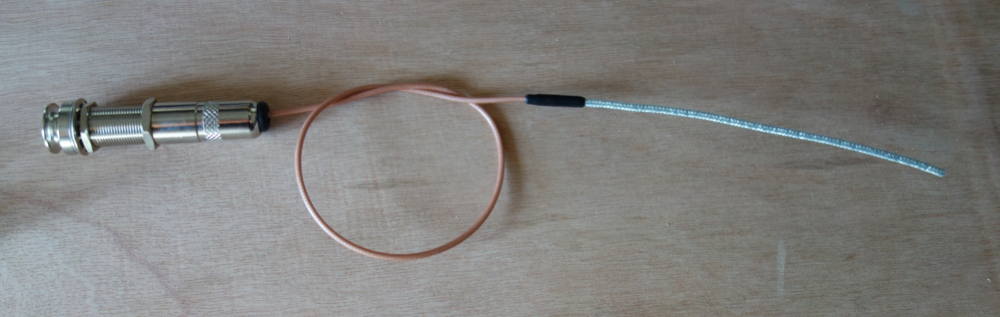
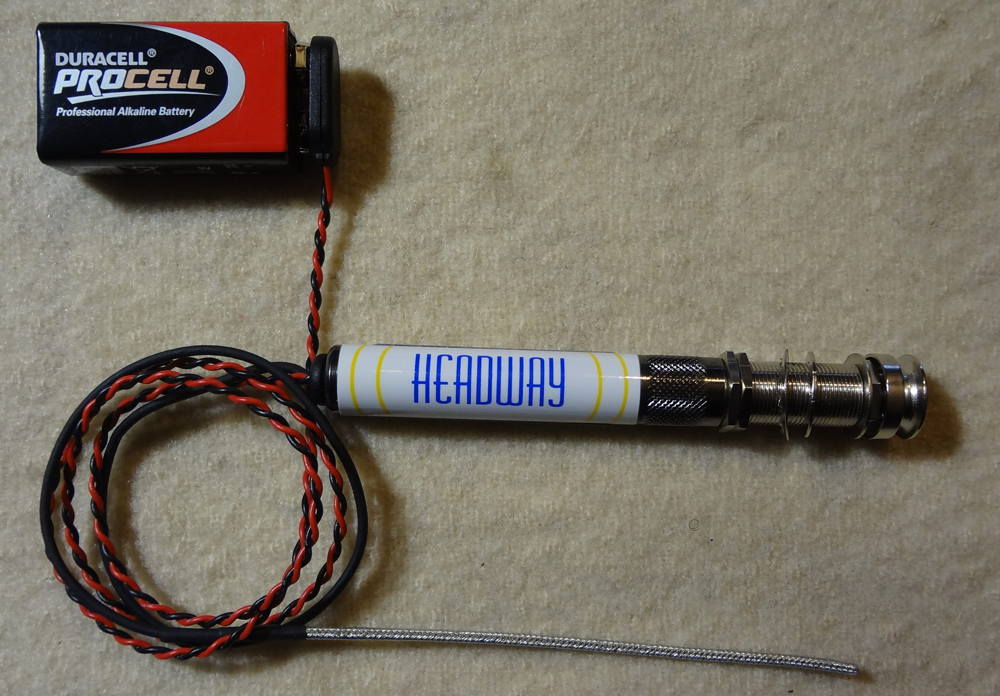
The Oxford based company Headway is supplying a new type of under-saddle pickup which they call The Snake. It looks like a metal sheathed cable just under 2mm in diameter. It is easier to fit than some other types and, in my opinion, gives a very accurate representation of the sound of the guitar.

The Headway Snake.

The Headway Snake attached to a 1/4 inch jack socket. The jack socket is usually fitted through the end block of the guitar. Photos used with the permission of Headway Music Audio Ltd.
All of these methods generate a tiny electric current which can be amplified and passed to speakers. The current from the piezo materials is so very small that it benefits from an intermediate amplification before it gets to the main amplifier. The intermediate device is called a pre-amplifier (pre-amp).
Piezo materials generate electricity in the region of a millionth of a volt, abbreviated 1 μV. A pre-amp amplifies this by a thousand times to a roughly a thousandth of a volt, or one millivolt, abbreviated to 1 mV. Vocal mics have a similar output of a few millivolts and all amplification systems will easily accept the electrical level of a microphone.
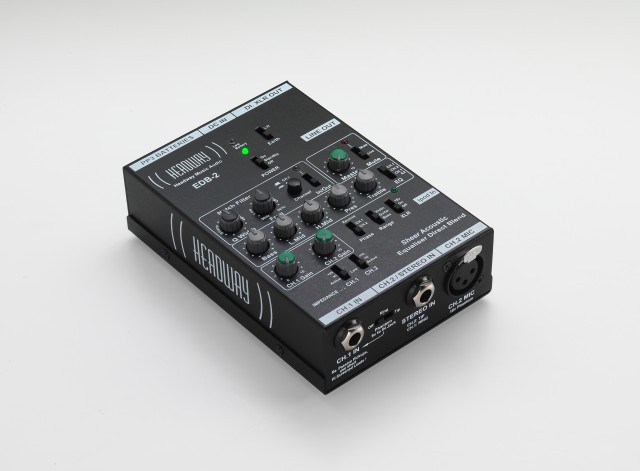
Headway make two types of pre-amp worthy of mention. The first is their their EDB-2. This is an electronically sophisticated black box about 138x93x38mm which accurately amplifies the signal from the pickup. It also includes a volume control, graphic equaliser and much more. These pre-amps are not inexpensive, but they are excellent. In use, they can be attached to a music or mic stand, be worn on a belt or simply rest on the floor.

The Headway pre-amp EDM-2. Photo used with the permission of Headway Music Audio Ltd.
Headway's second type of pre-amp is miniature and fits inside the guitar. It is a cylinder 70mm long and 13mm in diameter. It is attached to a 1/4 inch jack socket which passes through the rear block of the guitar and doubles as a strap holder. Pre-amps require power, so a 9 volt battery is needed inside the guitar. The battery is best fitted to the front block. It can be changed annually when the strings are removed. If the preamp and battery are a little heavy for very light instruments, at least that weight is not near the important part of the vibrating soundboard. The reproduced sound from this system is powerful and convincing, but still slightly different from the actual sound of the acoustic guitar. A graphic equaliser does a good job reducing the difference.

The Headway HE4/G.FEQ. Photo used with the permission of Headway Music Audio Ltd.
The wire (known as a lead) which connects the piezo pickup to the pre-amp is very vulnerable. All wires can act as antennae, picking up electronic and radio signals from mains, electric machines, computers, taxi radios etc. These unwanted signals are called interference. The longer the wire the stronger the interference generated. As the electric signal from the pickup is so small it is all too easy for it to be overwhelmed, or just spoiled, by any interference. The interference can sound like a strong hum or hiss. It is important to keep the lead from the pickup to the preamp short; less than a meter is recommended. This is one reason why mounting the pre-amp inside the guitar is so successful - the wire connecting the pickup to the pre-amp is extremely short.
Yet another method of amplification is to use a miniature microphone of the type used on lapels for TV and stage work. These are mounted inside the guitar. Some of the best acoustic guitar amplification has come from blending the sound of a piezo under-saddle pick up with that of an internal microphone.
Electric guitars work on a different principal. Moving a metal wire through a magnetic field creates electricity and electric guitar pickups, using that principle, create electricity directly proportional to the vibration of the metal strings above them. This will not work on lutes or Classical guitars, as they do not have wire strings. Steel string acoustic guitars and any other wire strung instrument can, and do, use this principal.
There are magnetic pickups for steel string guitars which fit in the sound hole. Some of these have a small mic attached and the system combines the signal from magnetism with that from the mic. Again, these combinations can be very useful.
TWO CURRENT EXAMPLES OF LUTE AMPLIFICATION
Amplification of the lute will be different to that of a guitar for several reasons. First, the lute is lighter, weighing about two-thirds as much as a guitar and care is needed not to add excess weight to the instrument, which I feel would be detrimental to the tone. Second, the lack of a sound hole means there is no access to electrical equipment fitted inside the instrument. Lastly the bridge design is different from that of a guitar and does not use a saddle, rendering most under-saddle pickups unusable.
Nevertheless, there are already some very successful attempts at lute amplification.
Ronn McFarlane, a lutenist from the USA has been using amplified lutes for some time. He writes:

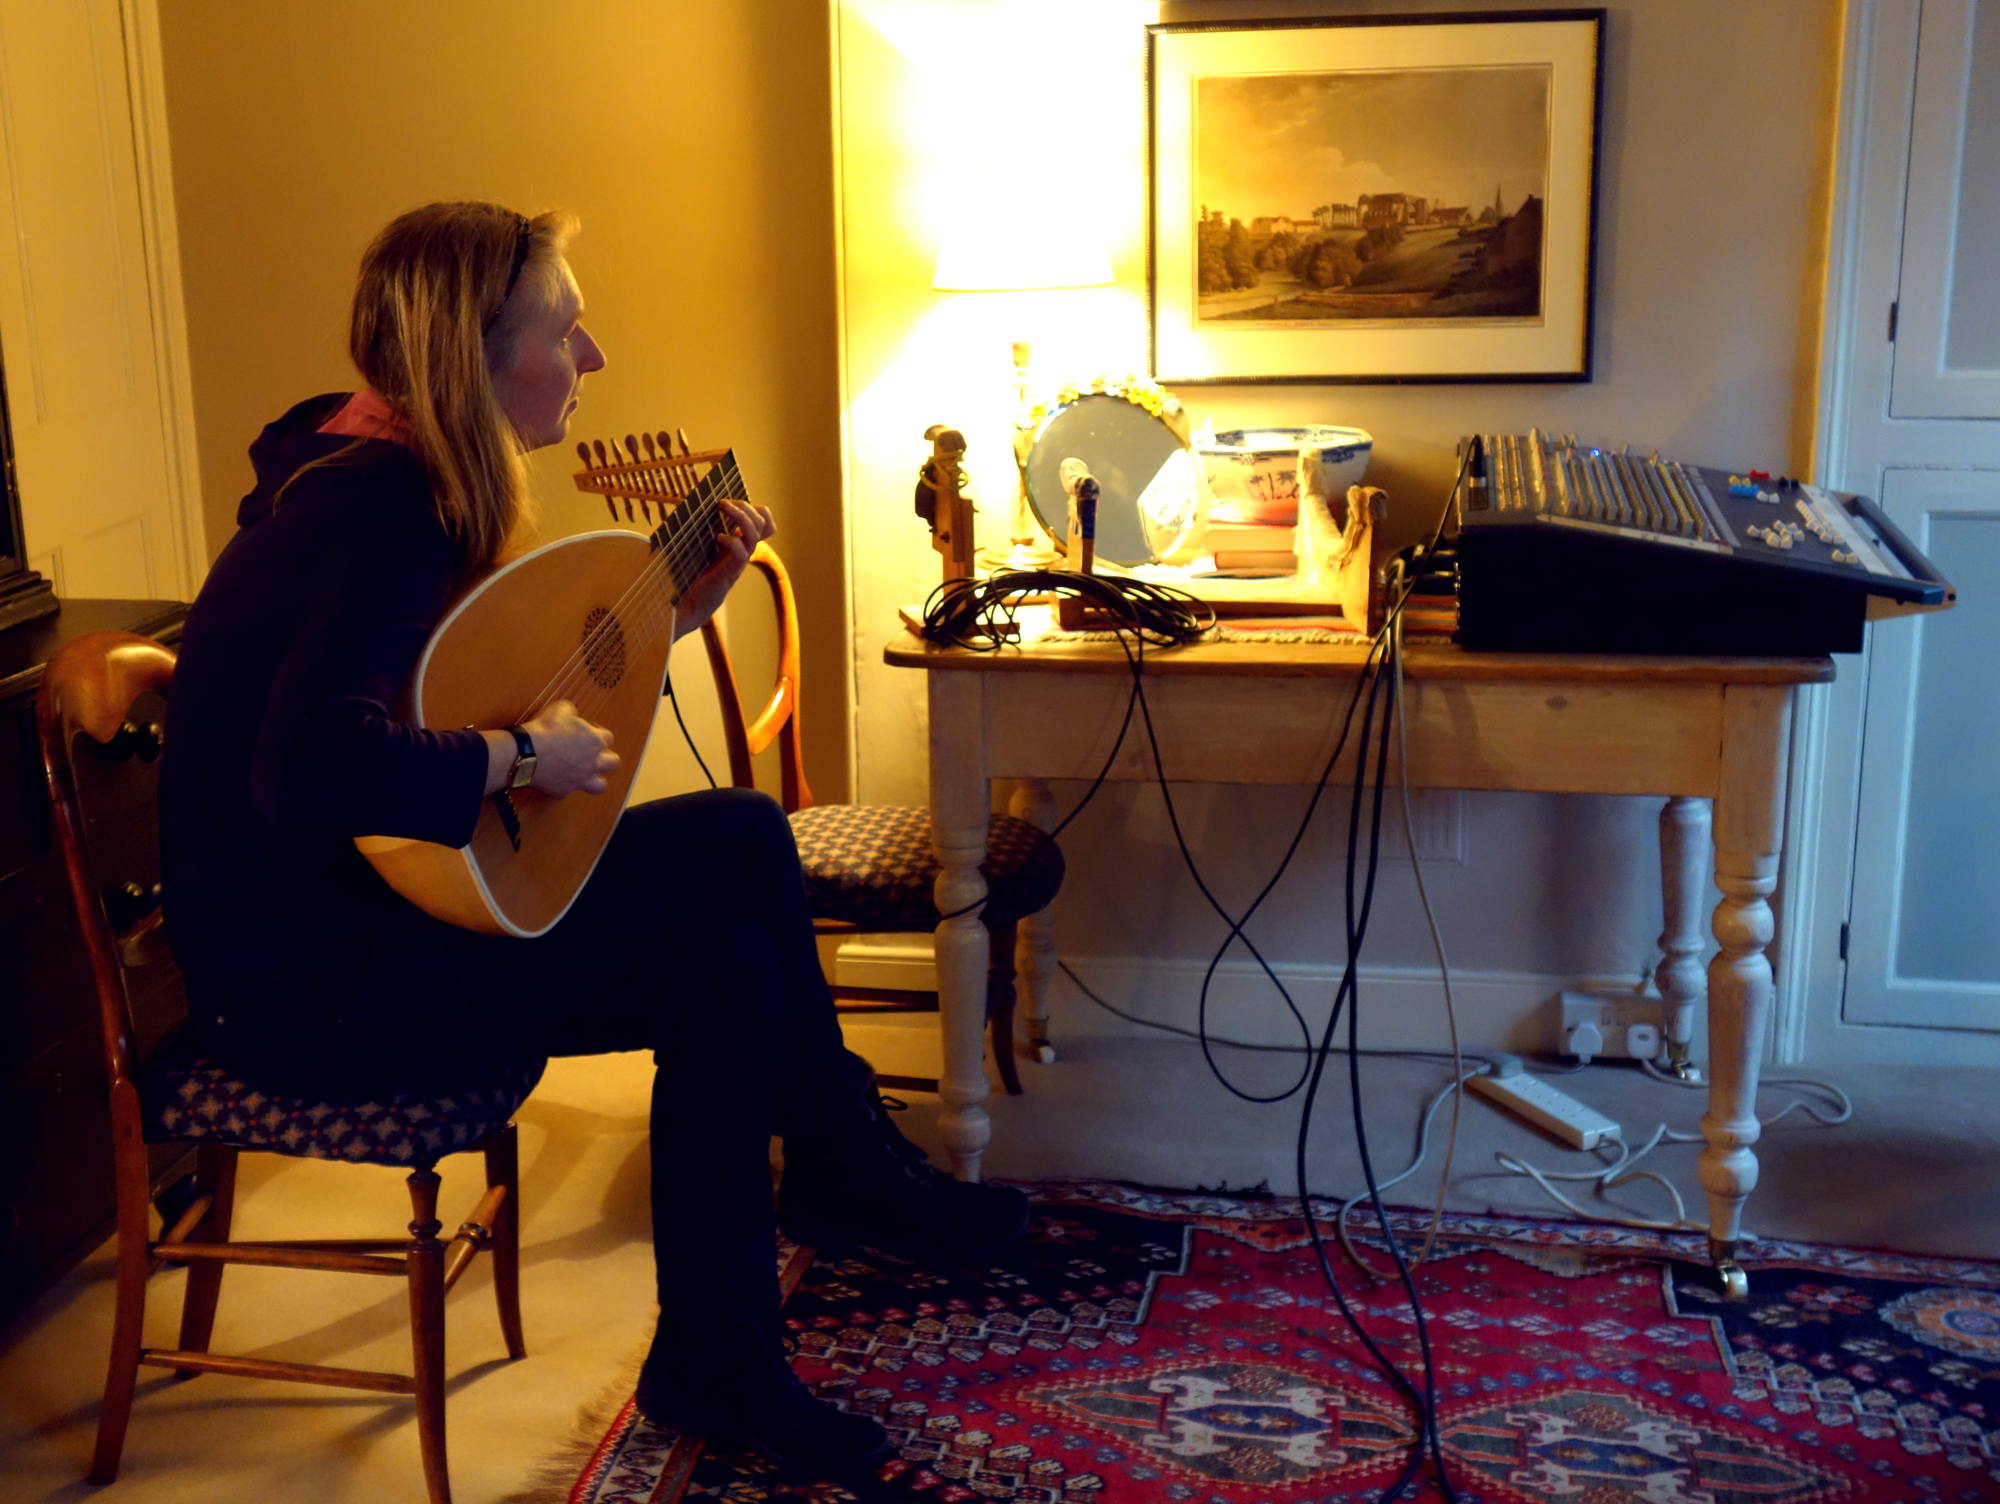
Lynda Sayce and Charlie
Lynda Sayce is a well known professional British lutenist who is not afraid to push the boundaries of lute authenticity. David van Edwards has made her a beautiful, large theorbo, which she calls Charlie. The usual method of airline travel for a musician who plays a large instrument, is to purchase an adjacent seat for the instrument. Cellists do this regularly. However, at over 2 meters long, Charlie is too large for an aircraft seat.
Before construction, David and Lynda devised a very clever method which allows both the neck and the case to fold. She and Charlie can now travel on commercial aircraft, and together, they have toured Europe, Africa and the USA.
In 2011, Lynda asked if I could help her amplify Charlie. She had found my name listed on the Headway website as a pickup installer and wanted gentle amplification to enable her to play background music for social events.
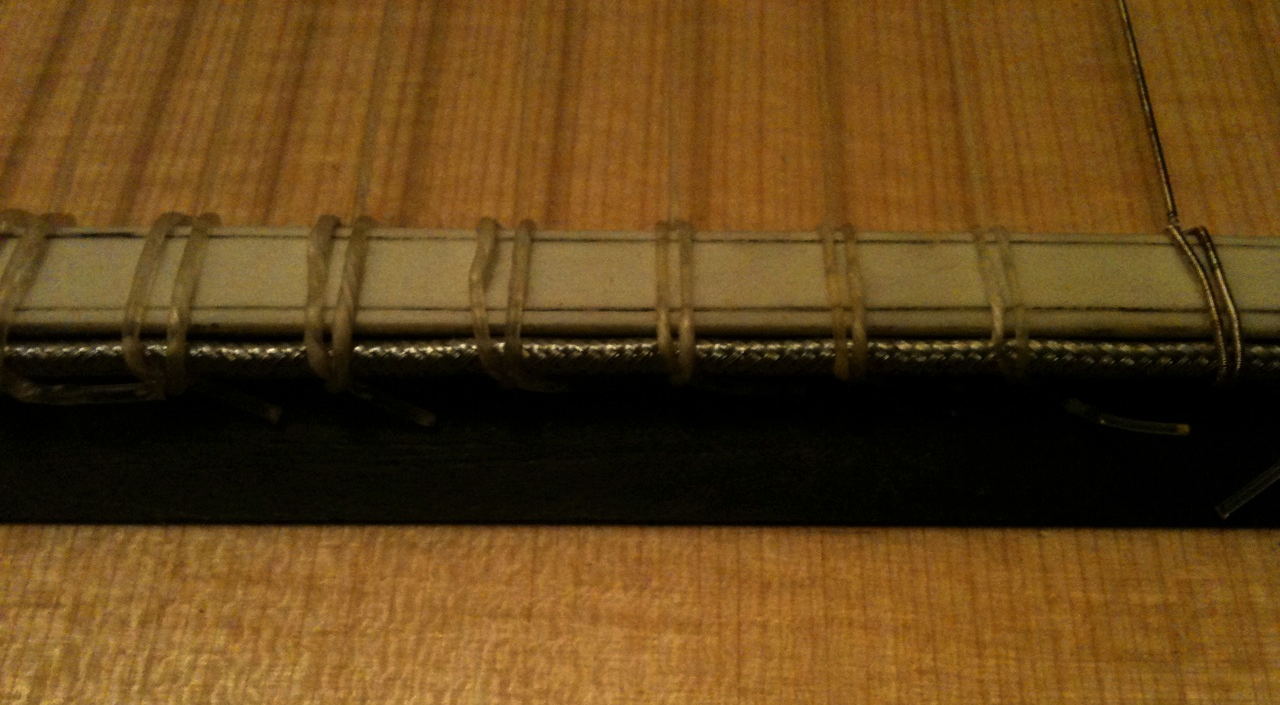
I suggested using the Snake on Charlie. I had to do a few modifications to the Snake (a bit of soldering) and Lynda found the perfect way to mount it on Charlie's bridge. The Snake sits in the groove at the rear of the bridge. Lynda connects the Snake to a Headway EDB-2 pre-amp and then to a small amp (AER Compact 60 acoustic amp) which is concealed beneath her chair. People rarely notice that the lute is amplified.

Charlie's Bridge and the Snake
AN AMPLIFIED LUTE
In 2013 Lynda Sayce asked me to make an amplified 7 course lute for her. The lute was to be easily plugged into a mixing desk or amp, just like many acoustic and electric guitars. It would be used onstage, in performance at functions and in workshops. The amplified sound should be very close to the natural sound of the lute.
For amplification, I first considered the the Snake but this has to be mounted on the outside of the lute. I saw no easy way to fit a socket to the lute. Also, as mentioned before, the tone of piezo pickups is slightly untrue. There might be a better way.
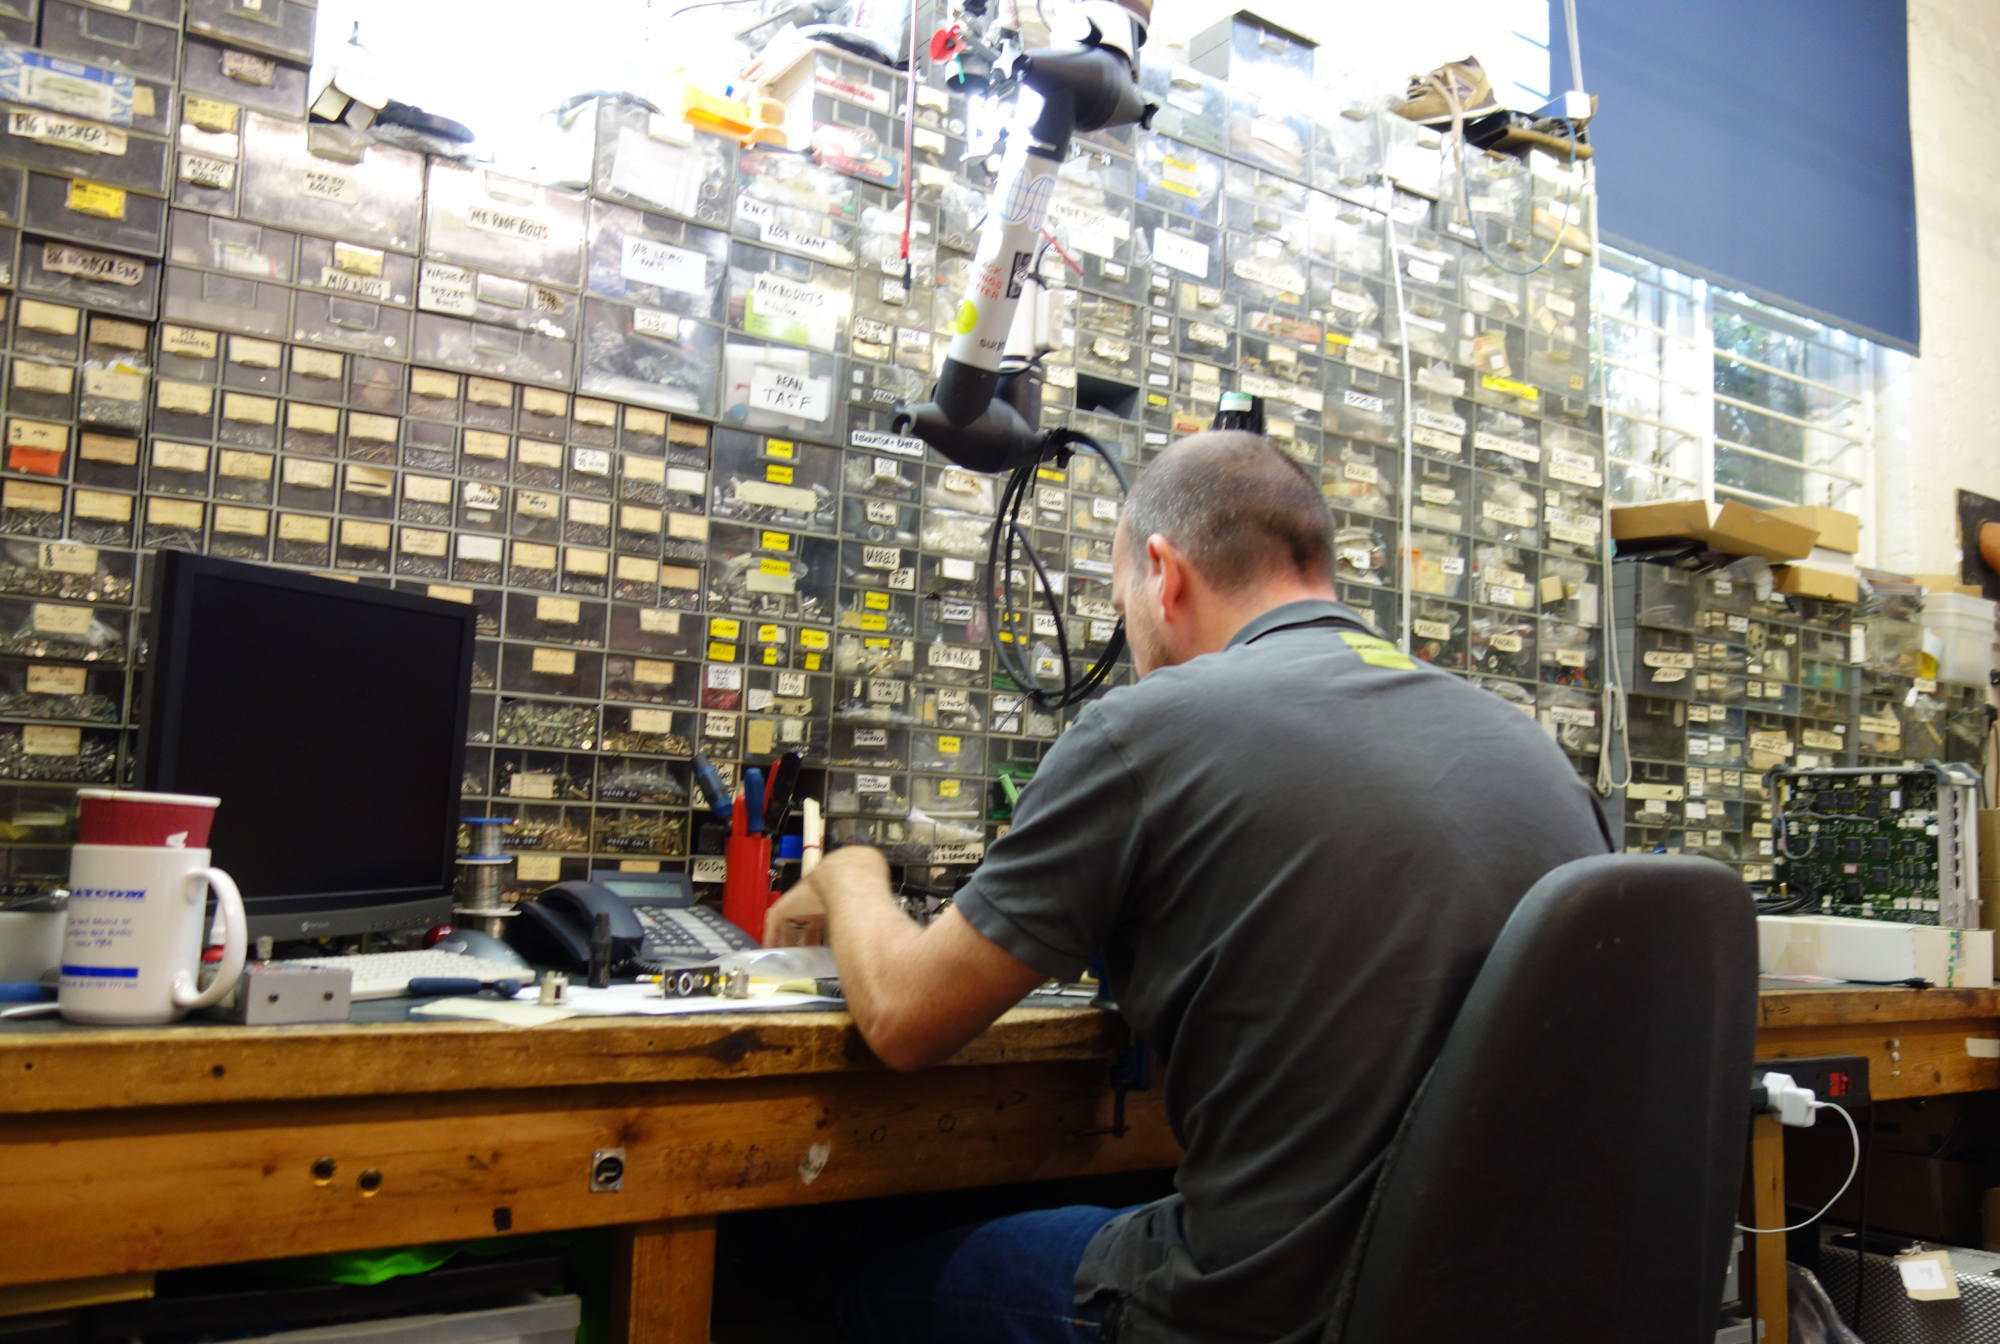
I approached a friend, Drew Calderbank, who is a professional sound engineer. We have worked together many times and I knew he was very familiar with amplification. When told of the project, he immediately thought a microphone might give a more accurate acoustic lute sound. He suggested we try a lavelier mic. These are the type of mic used onstage for plays, musicals, TV, etc. They are very small often being lost in the performer's clothing or hair. Their sound reproduction is very accurate.
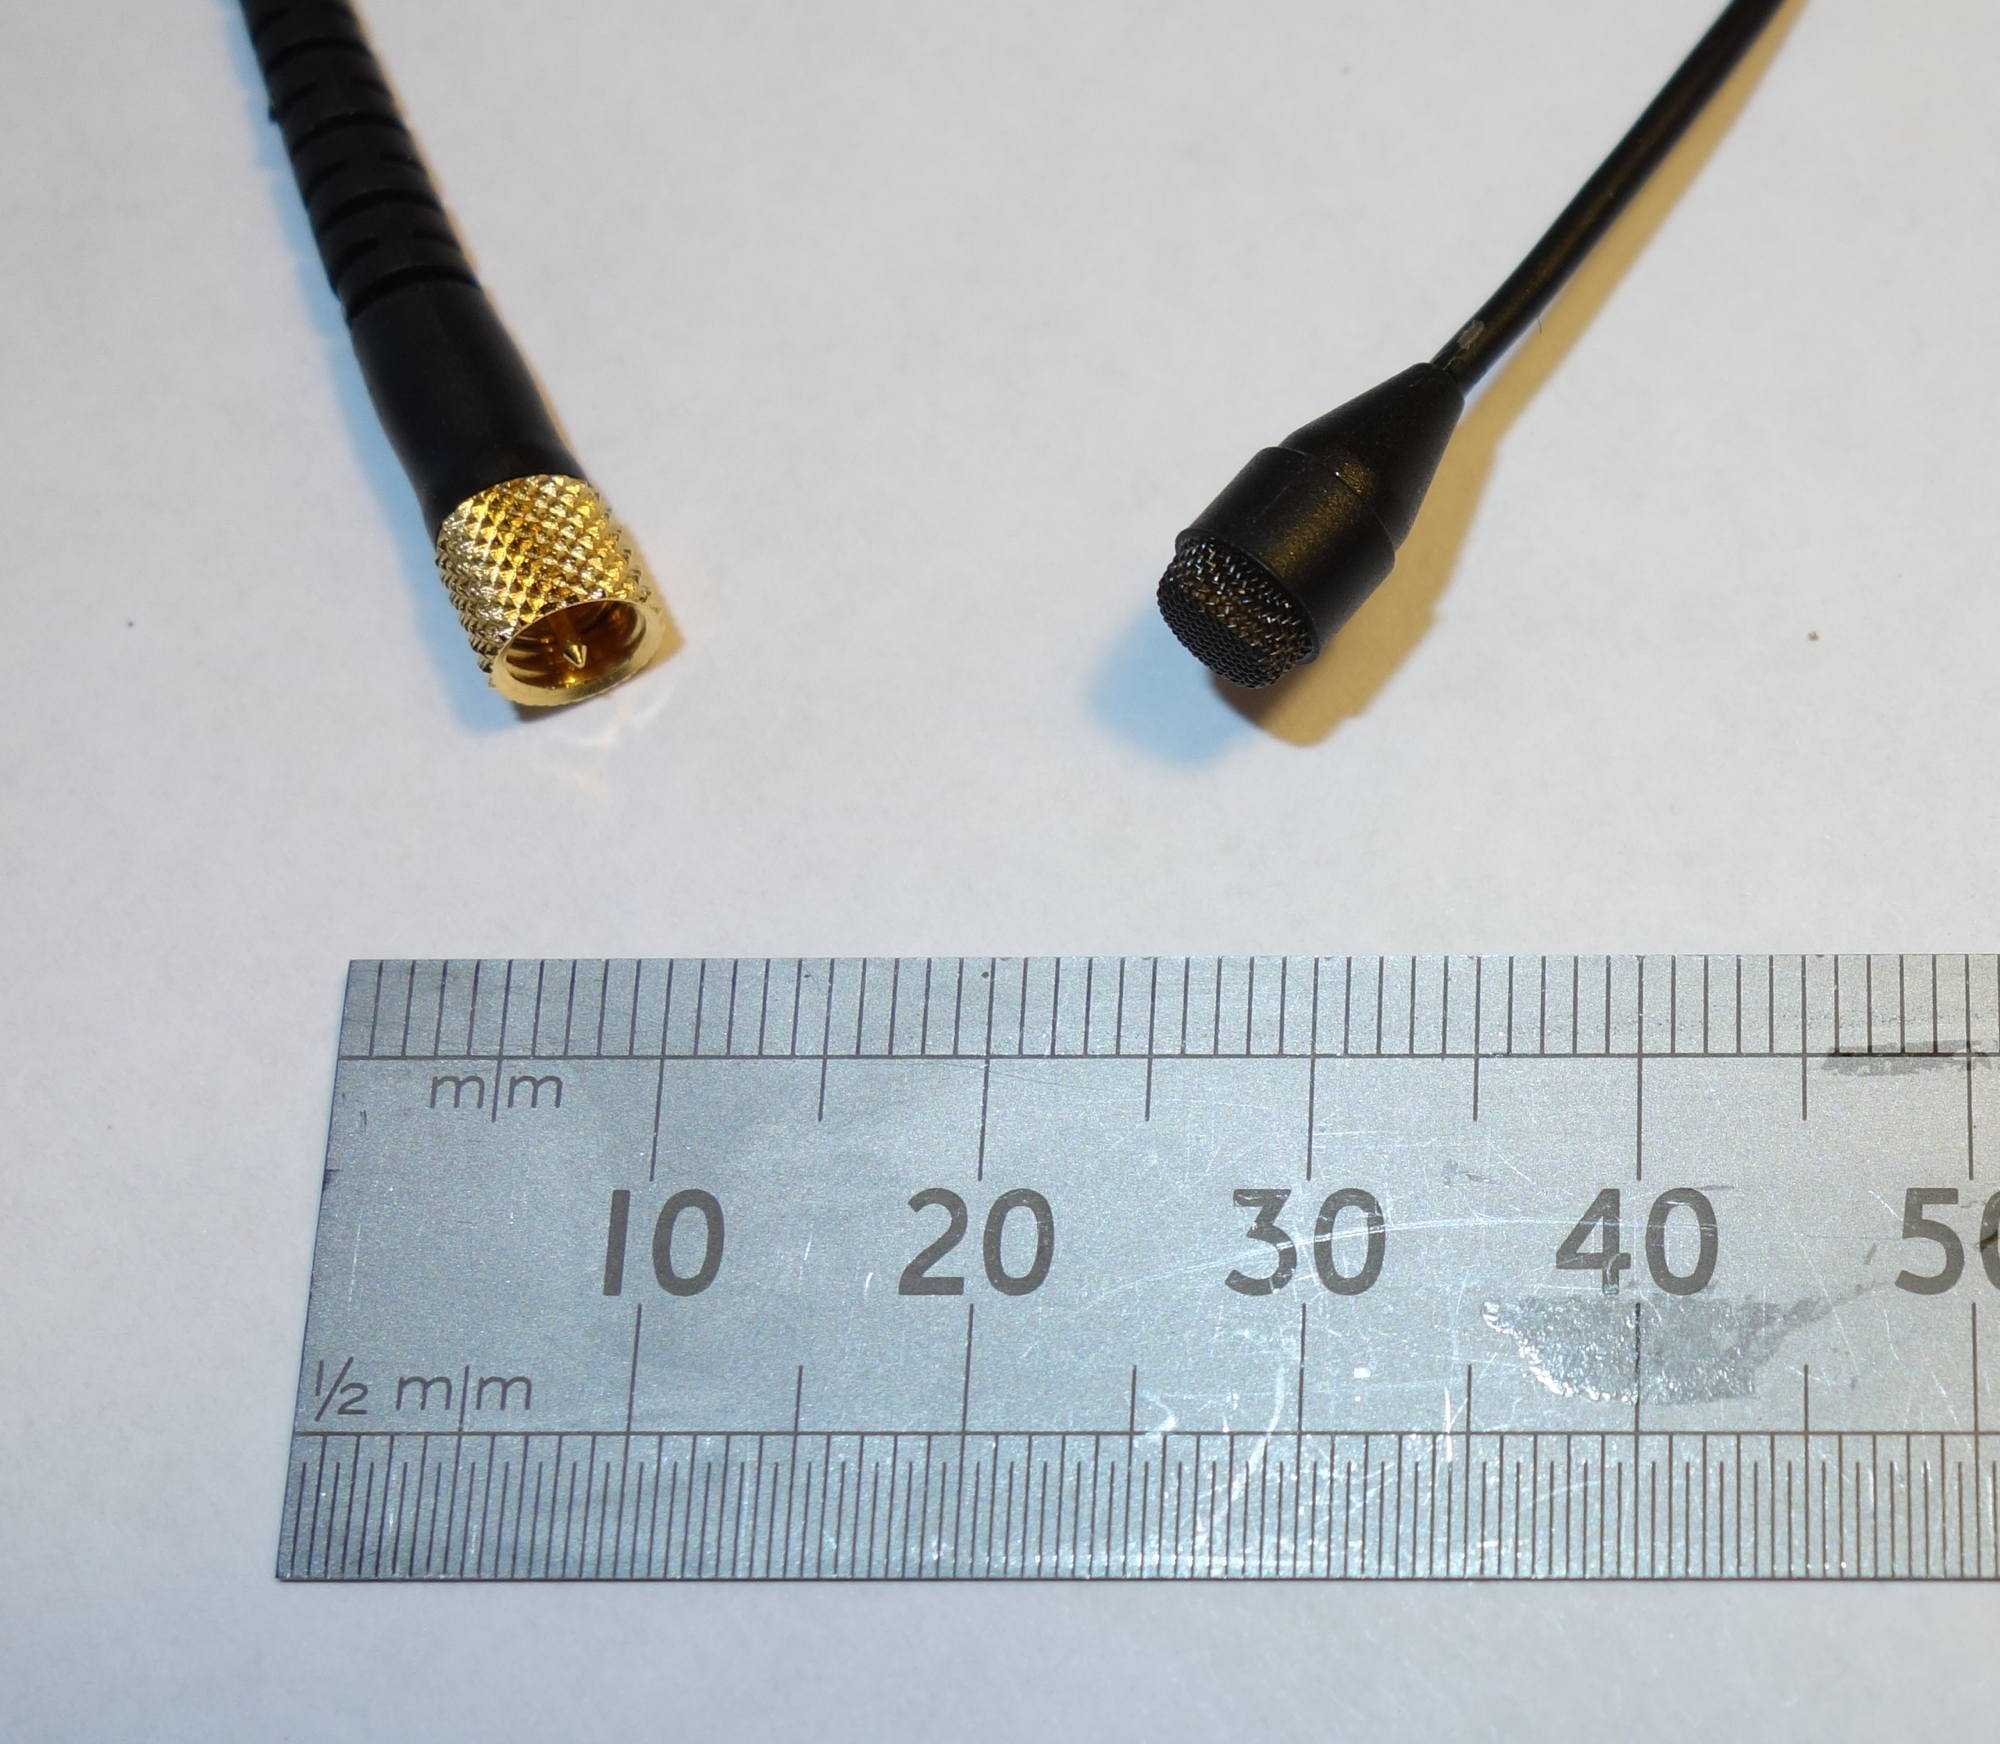
Drew suggested we use a high quality lavelier mic made by the Danish company DPA, the DPA 4061. Although originally intended for use with voice, it is also an excellent instrumental mic and is sold with adaptors to fit various instruments.

A photo from the DPA website, showing the 4061 mic mounted on a violin. The mic is 4.5mm in diameter and its housing 12mm long.
The 4061 mic is not cheap, so for testing, we hired one. In Drew's studio we attached the 4061 to Lynda's theorbo, Charlie. The mic was held in place with blue tack on Charlie's soundboard and he did not seem to mind. As Lynda played the theorbo, we attached the 4061 to various positions on the soundboard while Drew tried different settings on the mixing desk. In the end, Lynda, Drew and I all agreed that the DPA 4061 produced a very lute like sound. We needed to try the 4061 inside a lute.
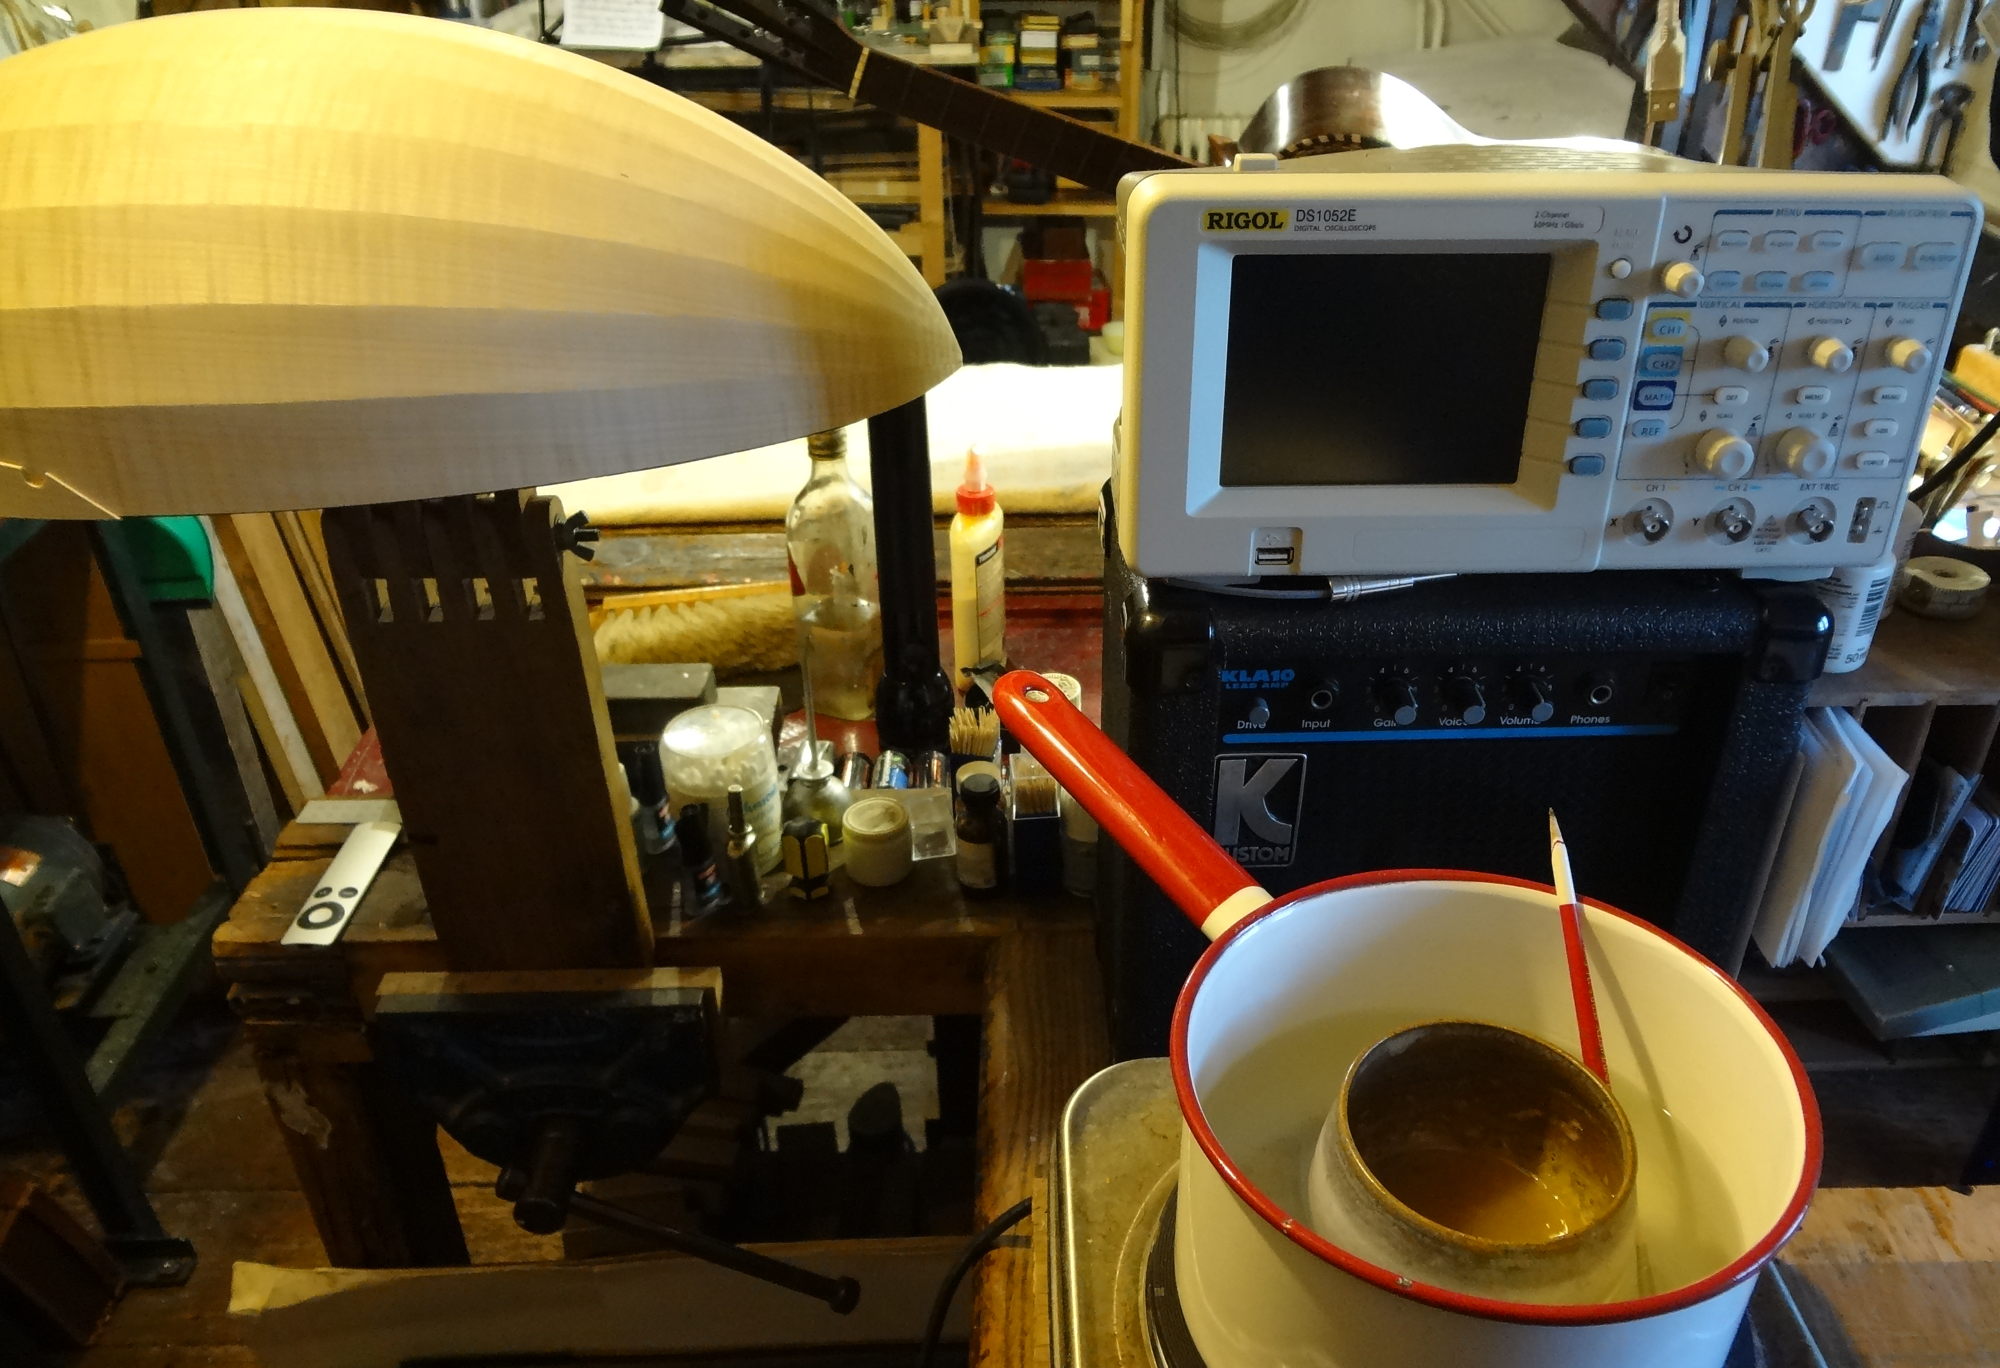
It was apparent, that in order to find a sensible method for amplification, many options would have to be tried. A lute for testing was needed. My second lute, built in 1976 and never sold, was still in the workshop. It owed a lot to Harwood and Isaacs and my then lutherie tutor, Charles Ford, but was still basically sound. I decided to use this lute to develop ideas.
THE TEST LUTE
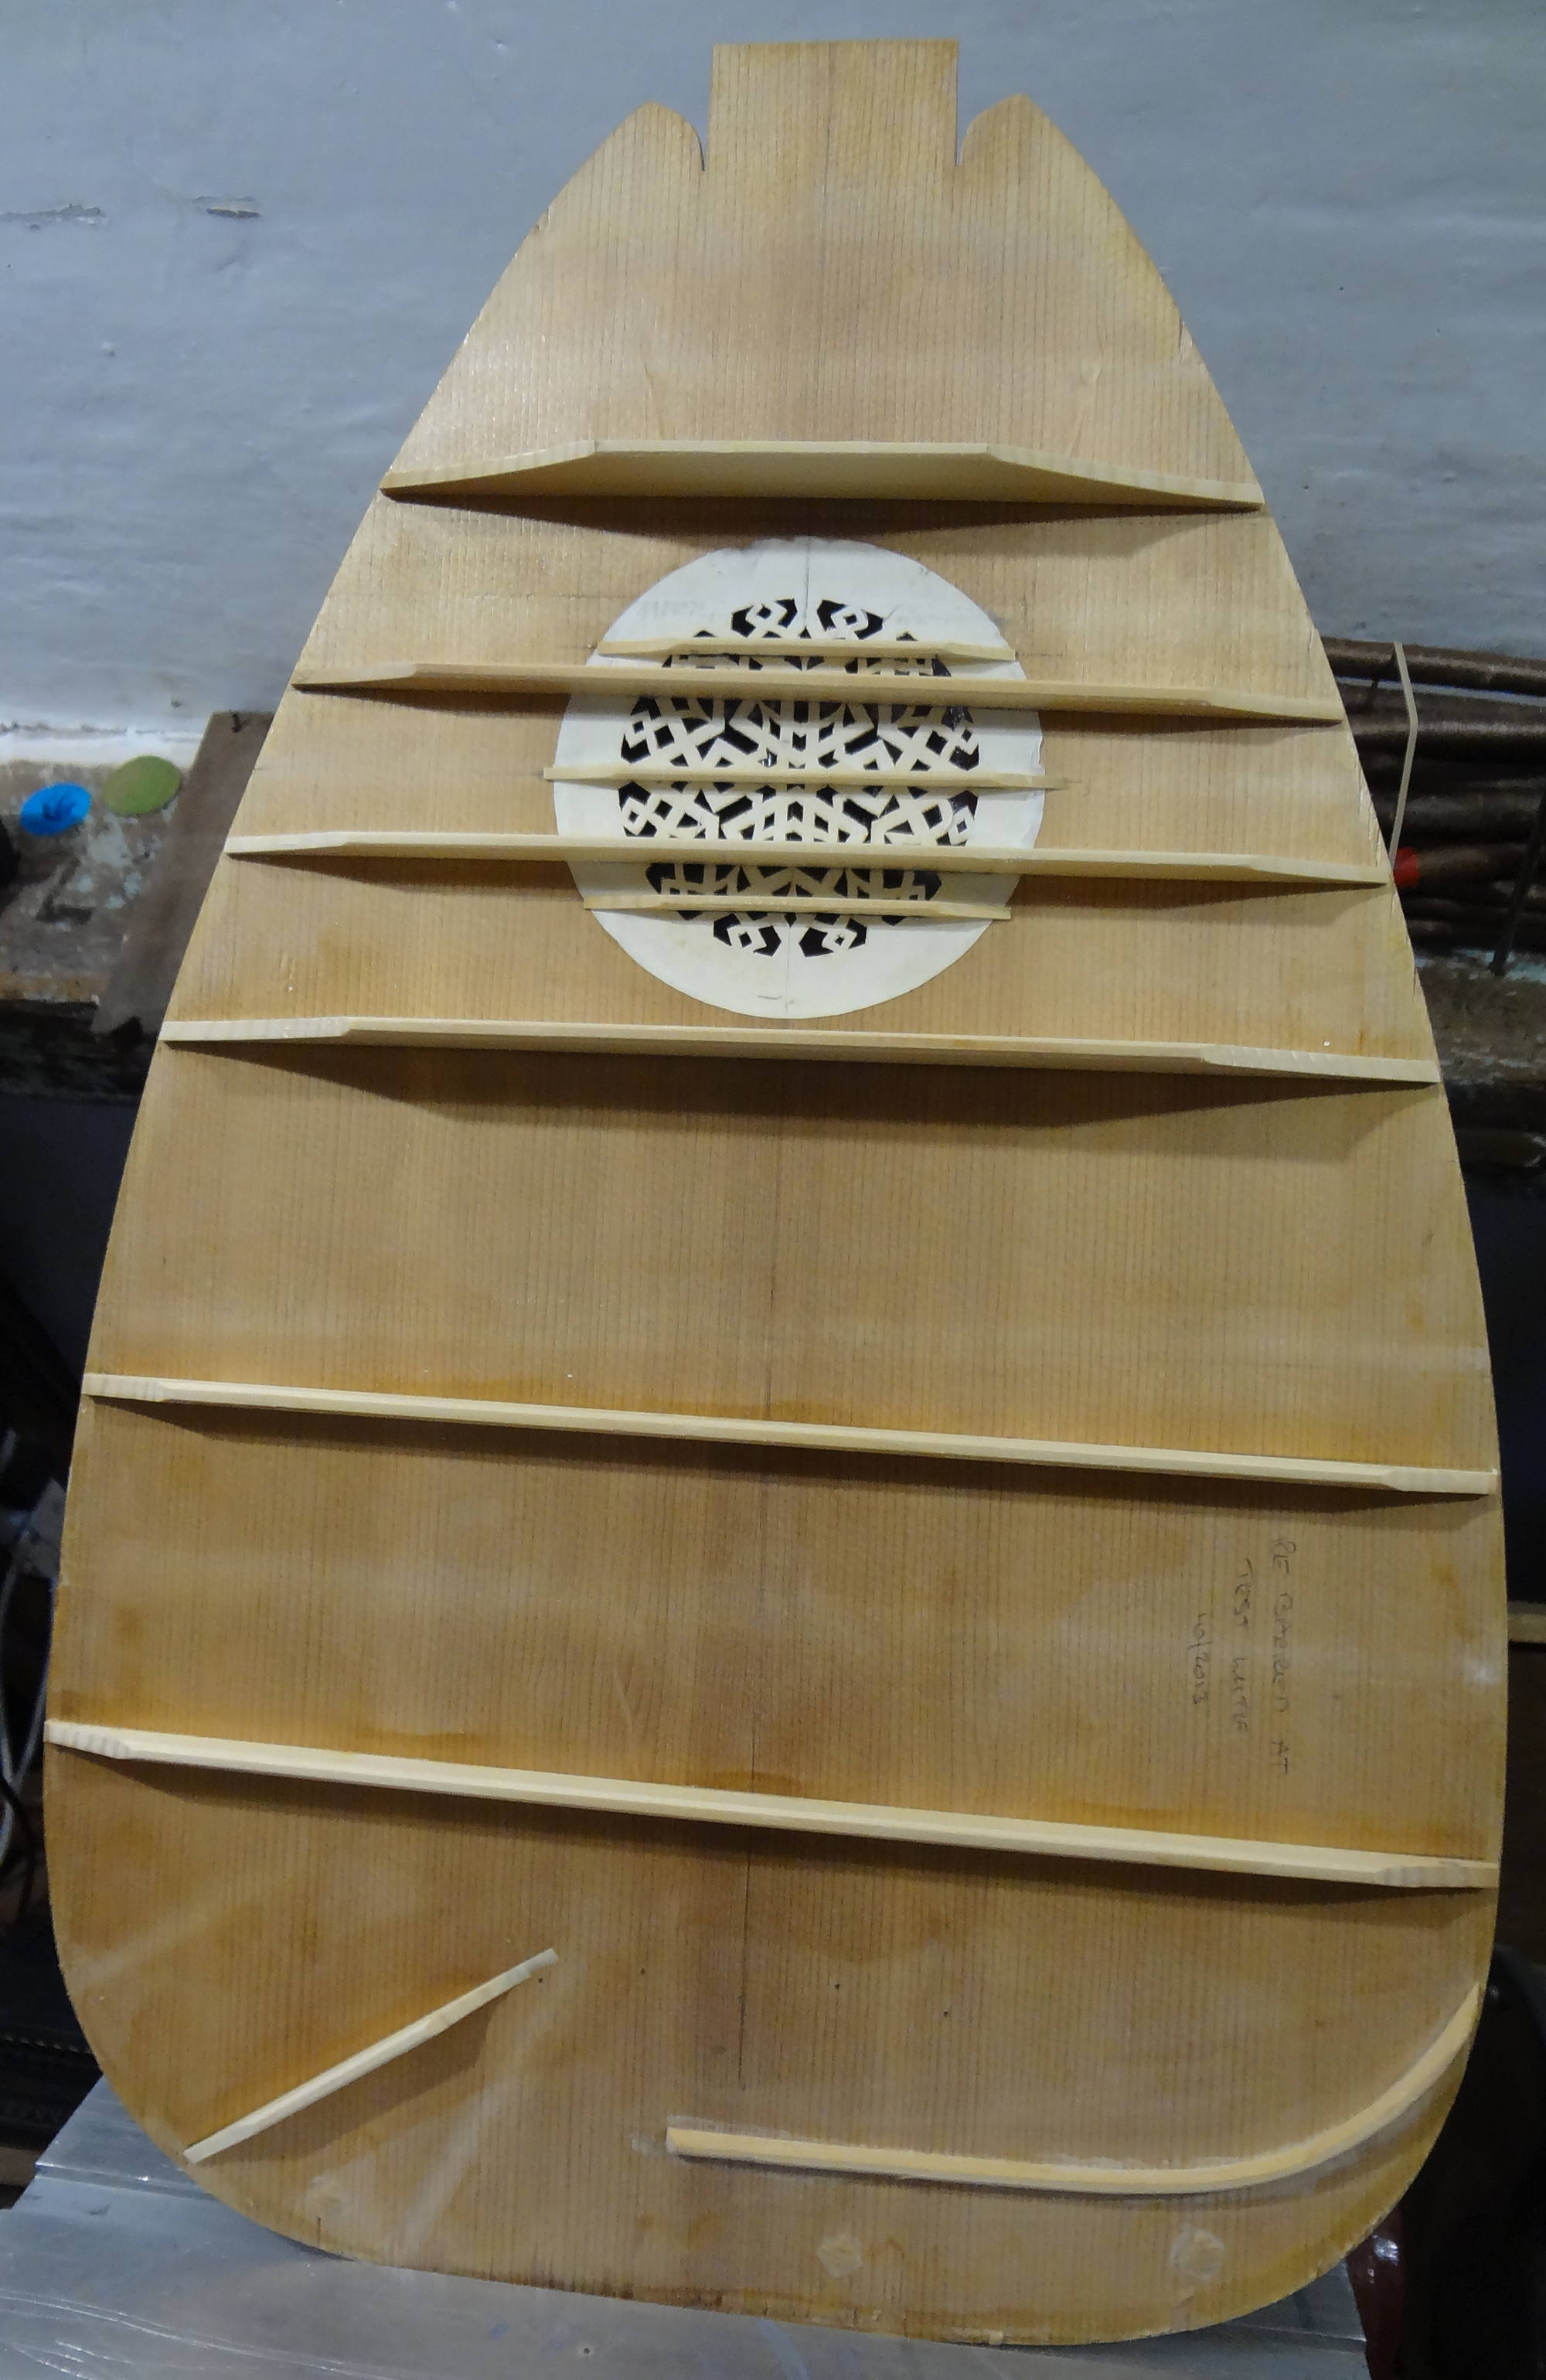
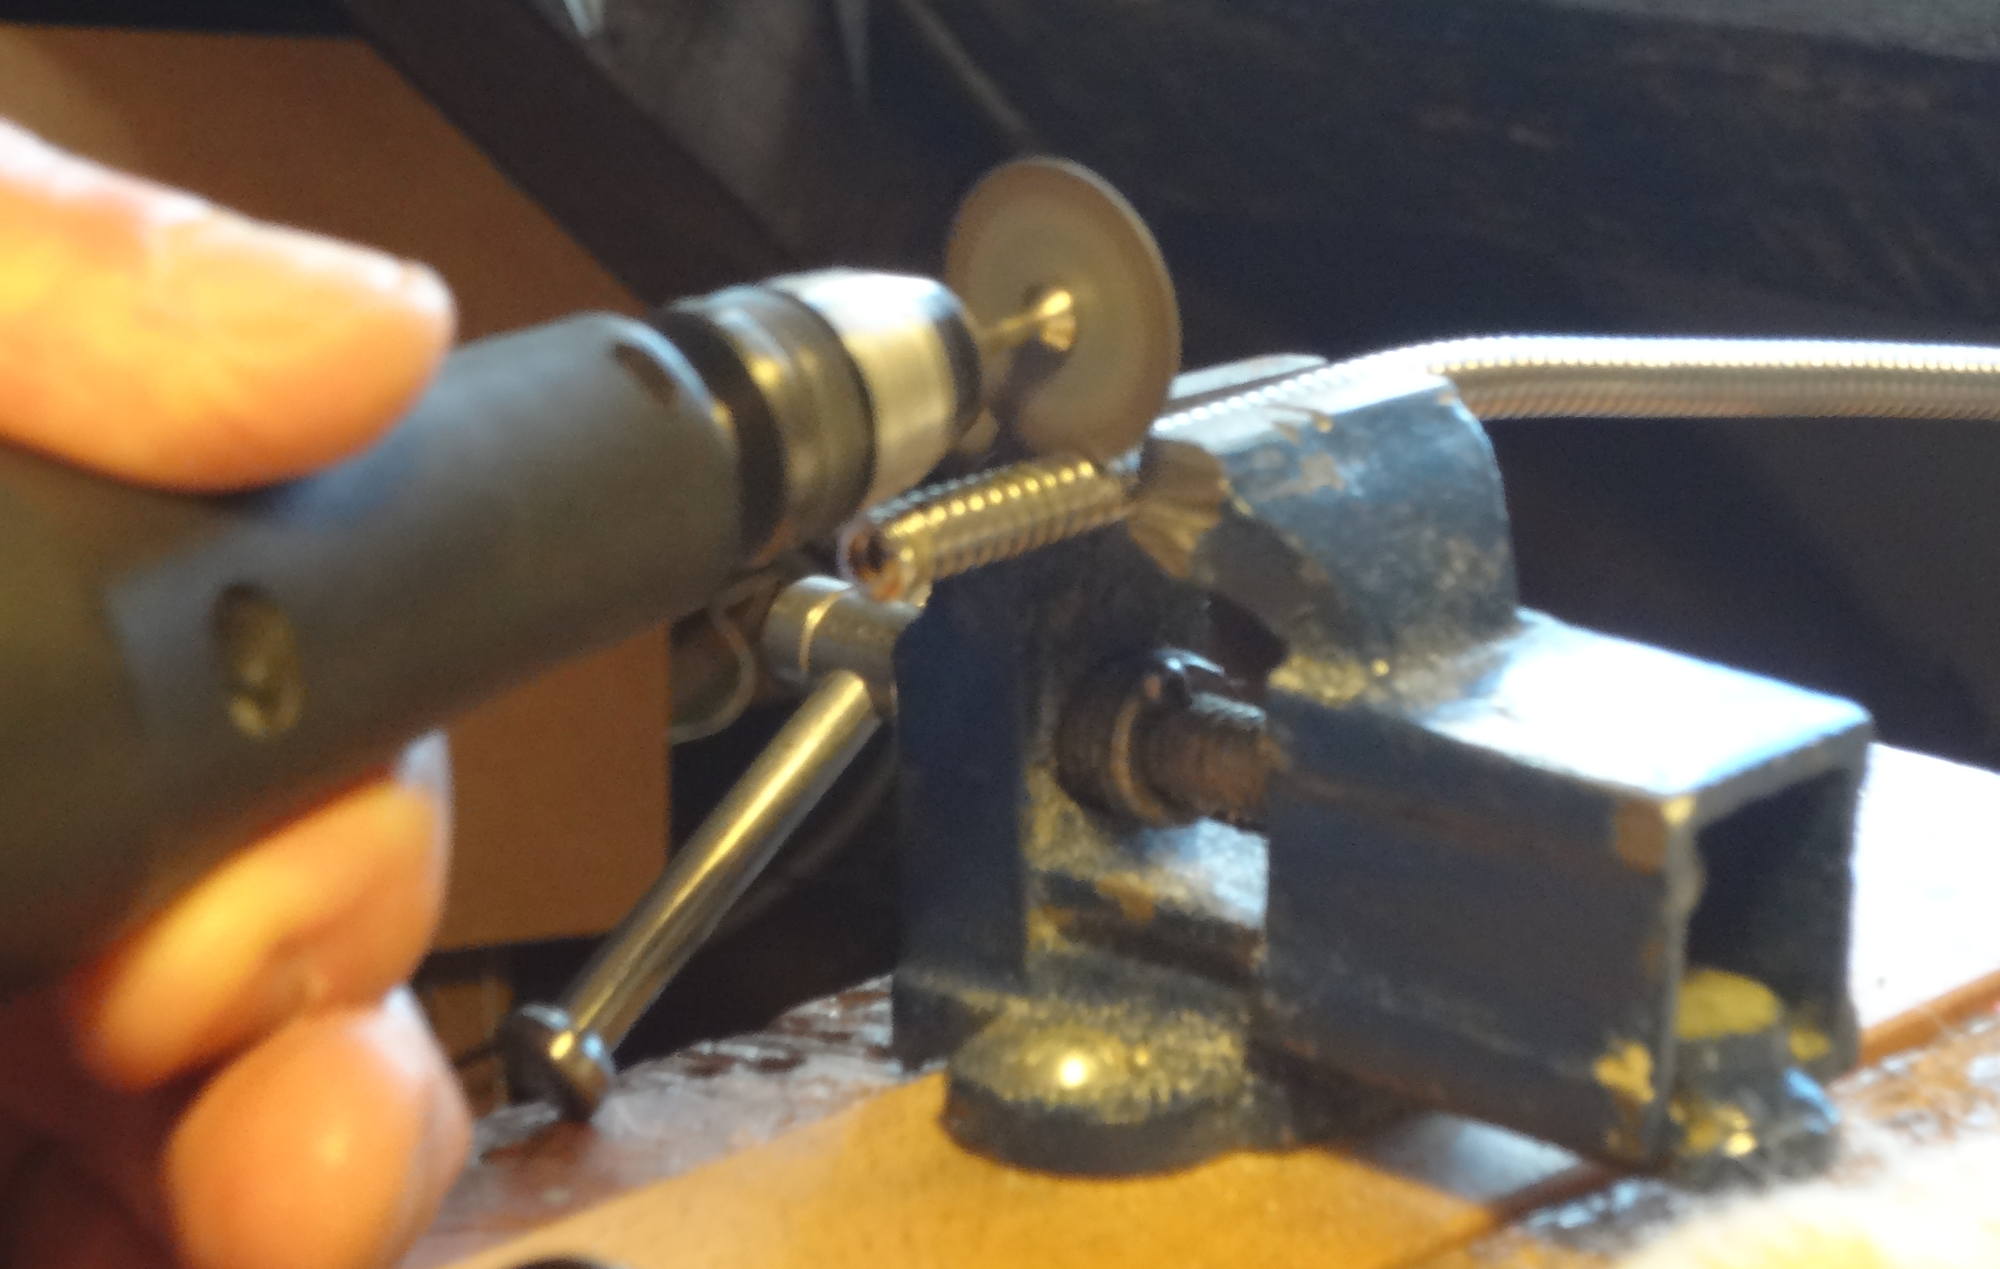
Lute number 2 became "The Test Lute" and it certainly needed some work after years of knocking around the workshop. Several bars inside were loose, there were cracks in the ribs and its pegs had long ago been been used on another lute. I removed the soundboard, attached some lighter barring, repaired cracks and, on the lathe, I turned a set of simple apple pegs.


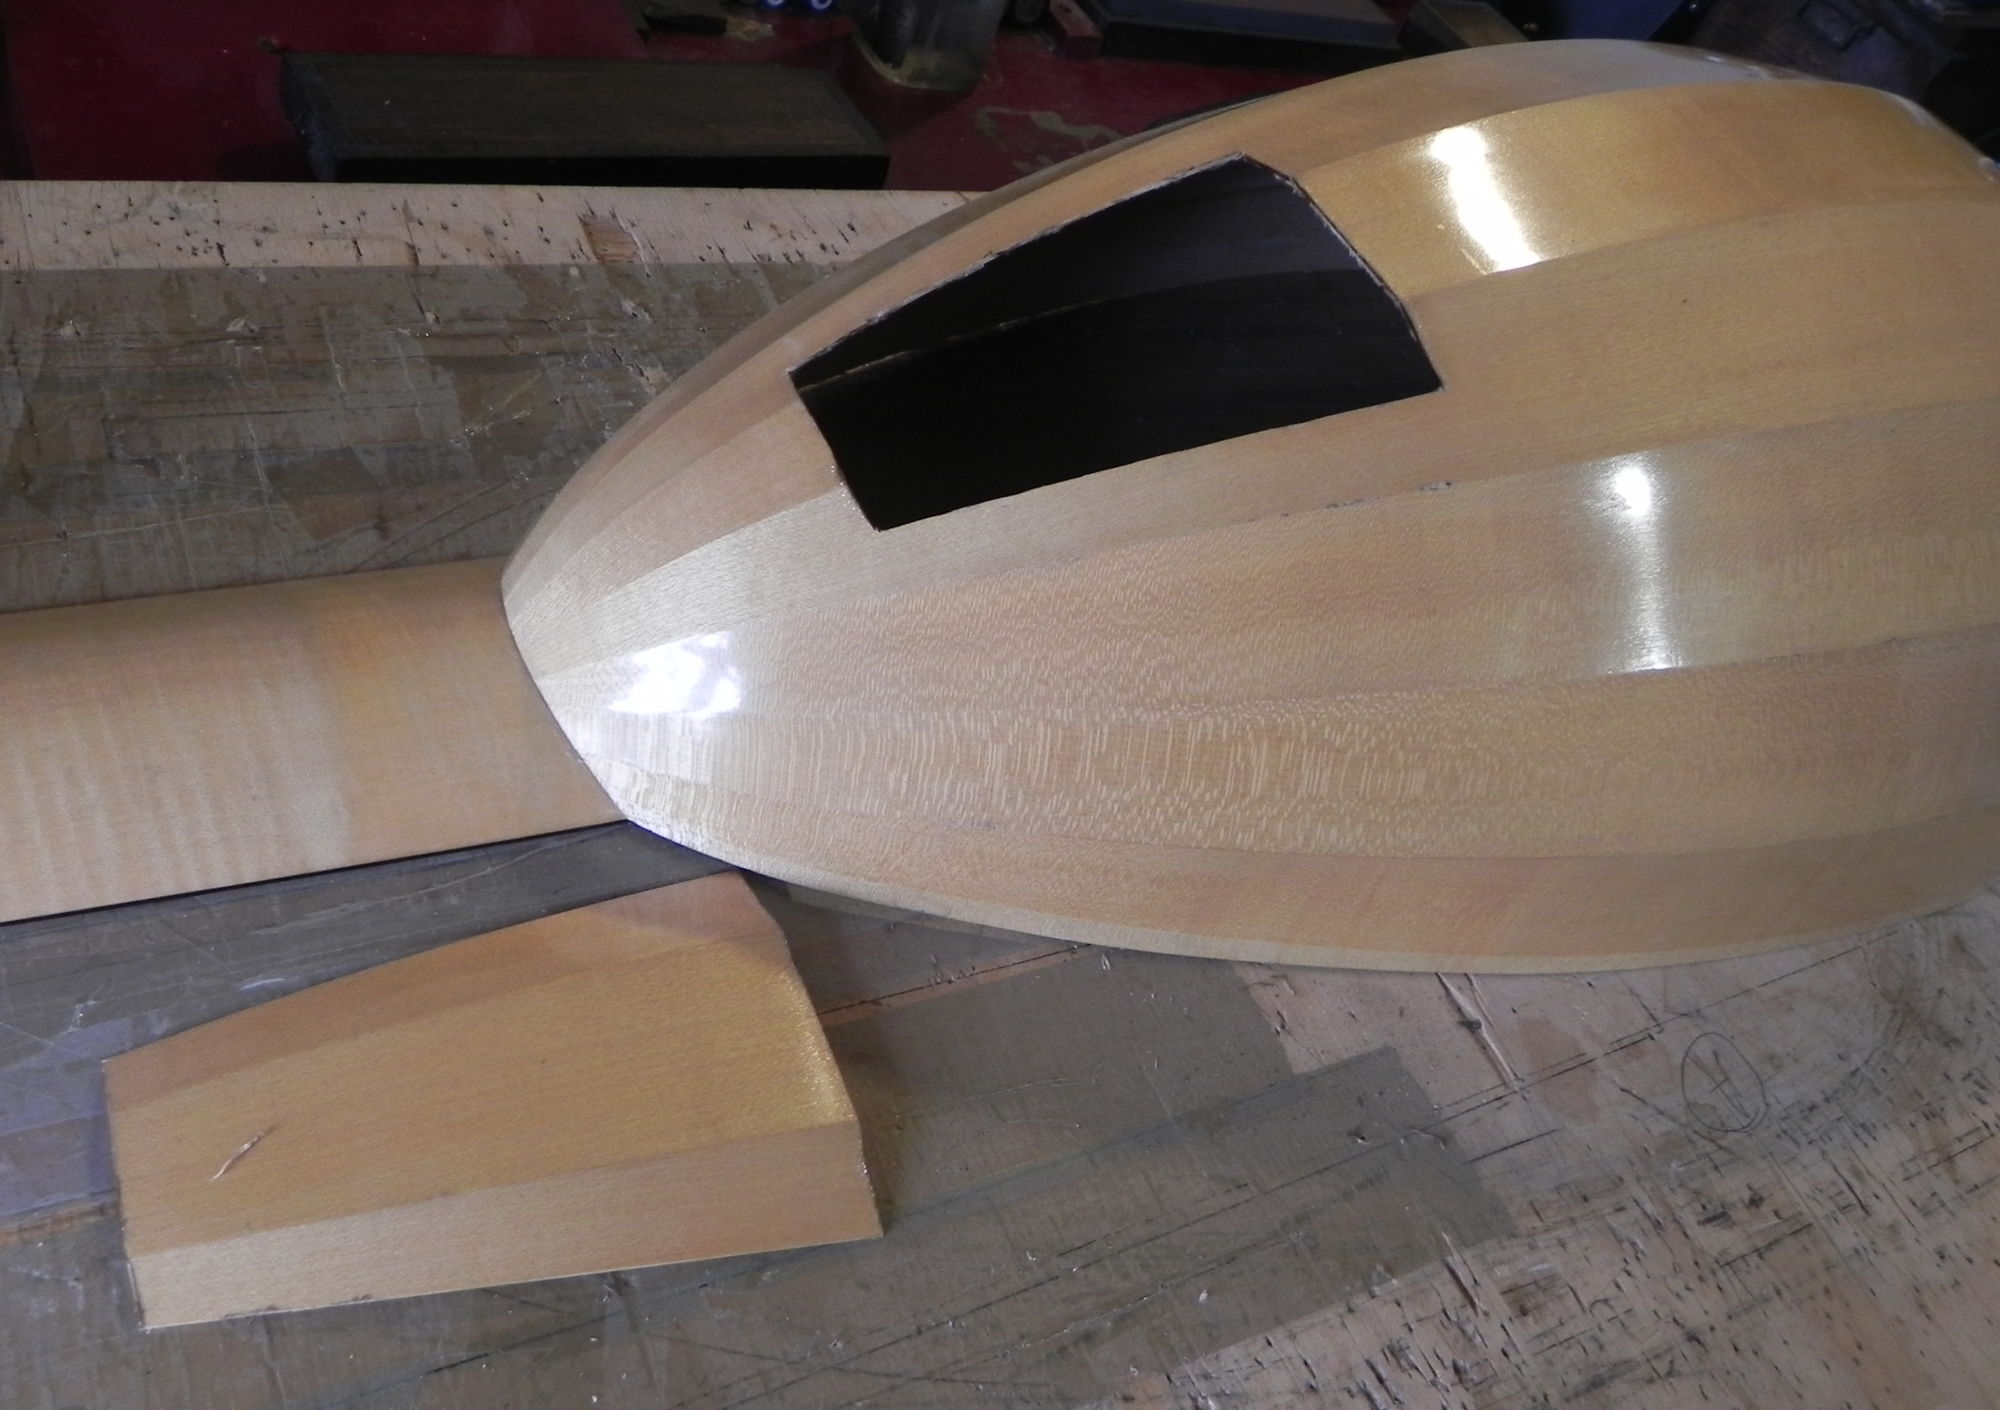
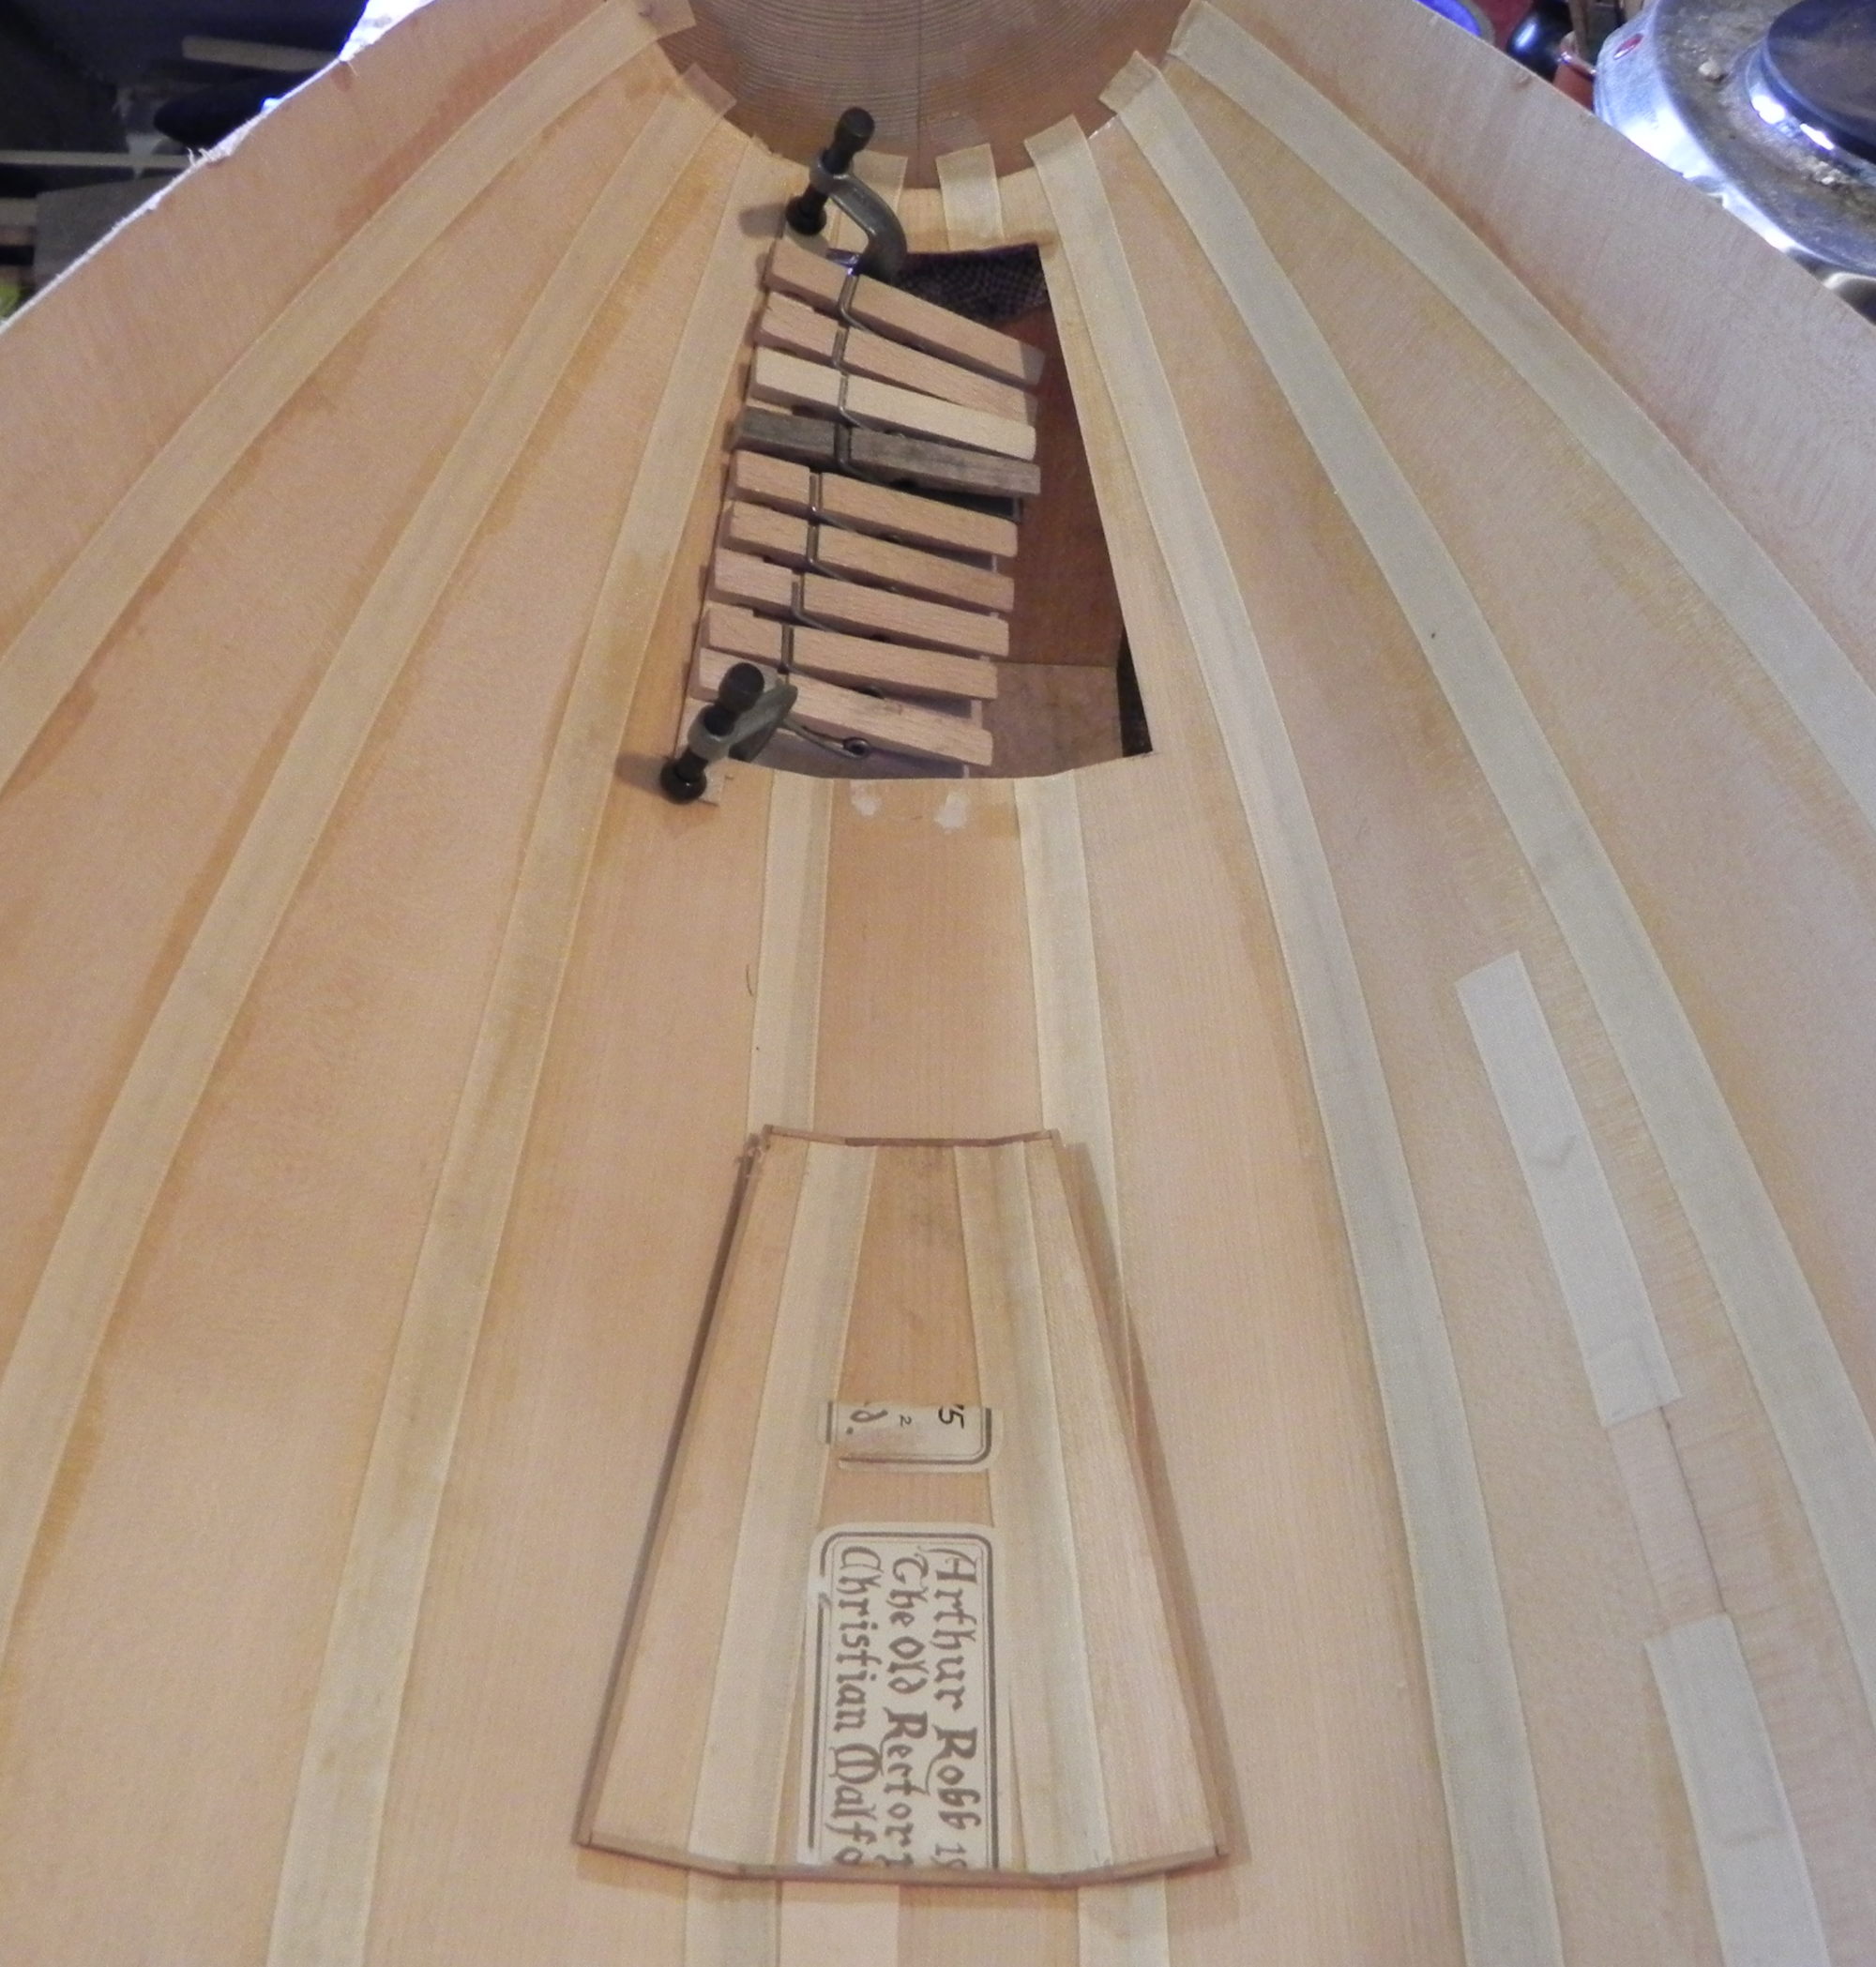
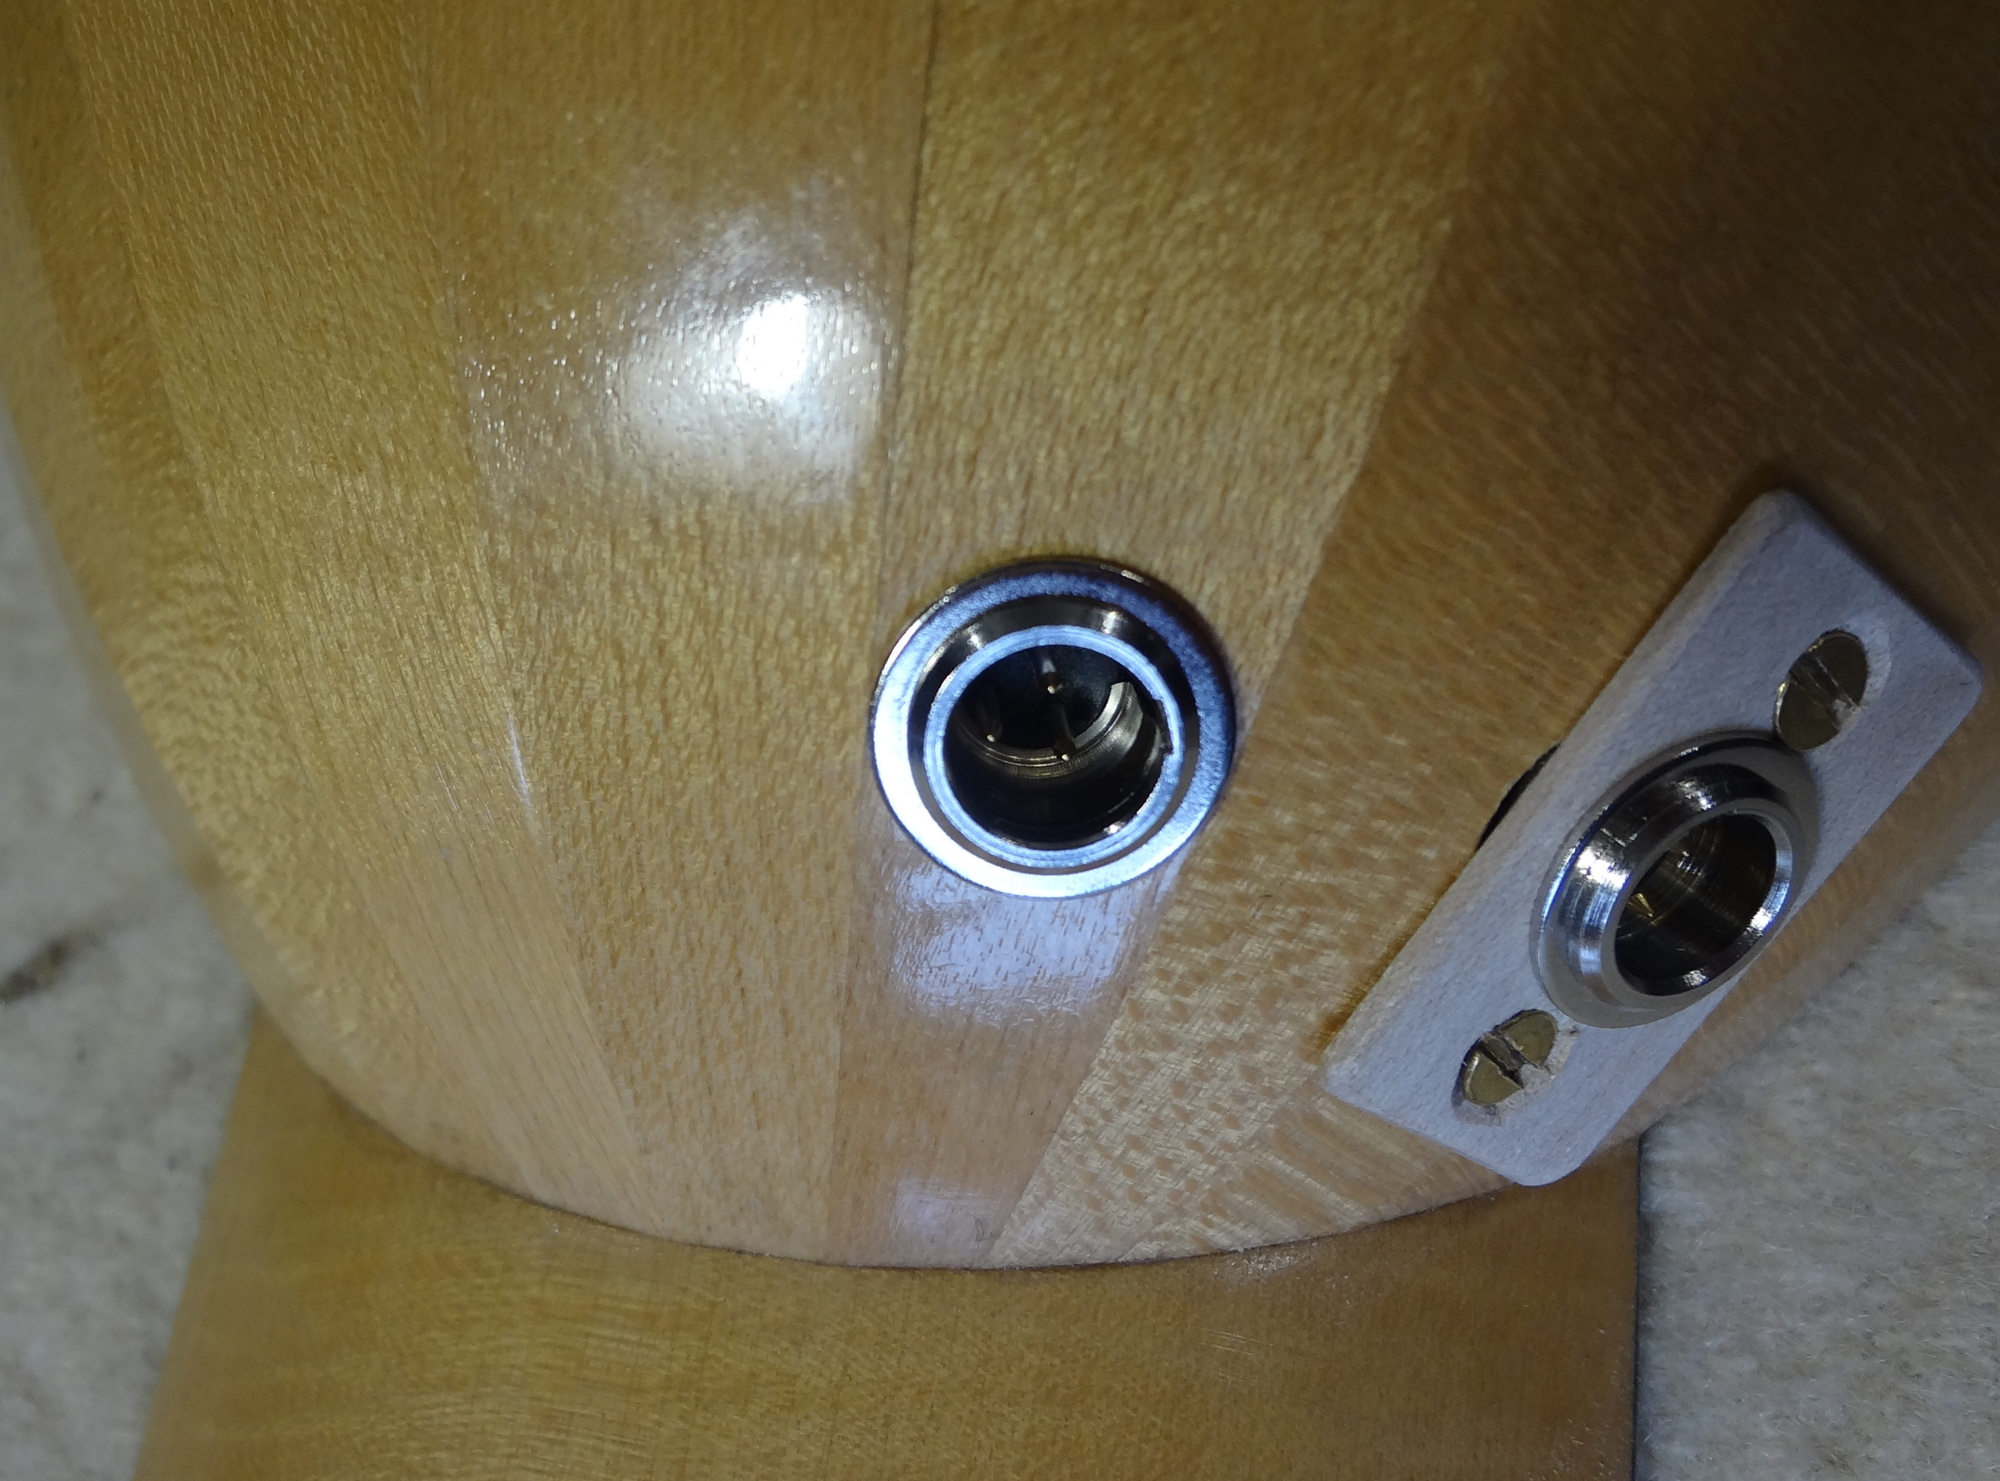
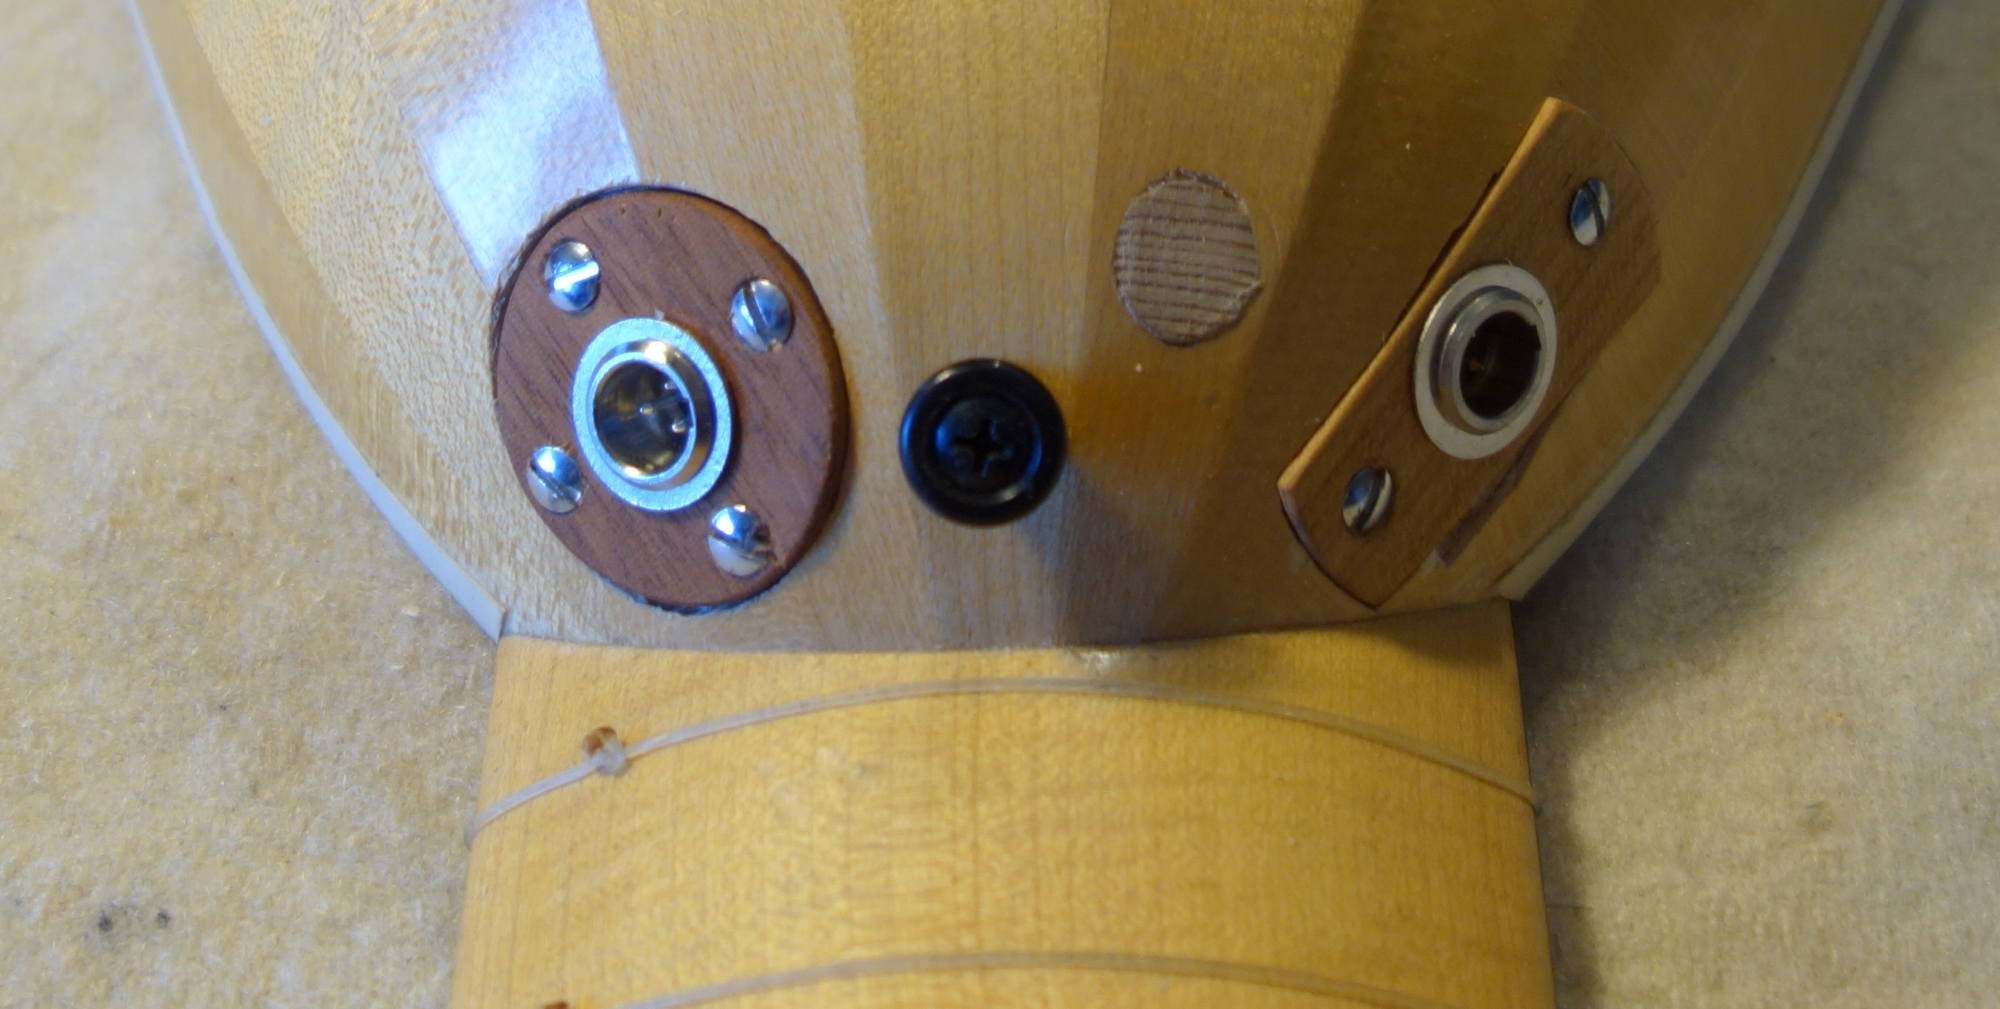
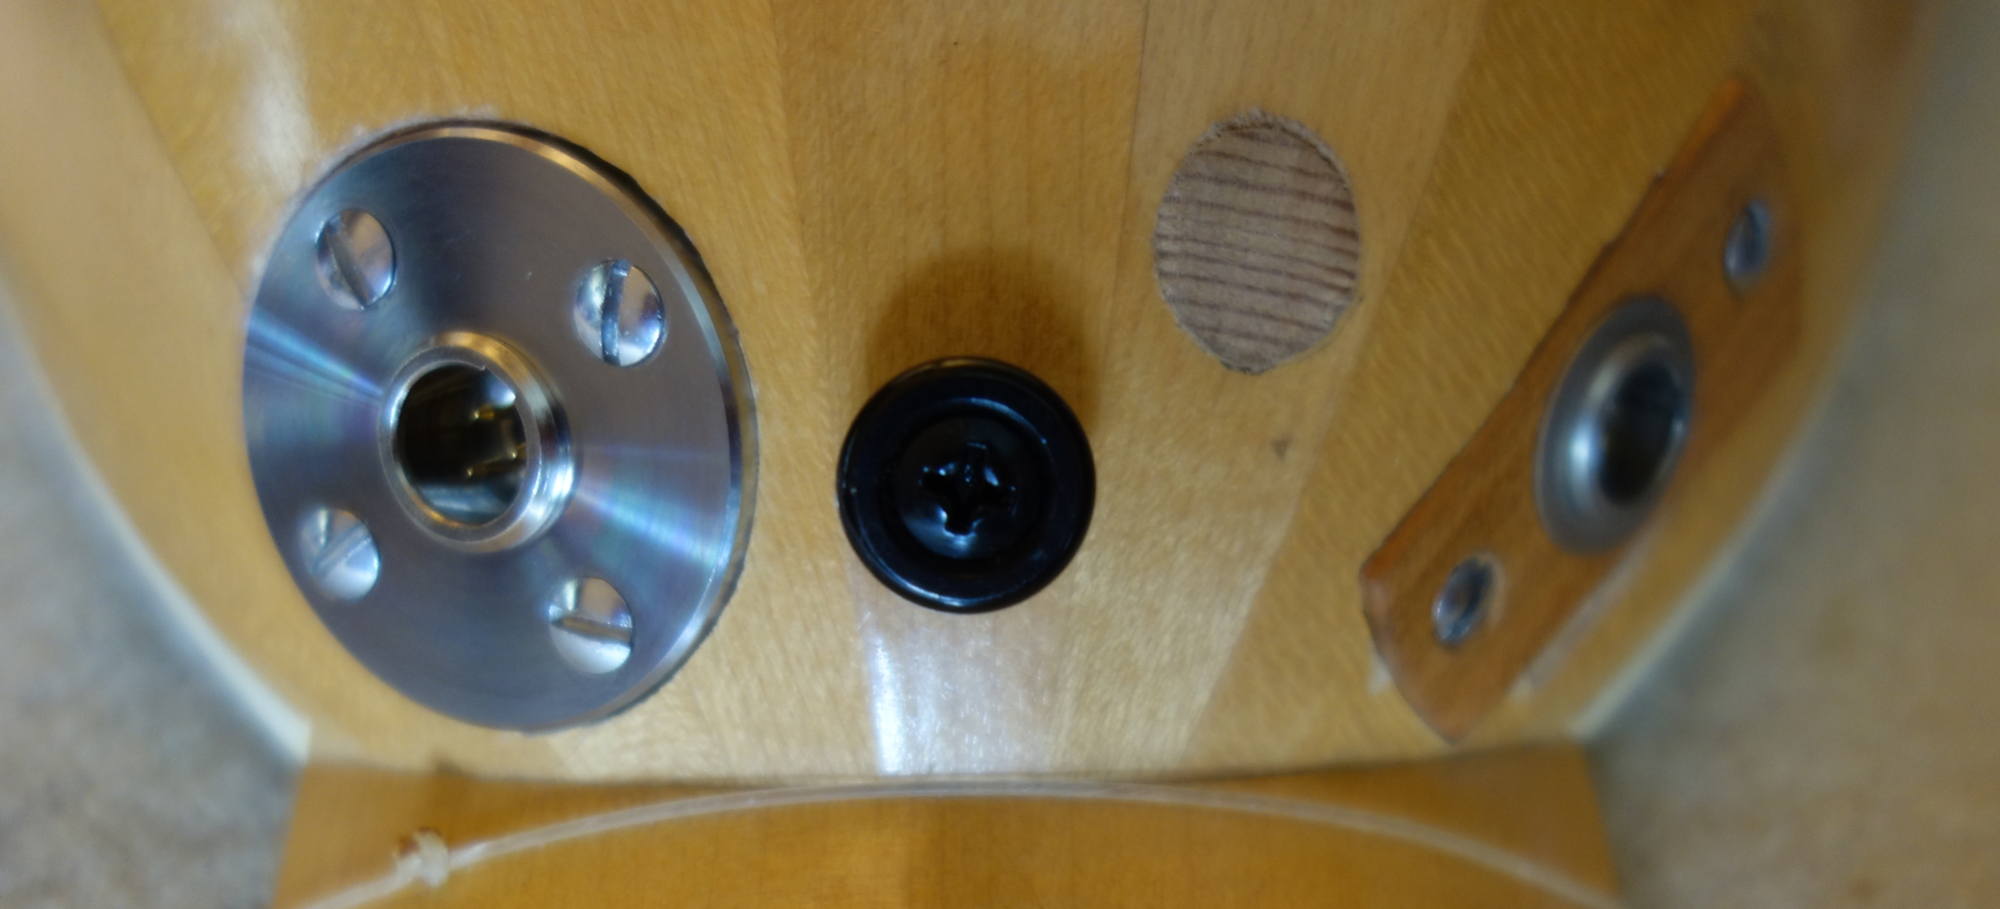
Before the soundboard was replaced, I cut a hole in the back of the lute calling it "The Hatch". This would allow me access to the inside the lute without needing to remove the soundboard. Then the hatch cover was given a boxwood edging to compensate for wood lost when cutting it out. The hatch itself received another edging, this one to hold small brass nuts. On the right, the hatch held in place with two small brass bolts. Later, more bolts were found to be needed to keep the hatch flush with the body. The circular hole near the neck/body joint is a first (of very many!) attempt at fitting an electric socket to the lute.


On the left, more attempts to fit sockets. The centre photo shows the hatch cover bolted in position and the never-used cable which was to connect the 4061 to a socket in the front block. The length 2mm flexible wire glued into the front block will allow the 4061 to be positioned in various locations inside the test lute. On the right, the soundboard has been put back in place, the lute was ready to receive the 4061 and attach it to the flexible wire.
The DPA 4061 was purchased and more problems were immediately apparent. The hired 4061 had a mini-XLR jack, easy to deal with as the mini-XLR is a common connector. I had wired the lute for this. However the new 4061 had a Microdot connector which did not work with the wiring I had installed. A hole drilled through the hatch cover allowed the mic to be inserted into the lute. The only thing wrong was that all the electronics were outside the lute with the lead from the mic coming out through the hole in the hatch cover. This was acceptable for testing but not a long term solution.


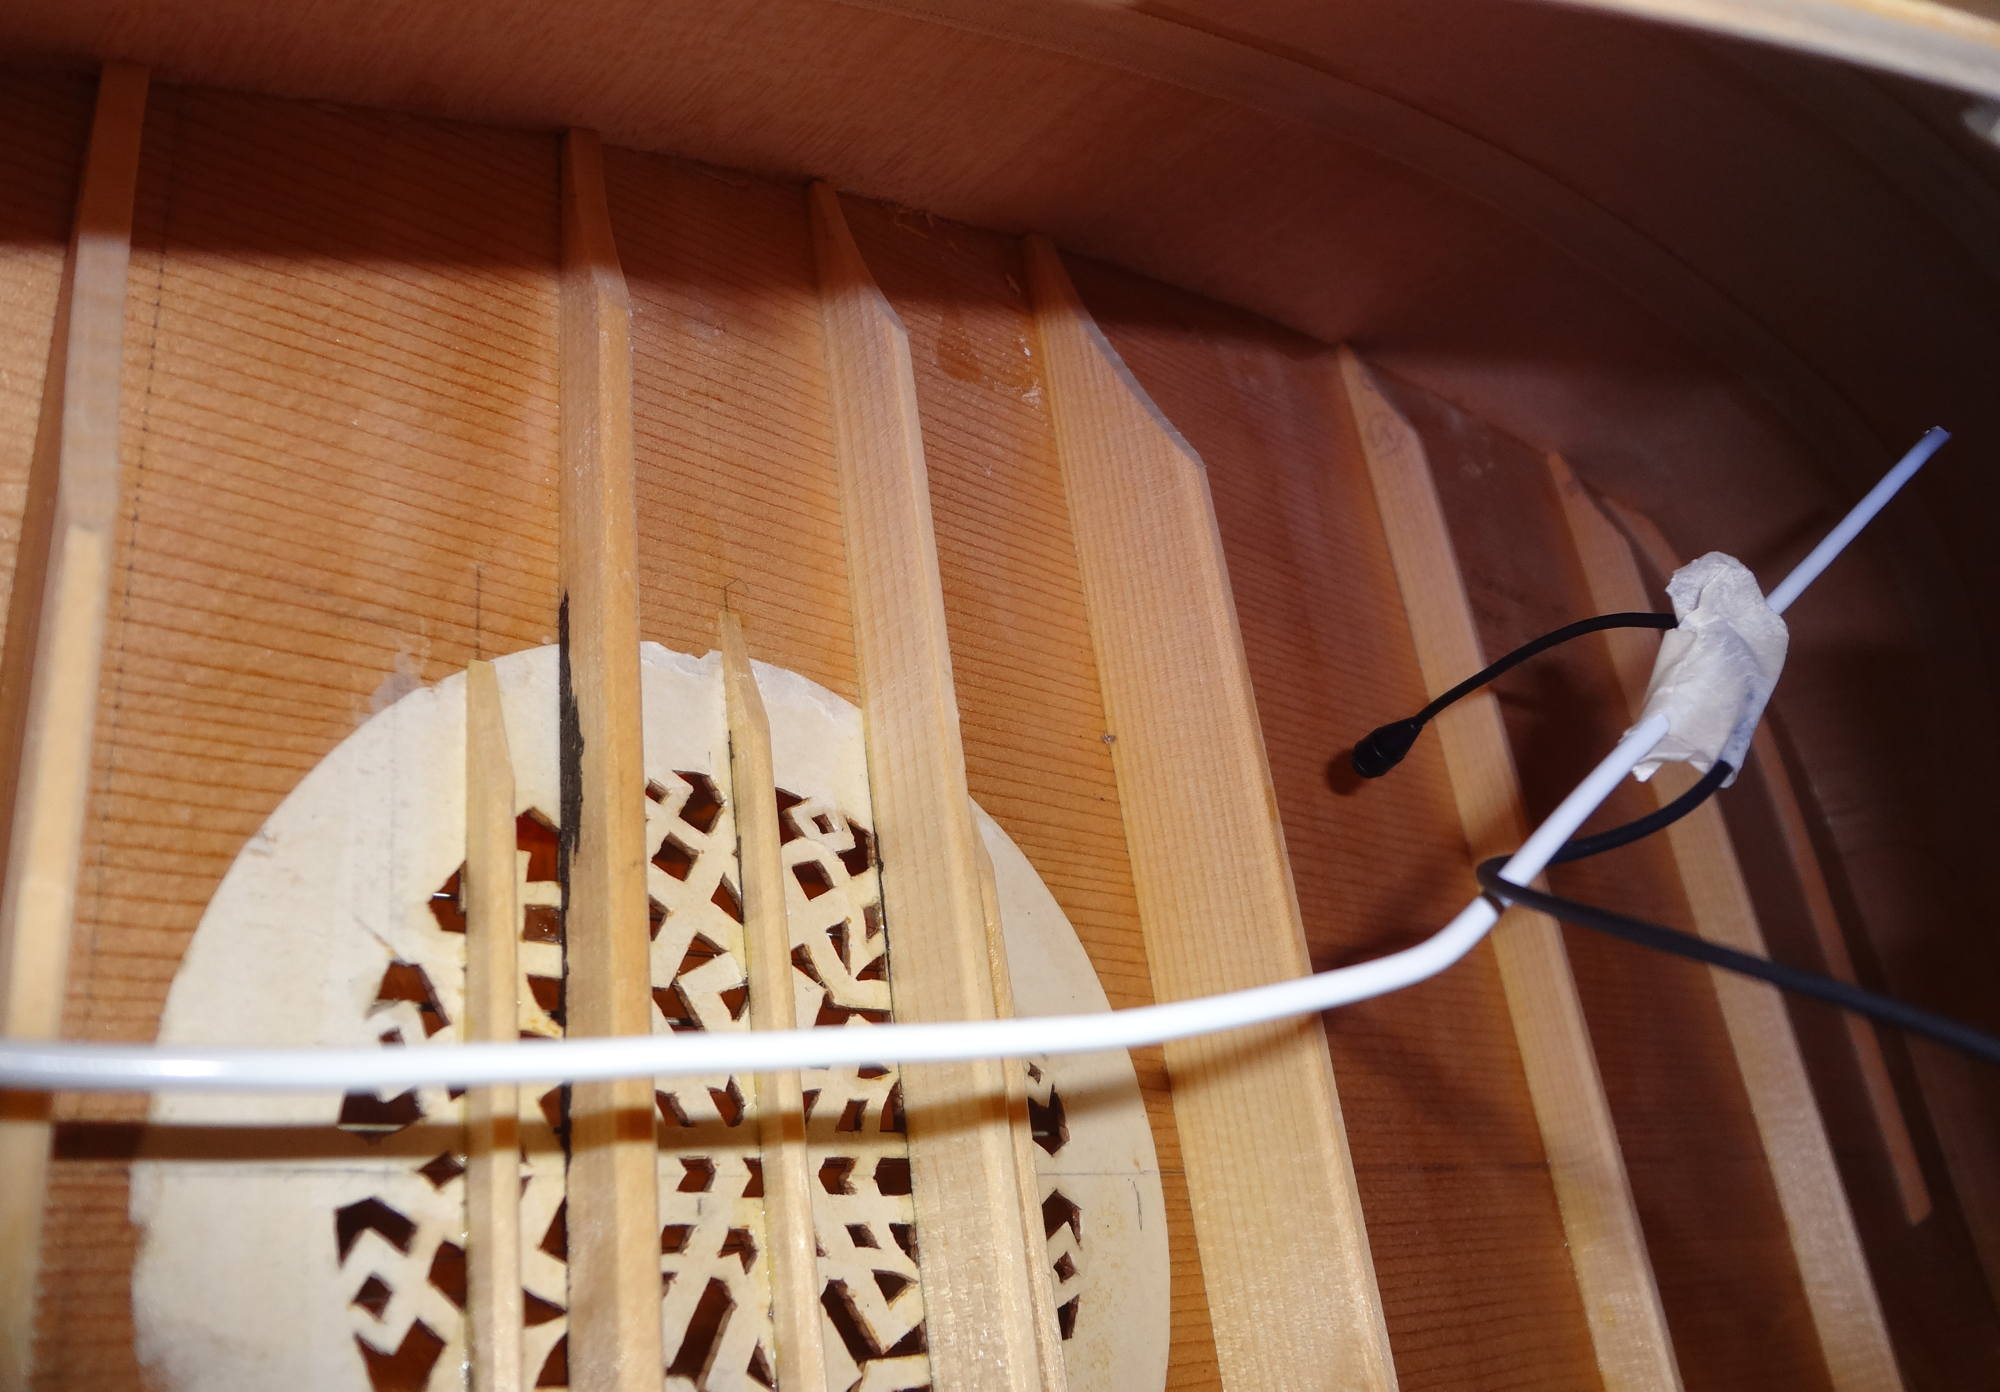
The 4061 was attached to the end of 2mm flexible wire and moved to various positions. We decided the best spot was about 25mm below the bar closest to the rose and between the rose and the rear of the lute and a little bit towards the treble side of the rose. The sound was clear and concise with no hint of boominess from being enclosed. We had found the mic and the position. Only the wiring was needed to be sorted.


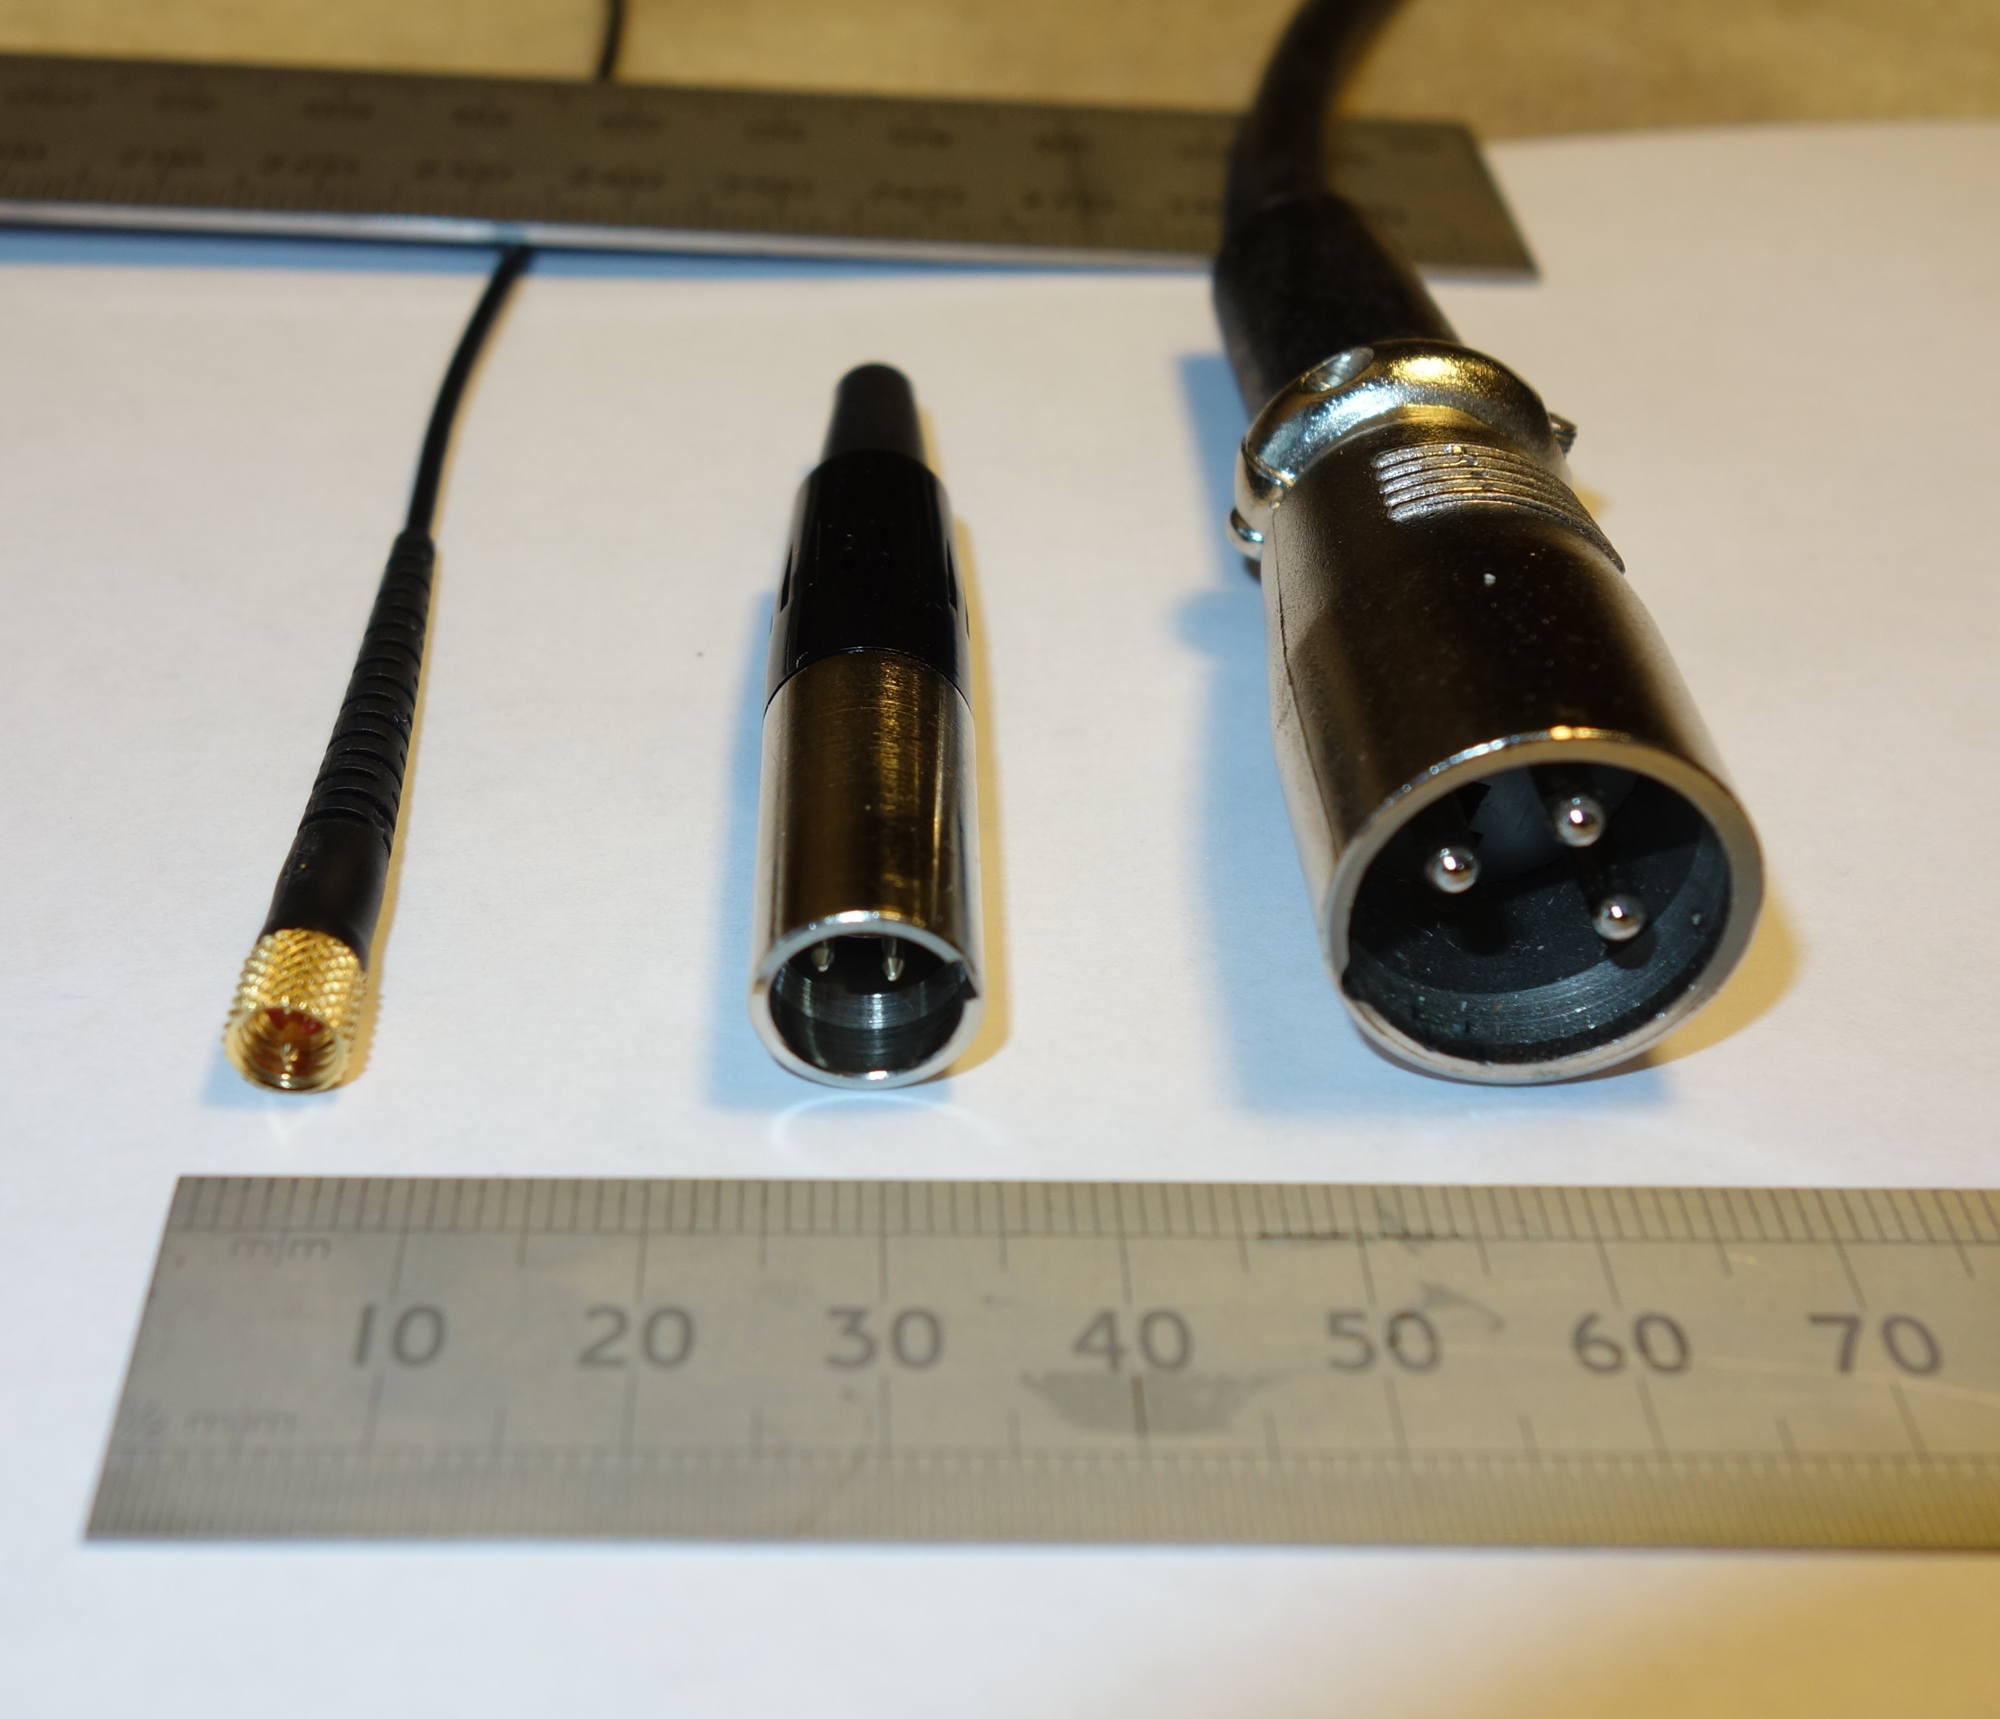
On the left, the 4061 and its Microdot jack. The photo on the right compares three types of connector: on the left, the new Microdot, in the centre, a mini-XLR, on the right, a standard XLR. These are all jacks and they plug into comparable sockets. Most mixing desks are fitted with XLR sockets and most microphones have XLR jacks. The two work well together. The XLR is rather large for fitting to a lute, but the mini-XLR would work well. Both the XLR types have three pins, one for earth (return of electricity) and two for signals. This can be used for stereo, or if two separate signals were needed. The 4061 requires electricity to make it work. This is known as phantom power and is supplied by the mixing desk and it uses the third the third wire for this. The 4061 arrived with a long thin lead. The long thin lead is perfect for hiding in clothing or a costume but is far too fragile to trail across a performance floor.

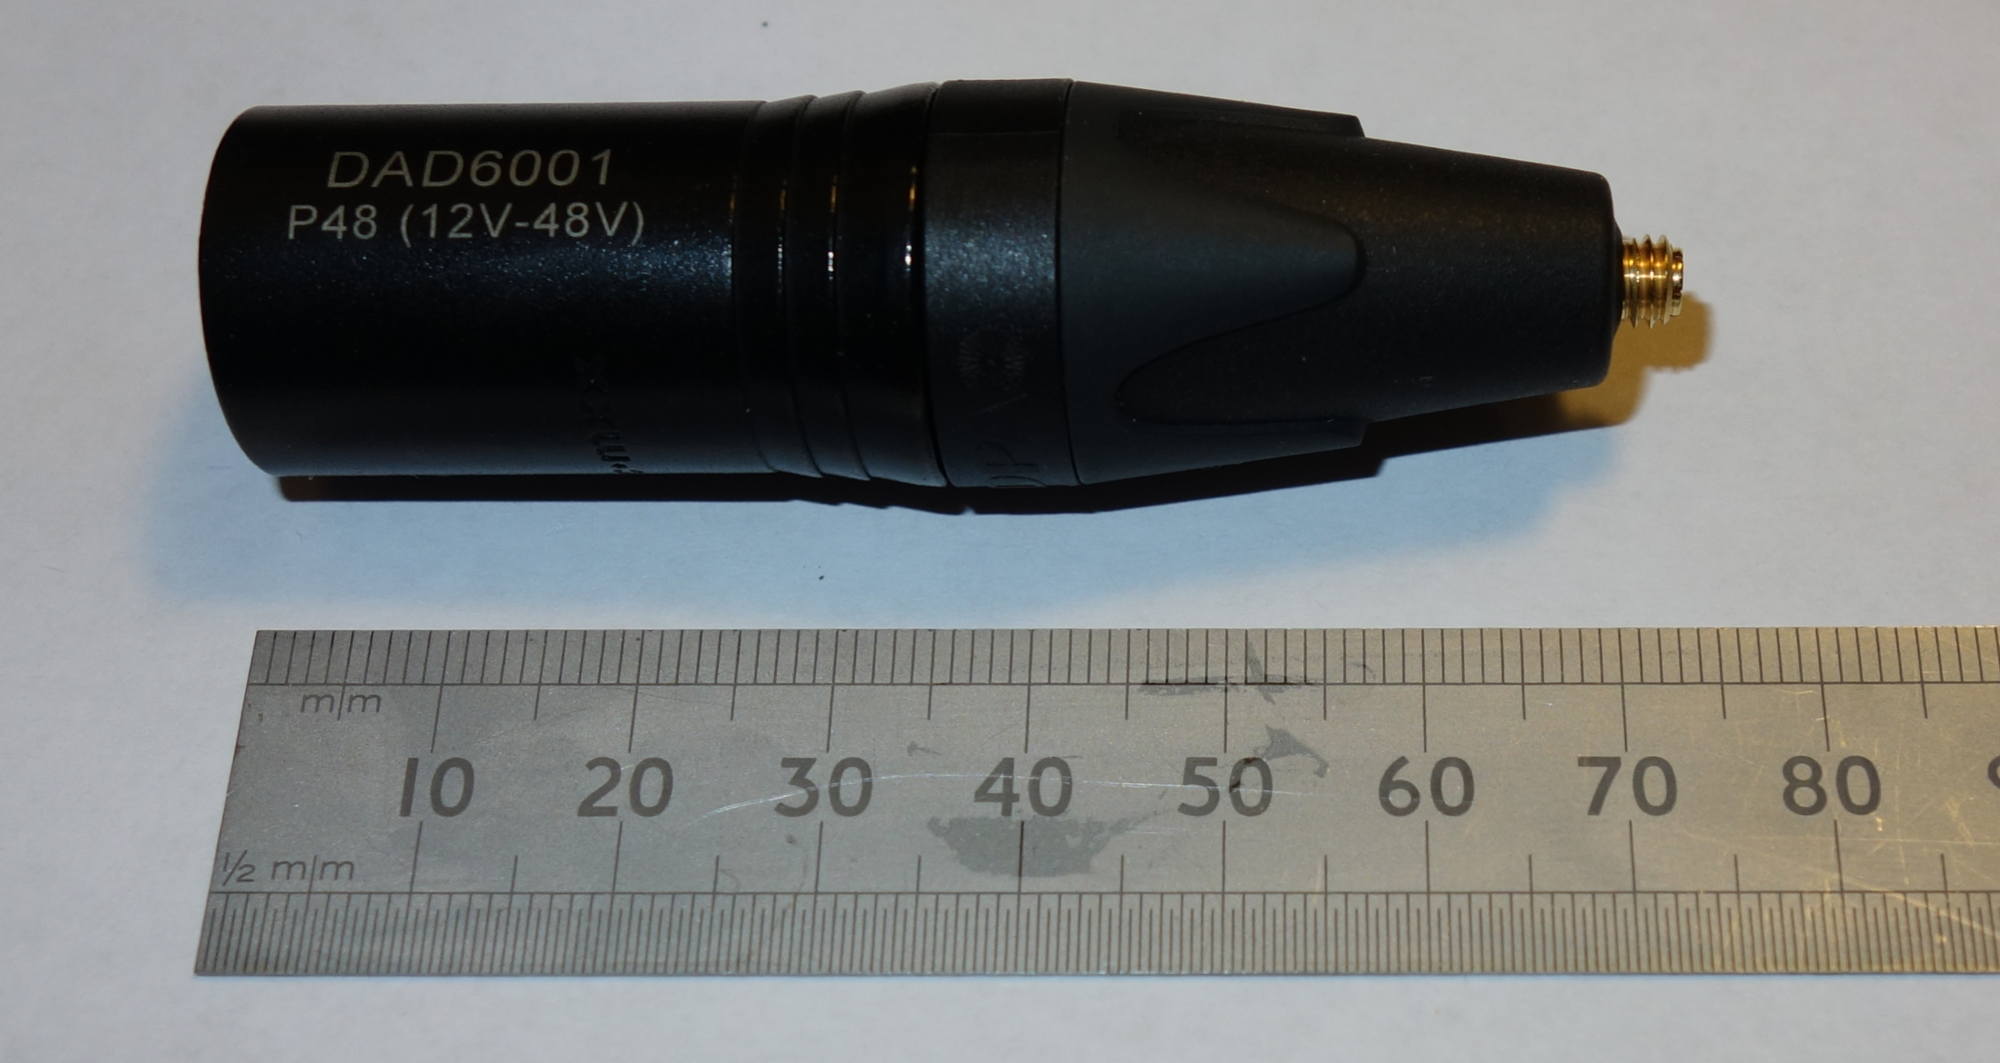
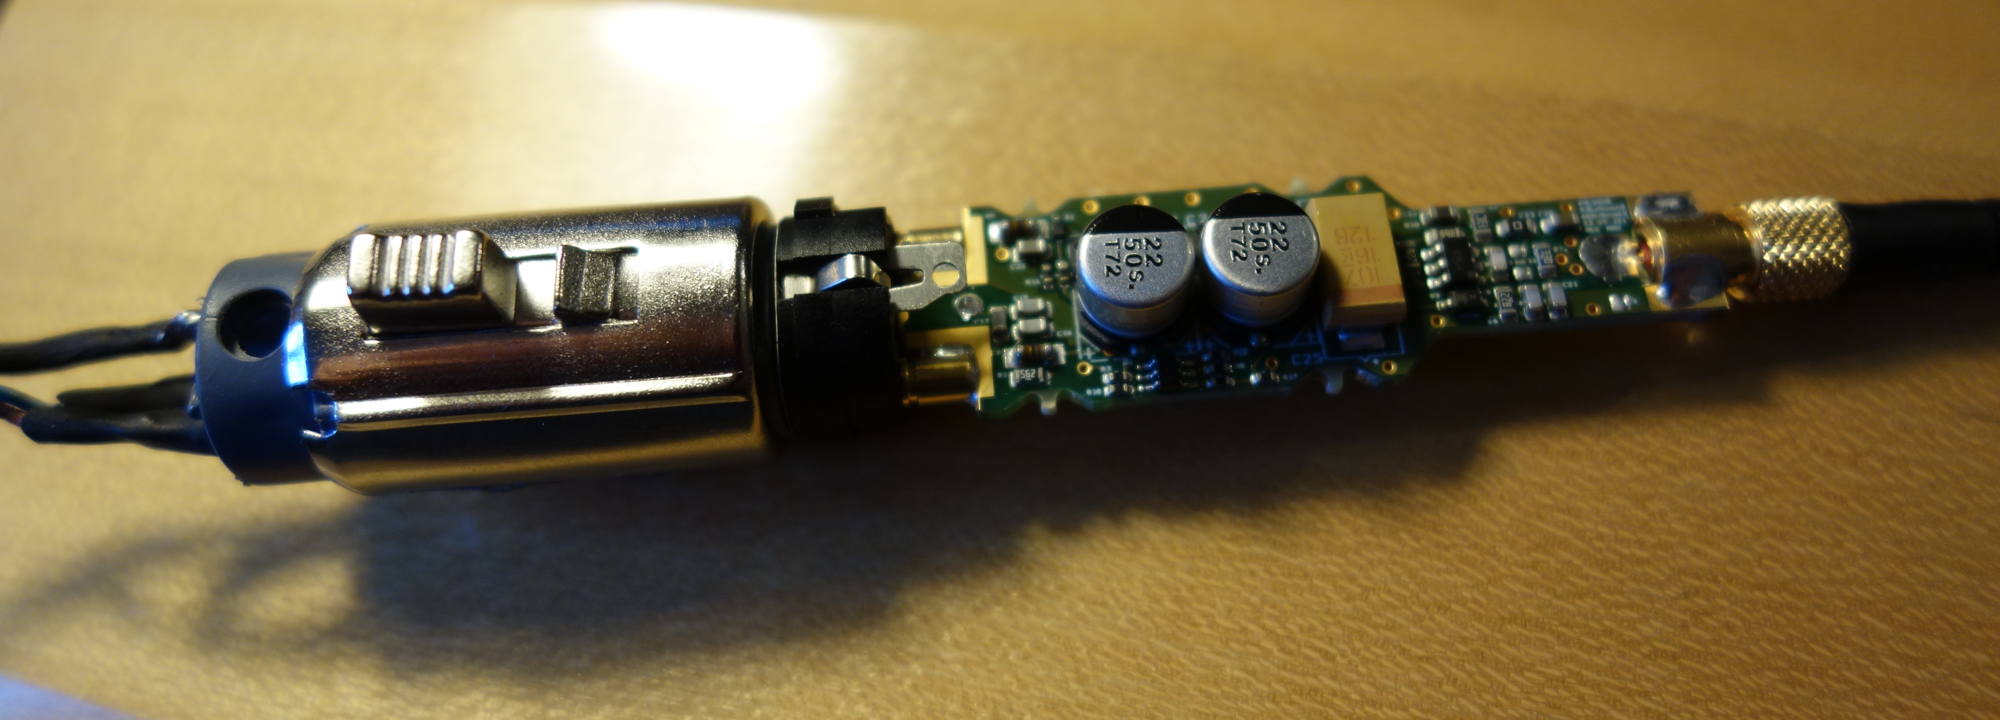
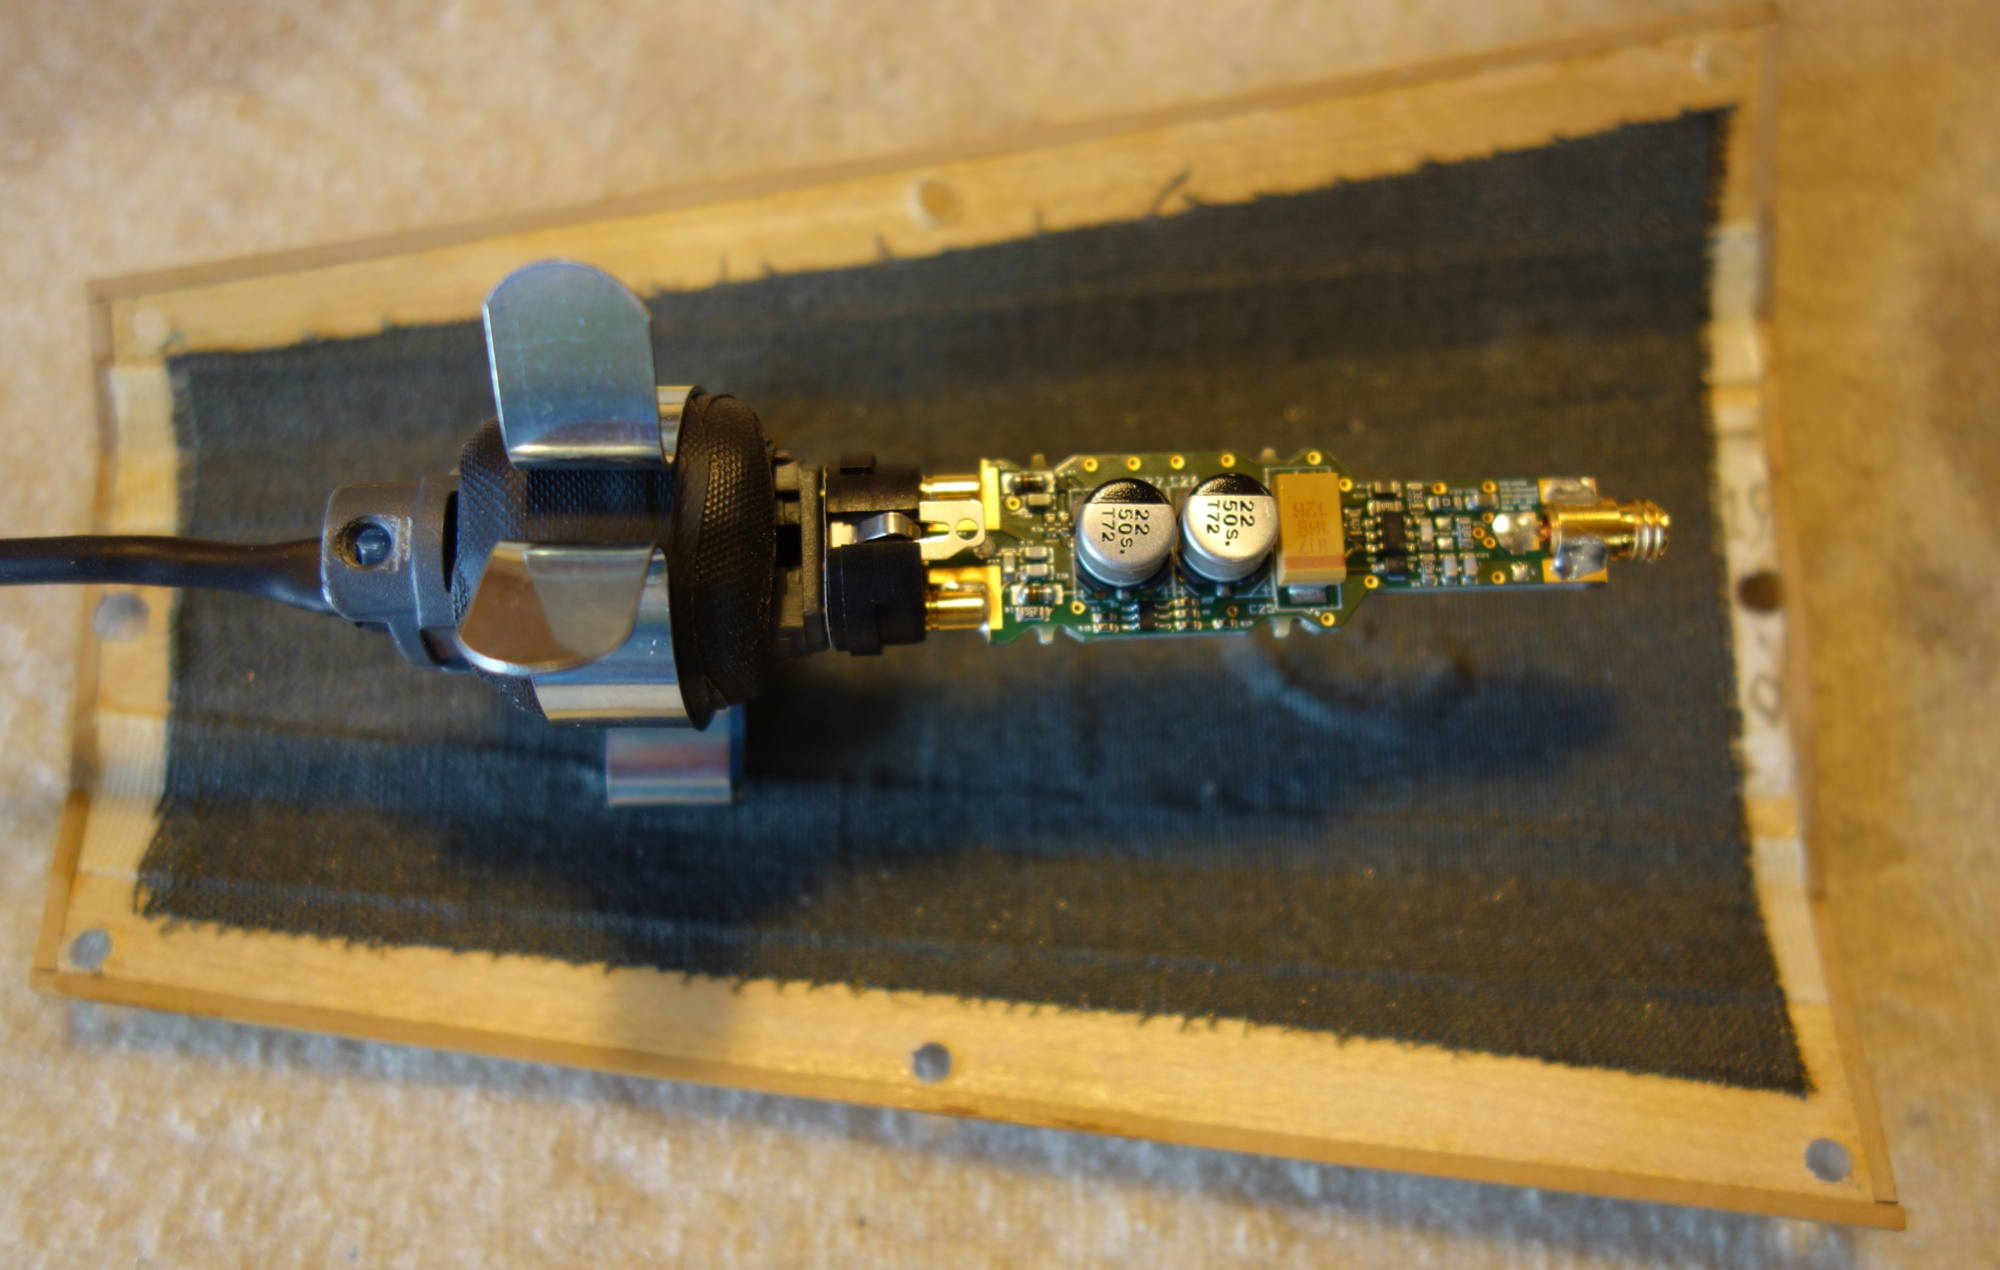
The 4061 also comes with its own sophisticated pre-amp. On the left it has an XLR jack and on the right a Microdot socket to connect to the mic. As mentioned before, this pre-amp needs phantom power from the mixing desk. The unit has has a cylindrical sturdy metal casing which makes it heavy and an unlikely candidate to be easily mounted inside the lute.

This shows circuit board inside of the pre-amp casing. The circuit board works perfectly well without the casing. In this photo the XLR jack is on the right and the Microdot socket on the left. This little unit is light enough to be inside the lute.
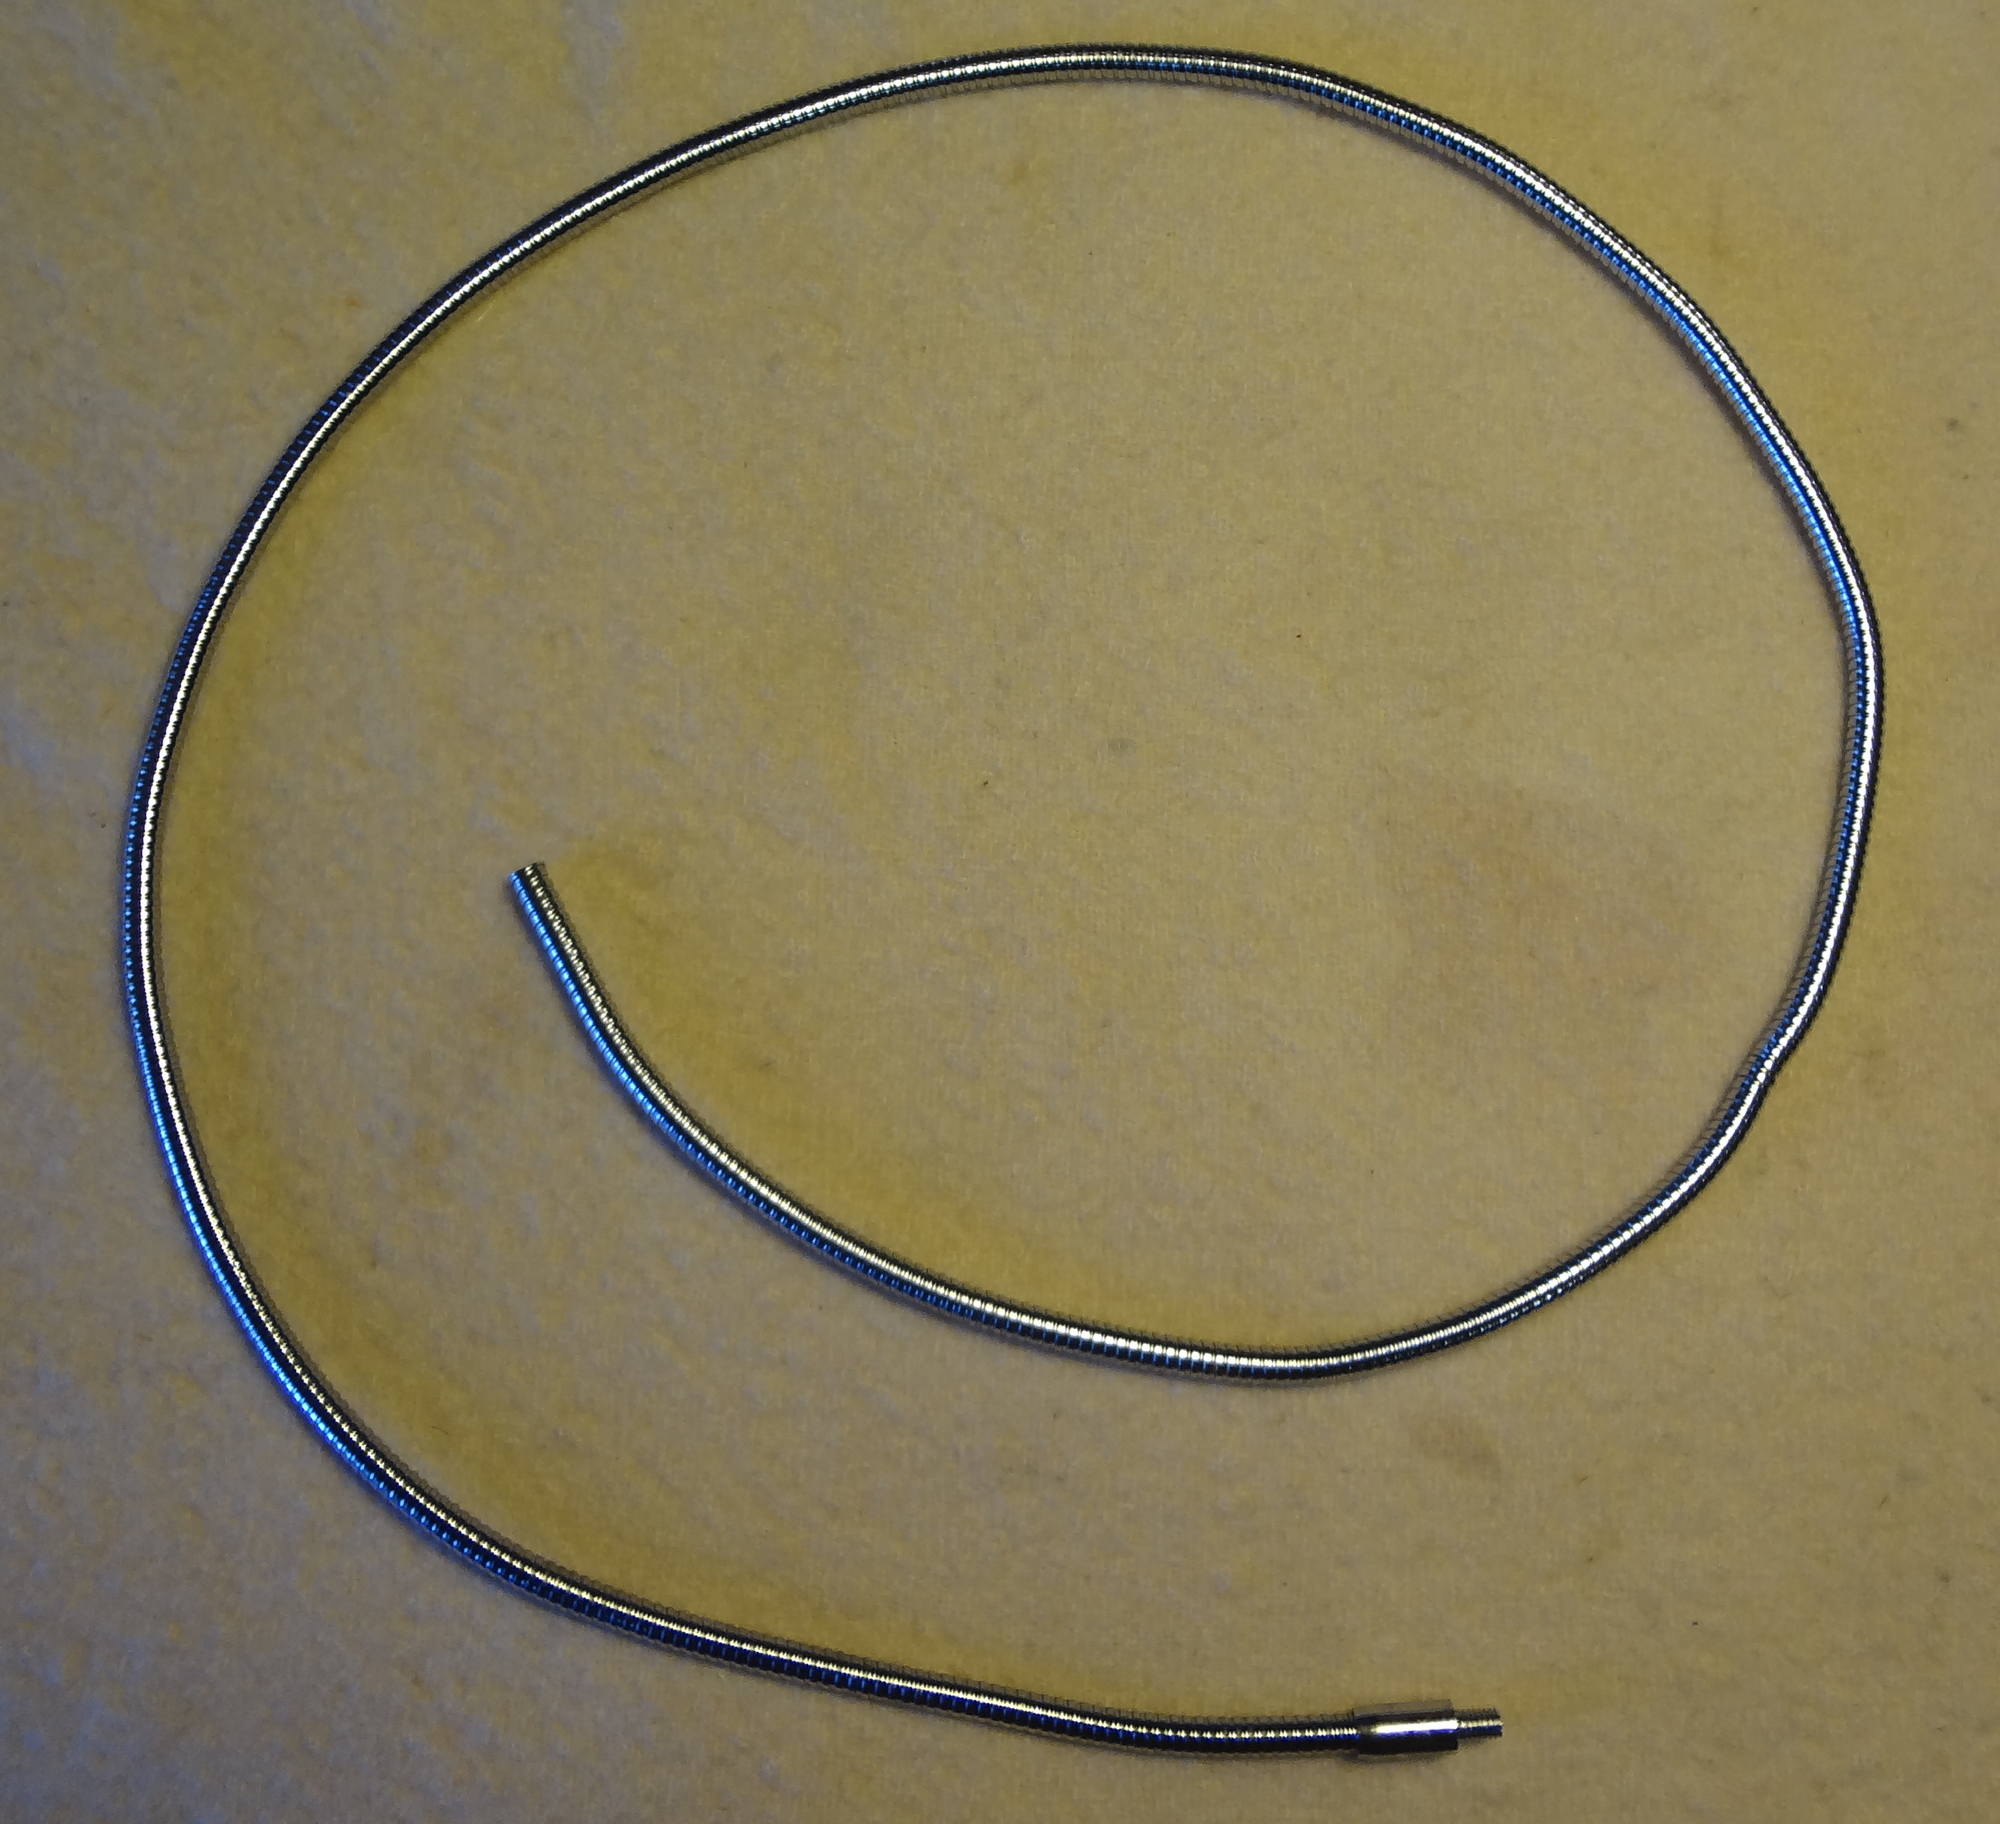
The hatch has always been the least desirable aspect of the amplification project. I wondered if there was a way to eliminate it. If all the electronic components and the mic could be connected as one unit and that unit then inserted into a hole in the lute, there would be no need for the hatch. The mic needed to be mounted on something flexible to allow it to be positioned. I spent some time working with flexible tubing. I imagined the mic at one end of the flexible tubing. At the other end would be the pre-amp circuit board and the socket for external connection.


Despite the help of the best audio lab in London, I could not get this to work. Part of the problem was that the circuit board was attached to an XLR jack. Had this been mini-XLR, I might have been successful. Perhaps future miniaturisation will allow something similar to work, but I had to go back to idea of using a hatch.
On the right the sad sight of all the failures so far: In front, the flexible steel cable attached to an XLR socket, then the hole drilled through the hatch cover to allow the 4061 into the lute, the never-used Mini XLR socket to jack for use in the front block and the chunky DPA pre-amp outside the lute.


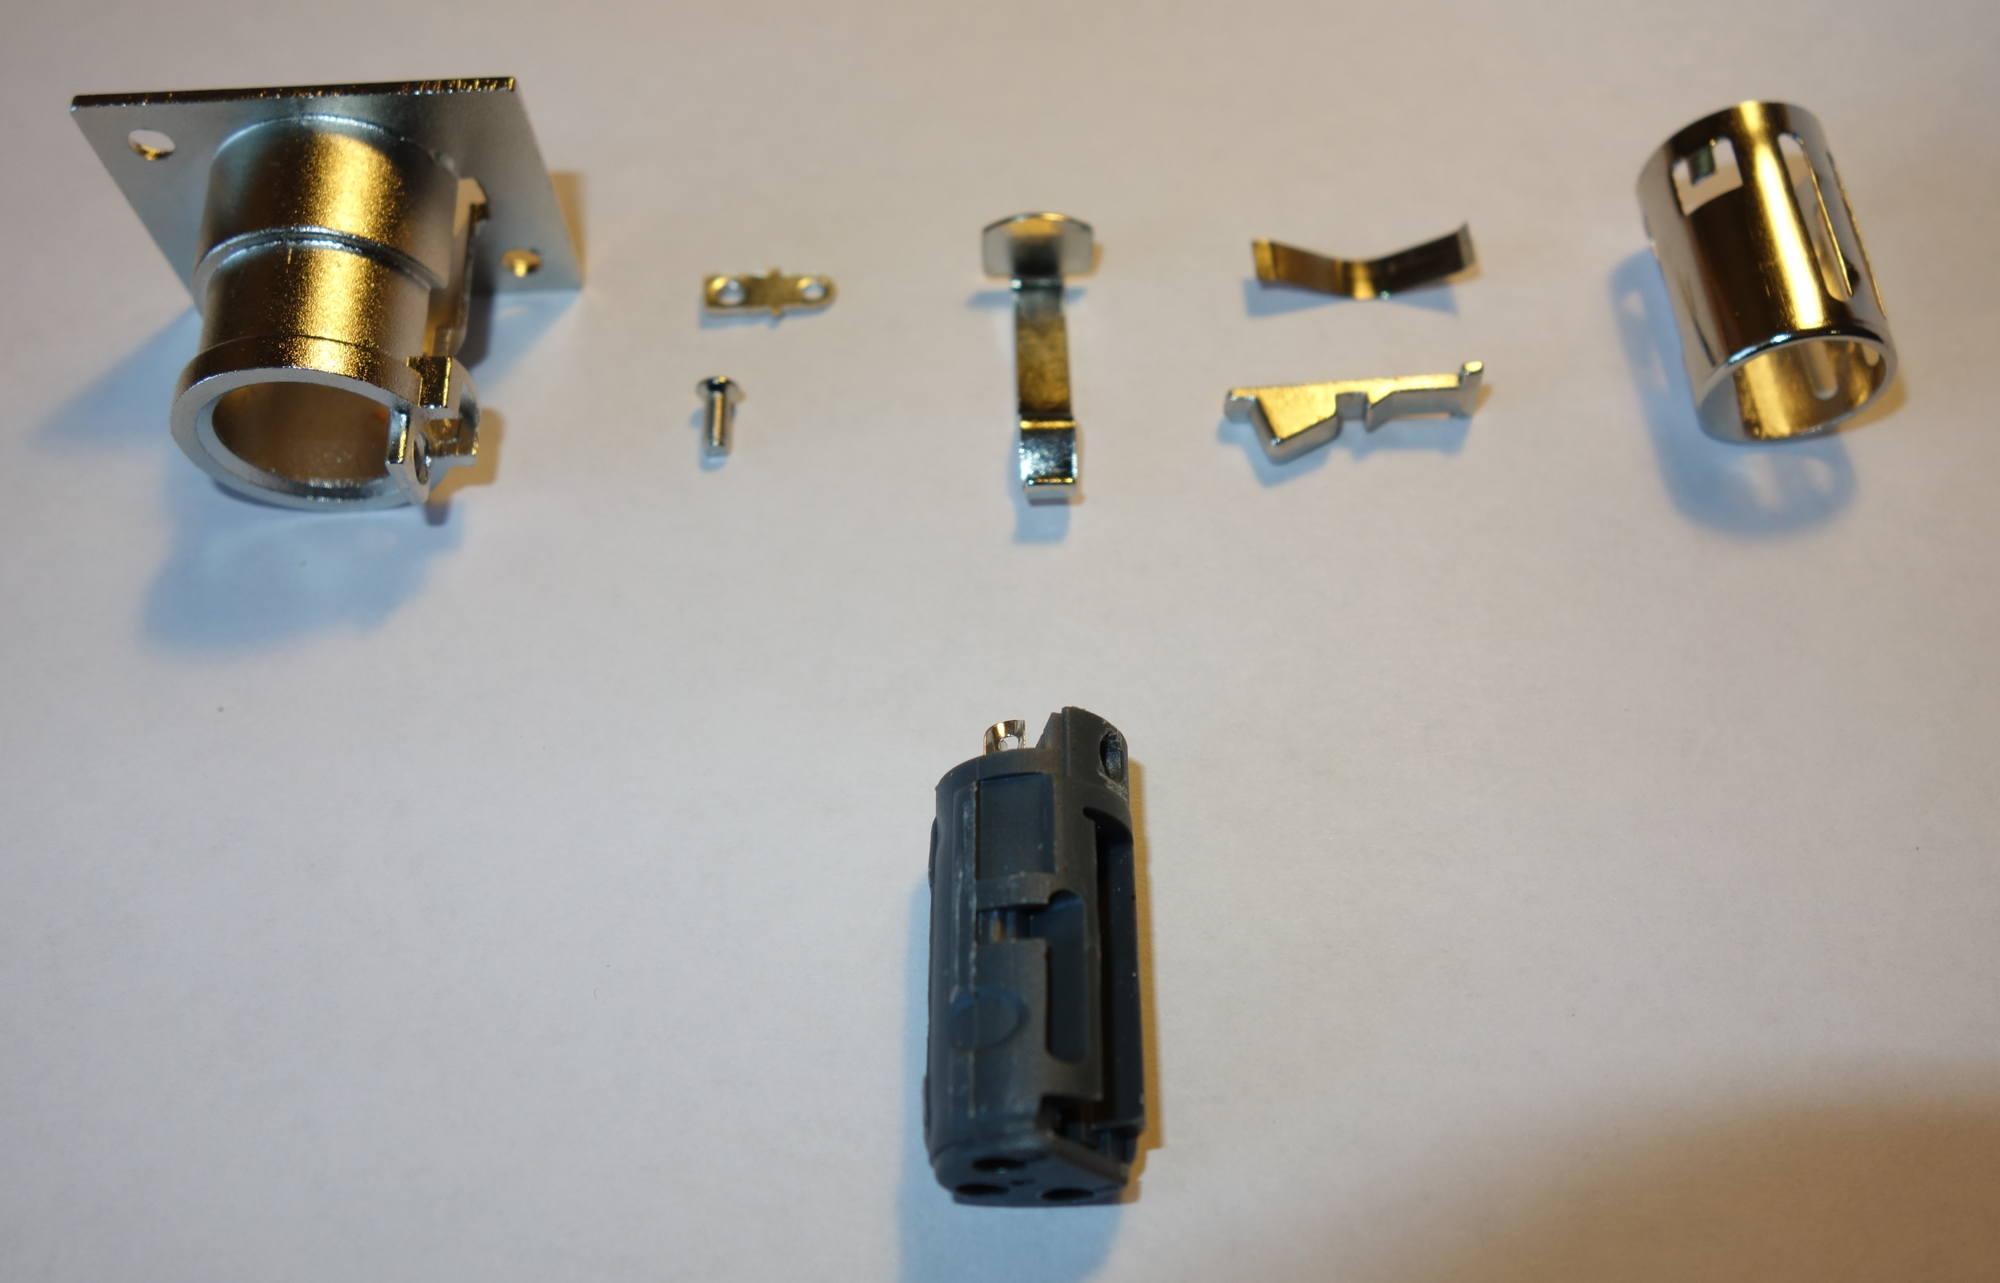
Things could only get better and they did. I needed to have the pre-amp inside lute. The pre-amp has a Mini XLR jack so I needed a lightweight Mini XLR socket. Such a thing seemed not to exist and they all looked like the socket on the left. I tried dismantling several Mini XLR sockets until I found one that came apart without damage. On the right, the dark plastic piece is the business part of the Mini XLR socket with all the external metal removed.

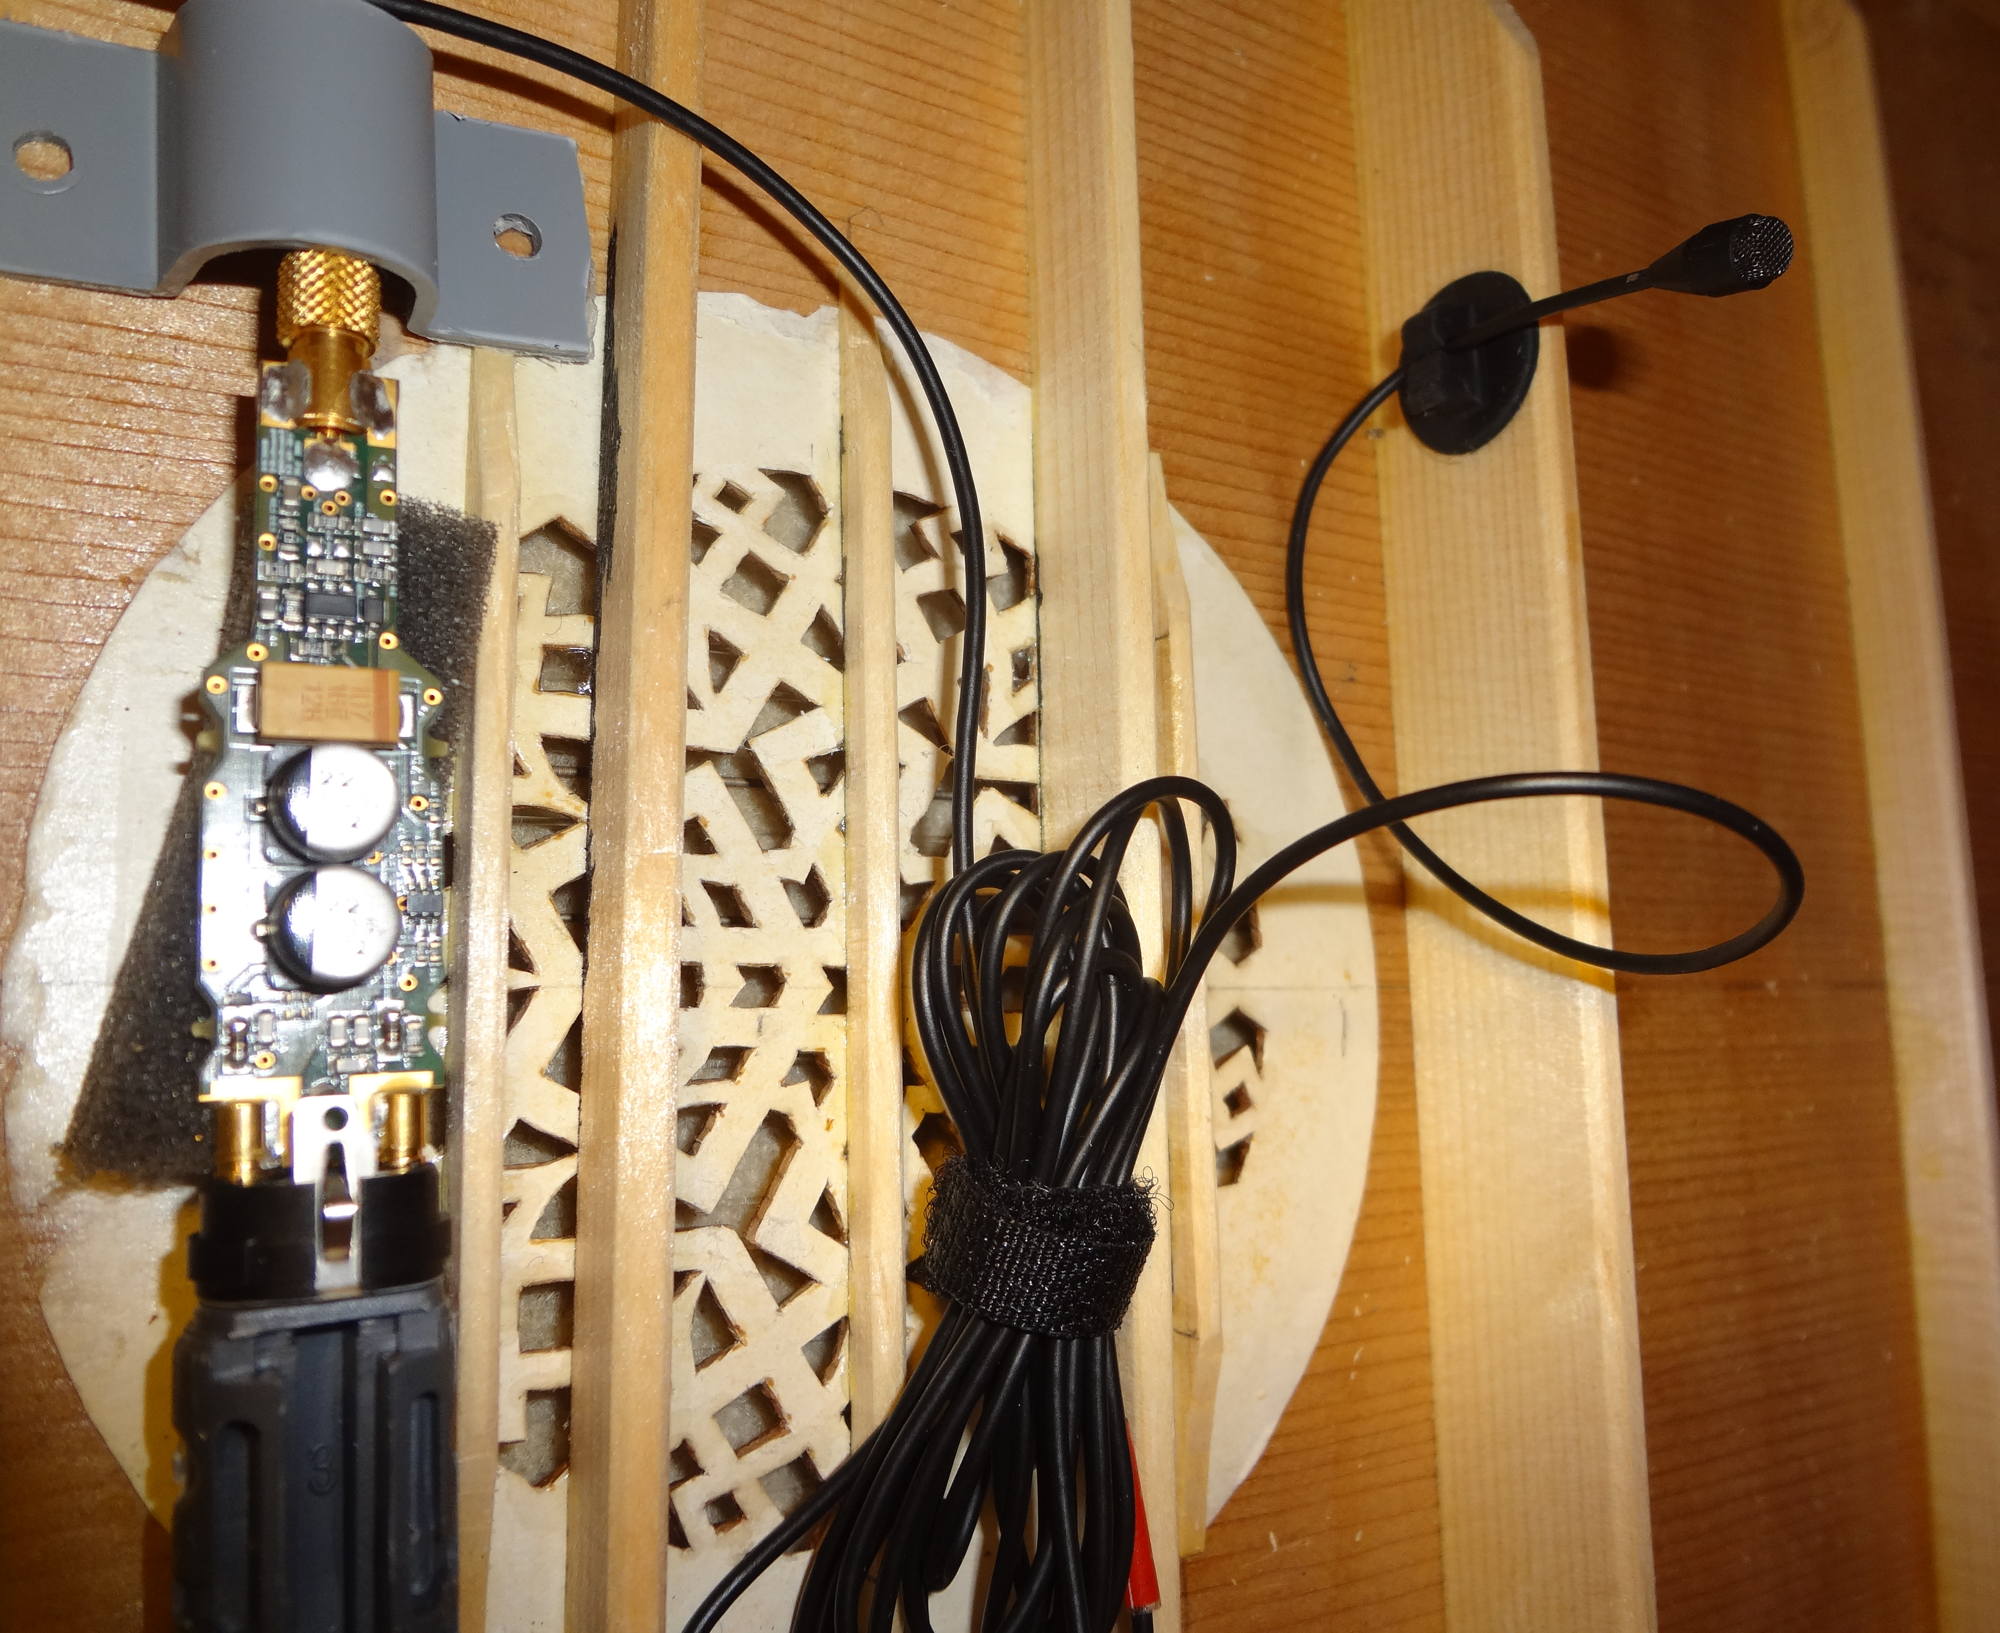
Here, the stripped down Mini XLR socket is on the left. Wires soldered to it connect to Mini XLR jack on the outside of the lute. The pre-amp circuit board is plugged into the Mini XLR socket. On the right of the circuit board, the cable from the mic terminates in a Microdot connection to the circuit board.

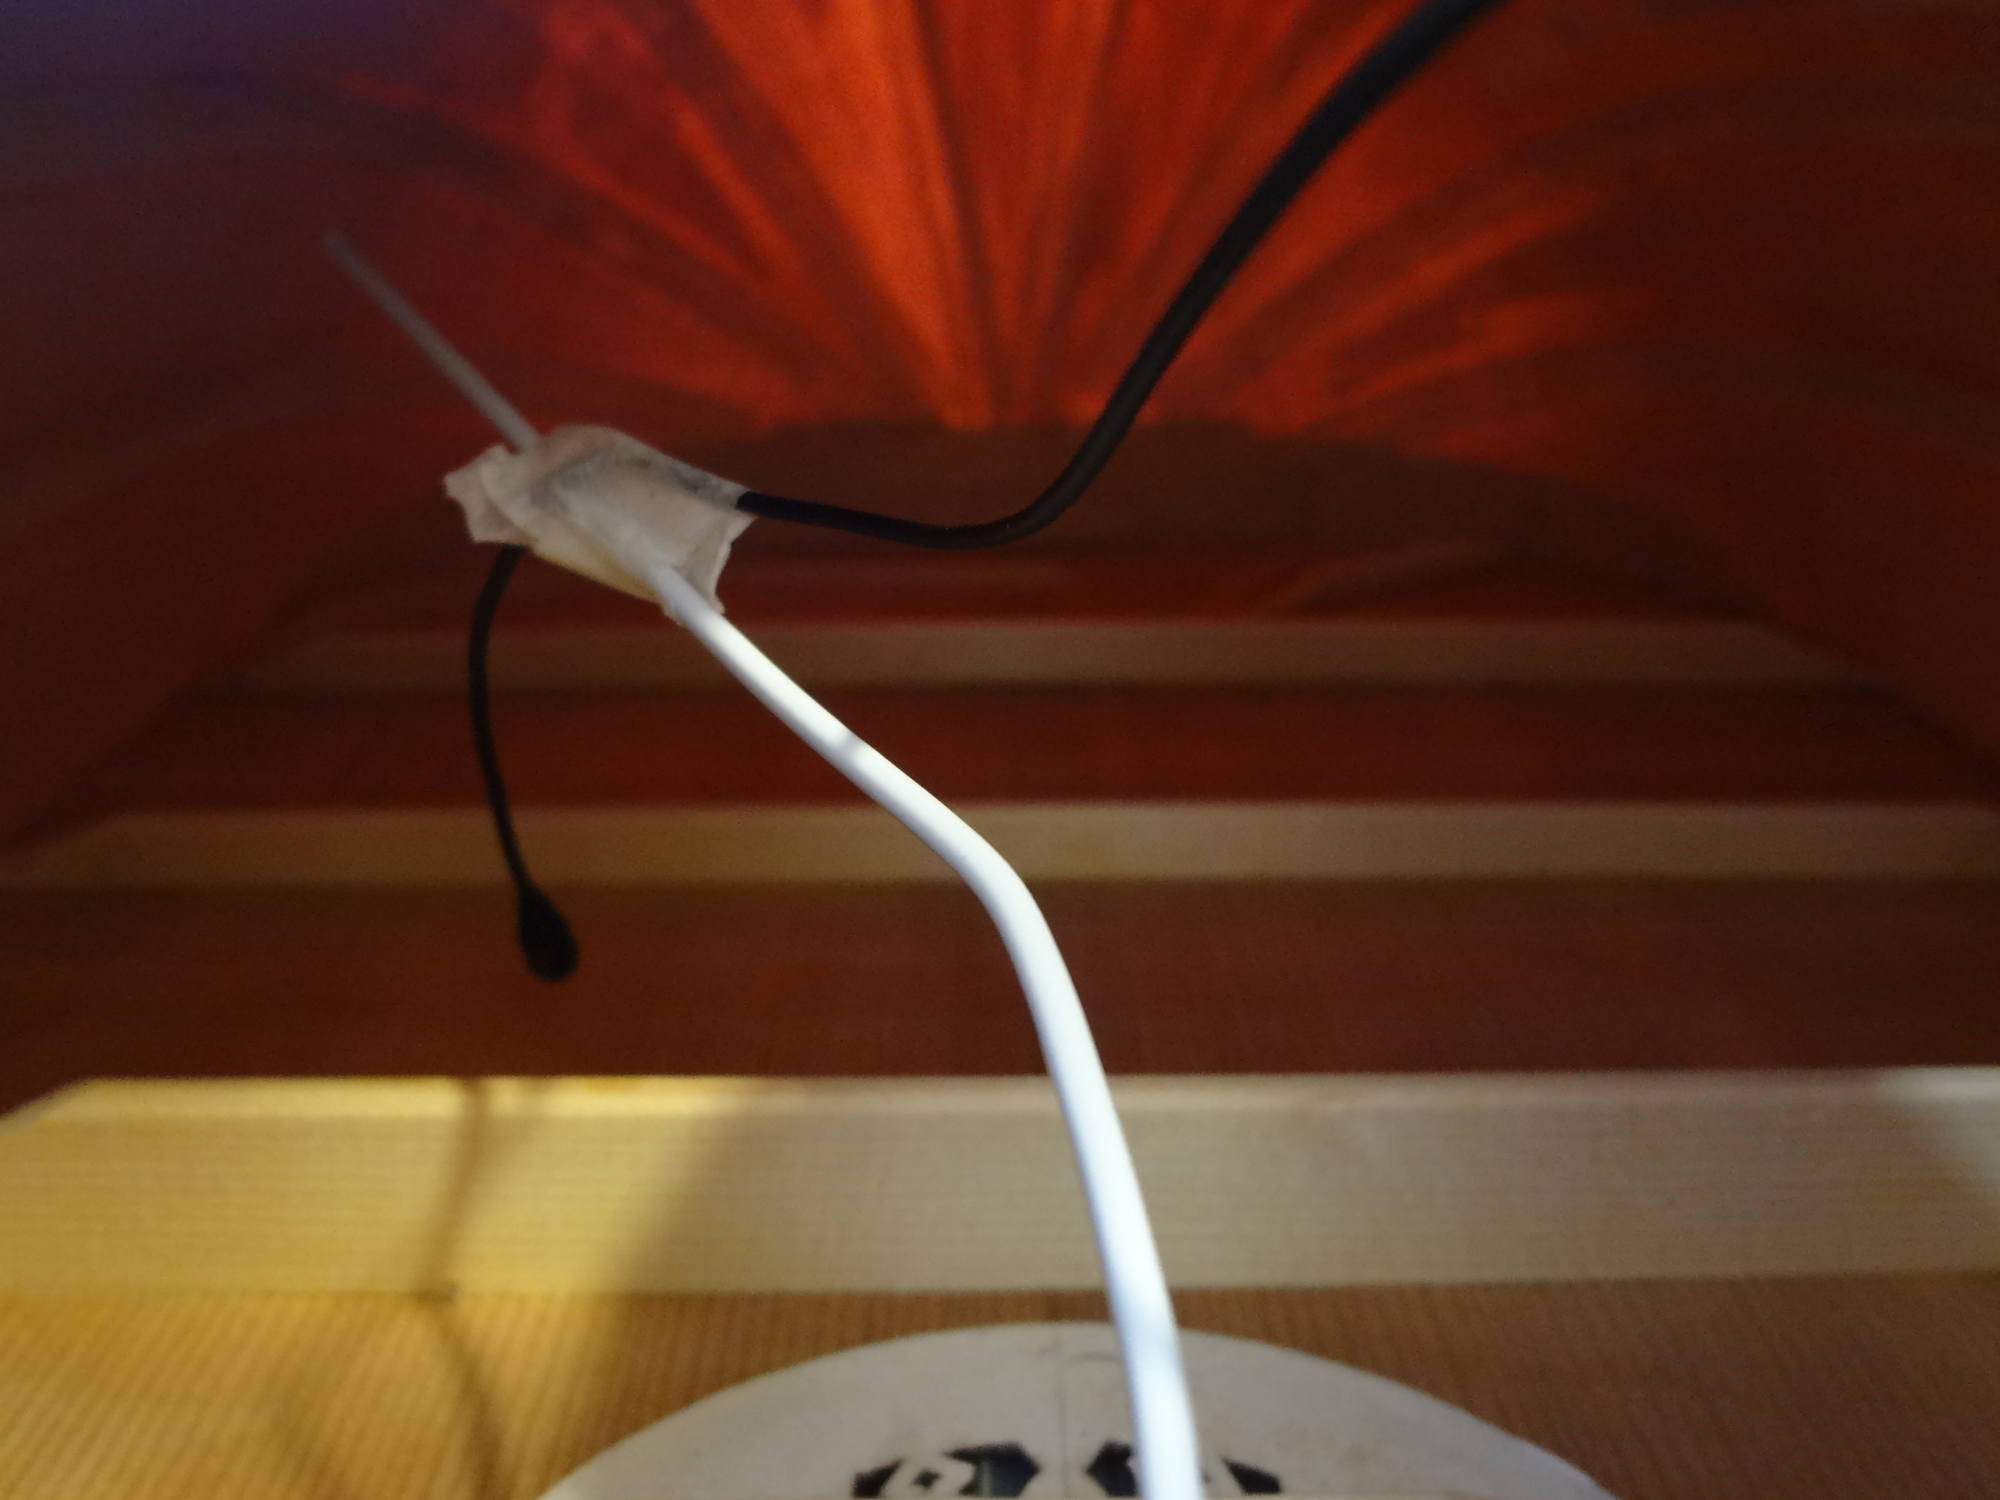
The weight was acceptable and I attached it all to the soundboard using clips provided by DPA and double-sided adhesive tape. This did not work at all as the pre-amp circuit board and socket kept falling out the clip and the double-sided tape failed repeatedly. Also note the very long mic lead. The little mic holder supplied by DPA and attached to a soundboard bar is holding the mic exactly the correct position.


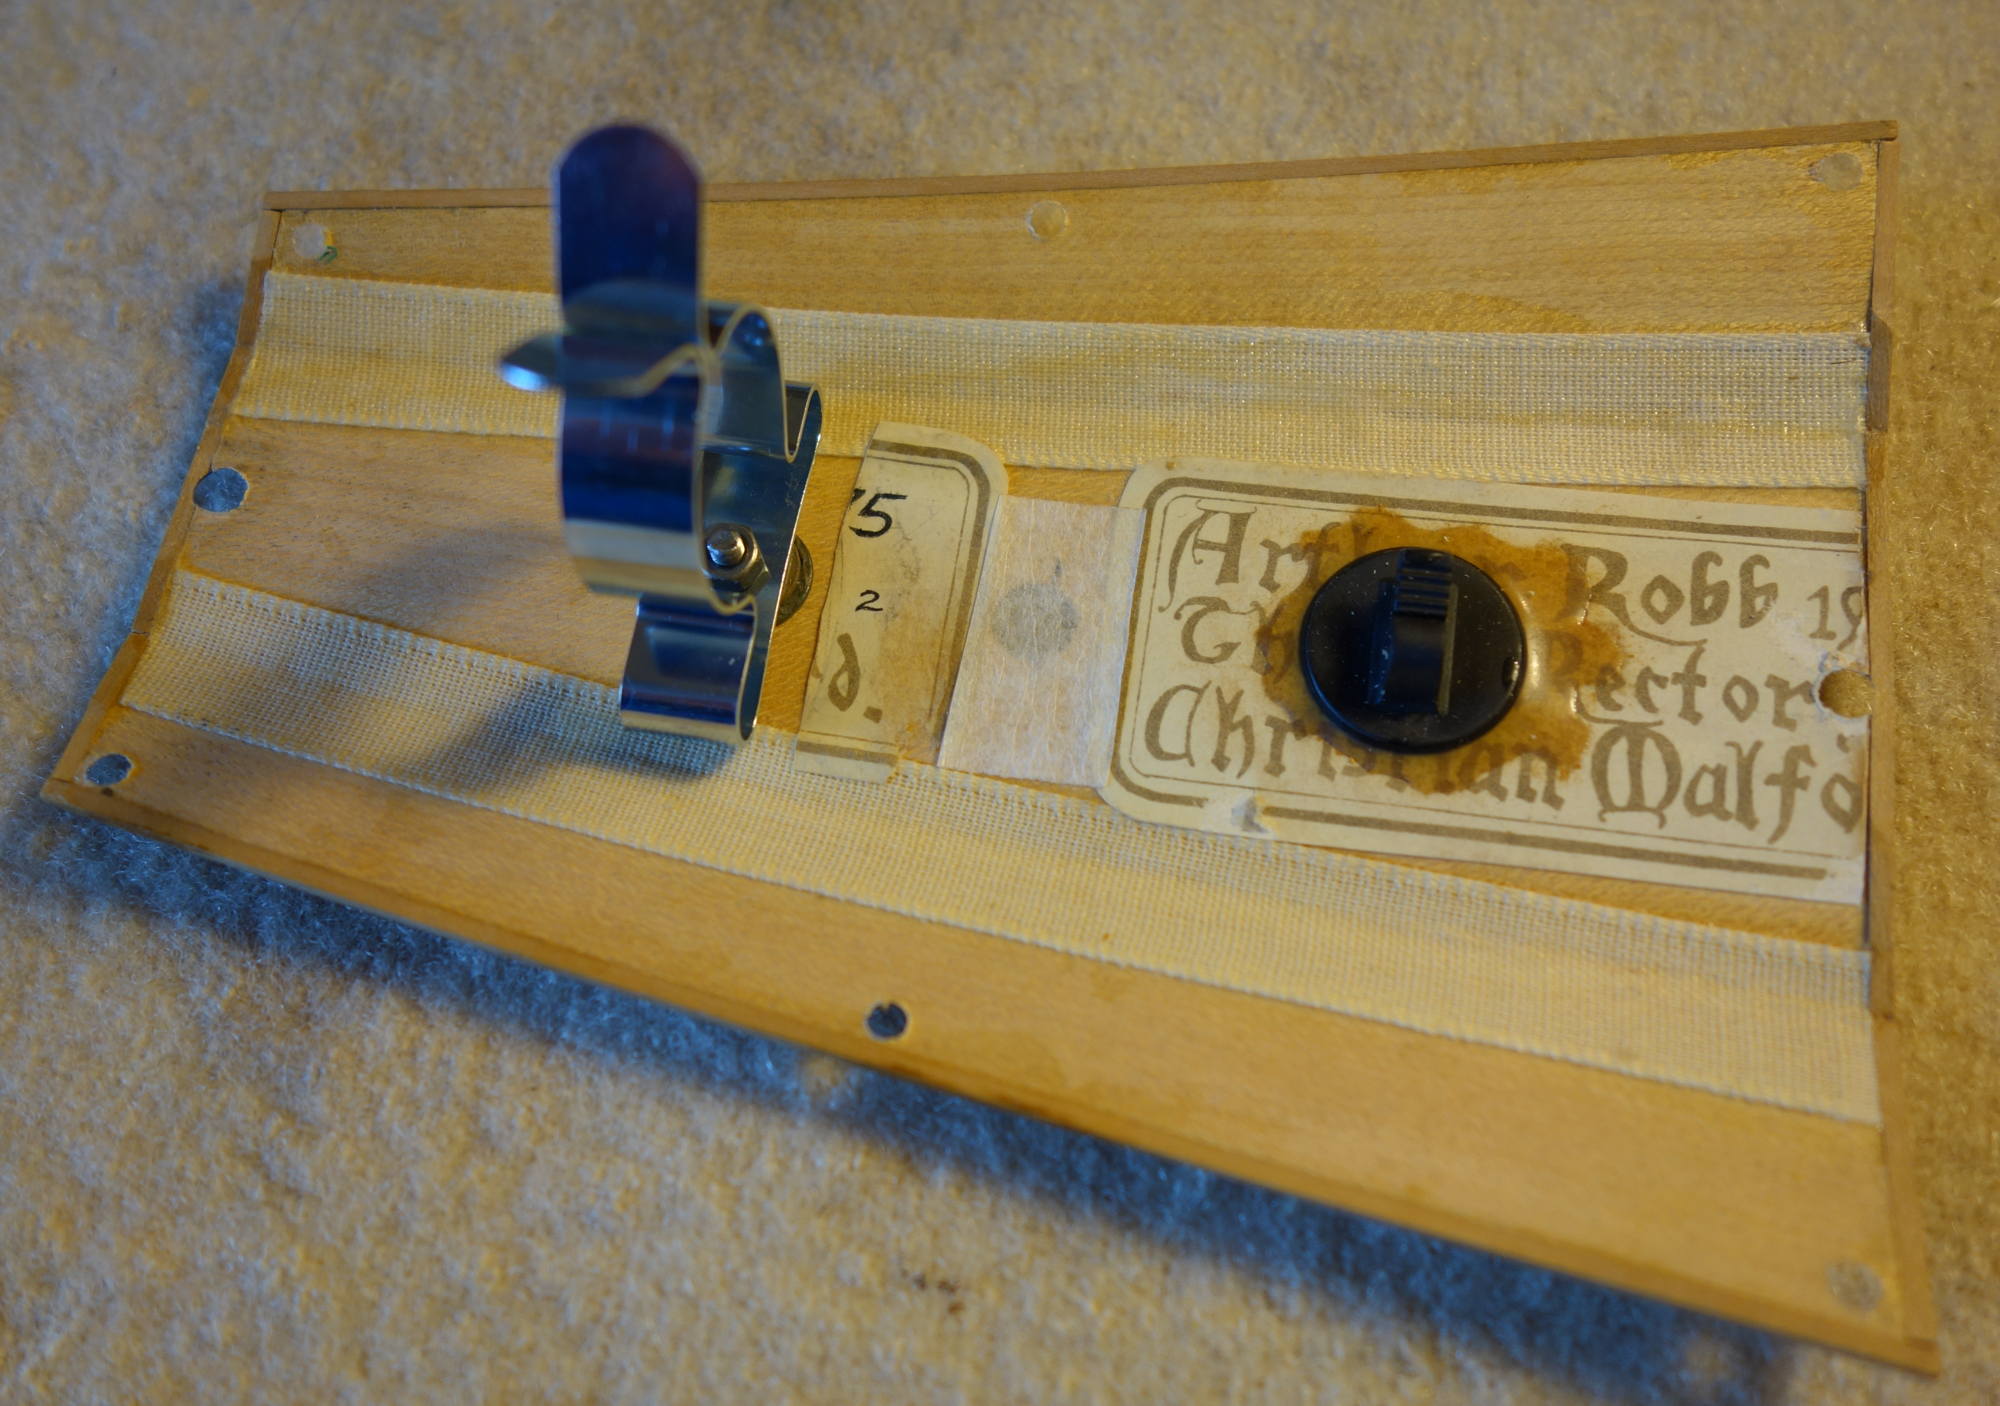
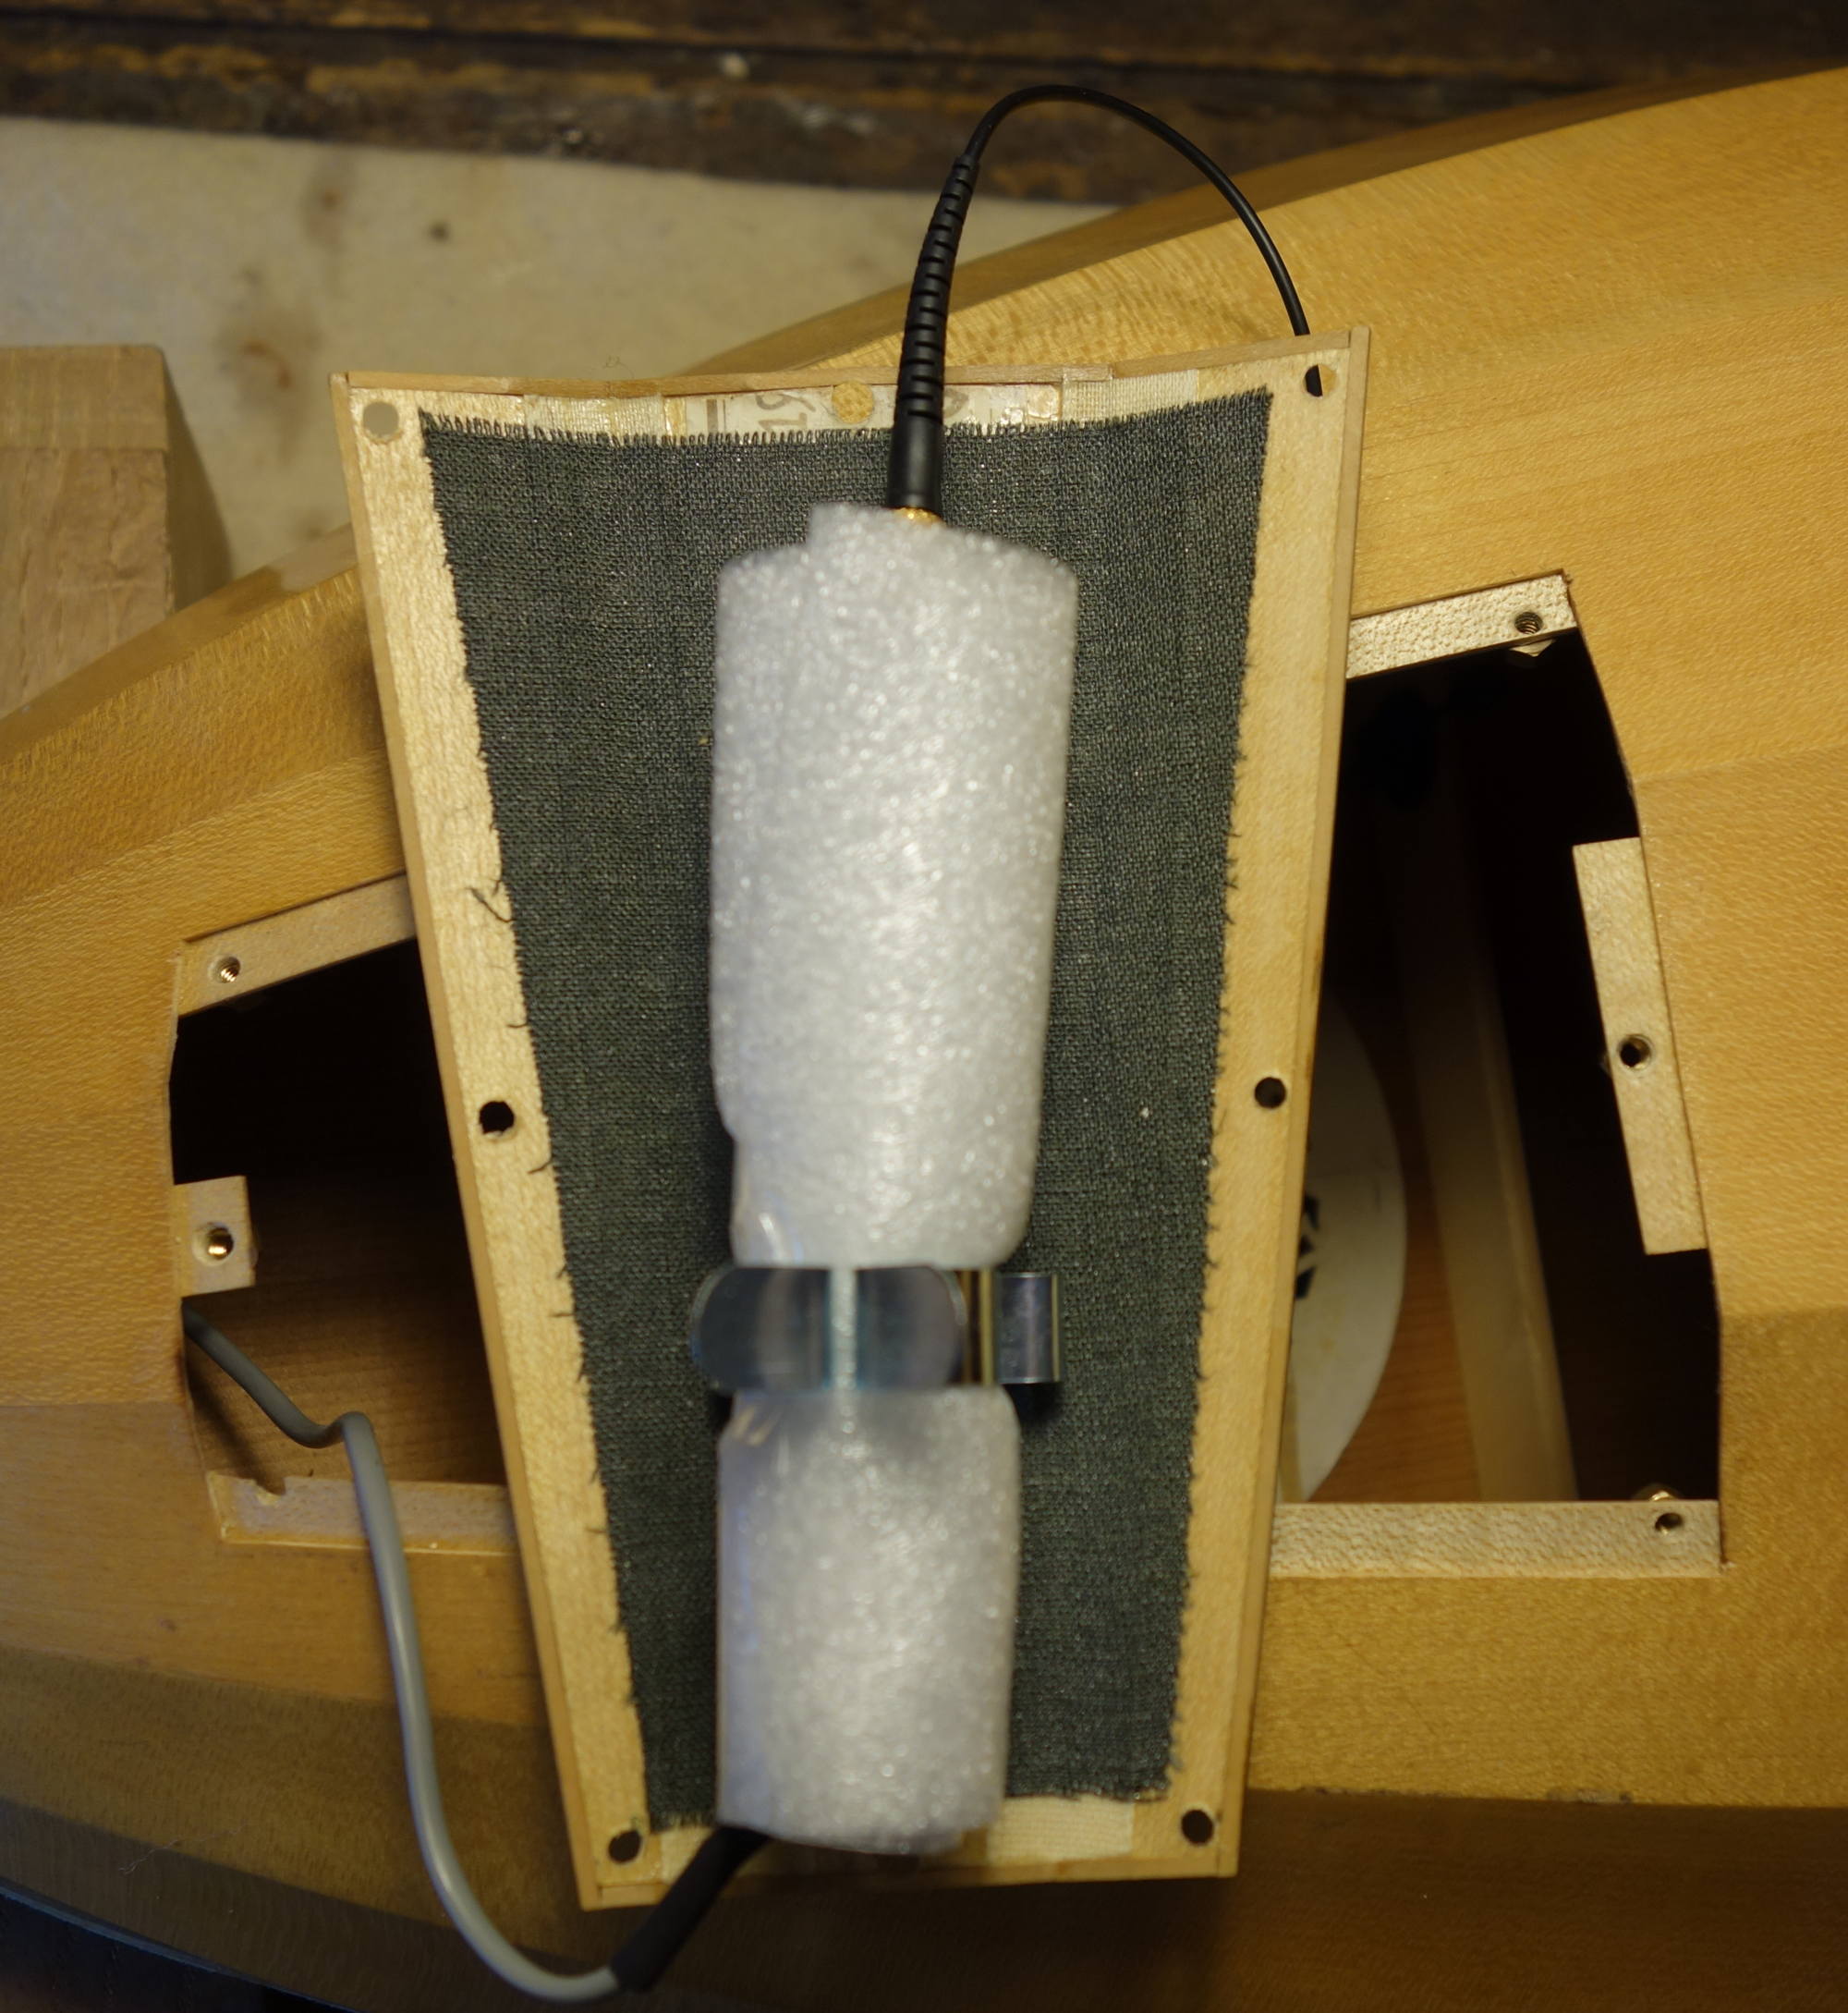
It was suggested that the pre-amp unit could be attached to the hatch cover. A broom clip was fitted! The 4061 was sent away to have its lead shortened. The hatch cover had been rather ill-used so I reinforced it with a linen backing. In the centre, the pre-amp and socket, wrapped in a foam sheet and held securely by the clip. On the right, the Mini XLR jack socket has had its diameter increased using self amalgamating tape and fits properly into the clip. It is now open to the air inside the lute.


Lynda played the Test Lute through my Allen and Heath powered mixer. The sound was excellent and adjustable but the lead on the bass side of the front block interfered with the left hand high up the neck. One last socket was fitted, this time to the treble side of the front block. Its cherry washer was later replaced with a stainless steel one made by local engineering firm.


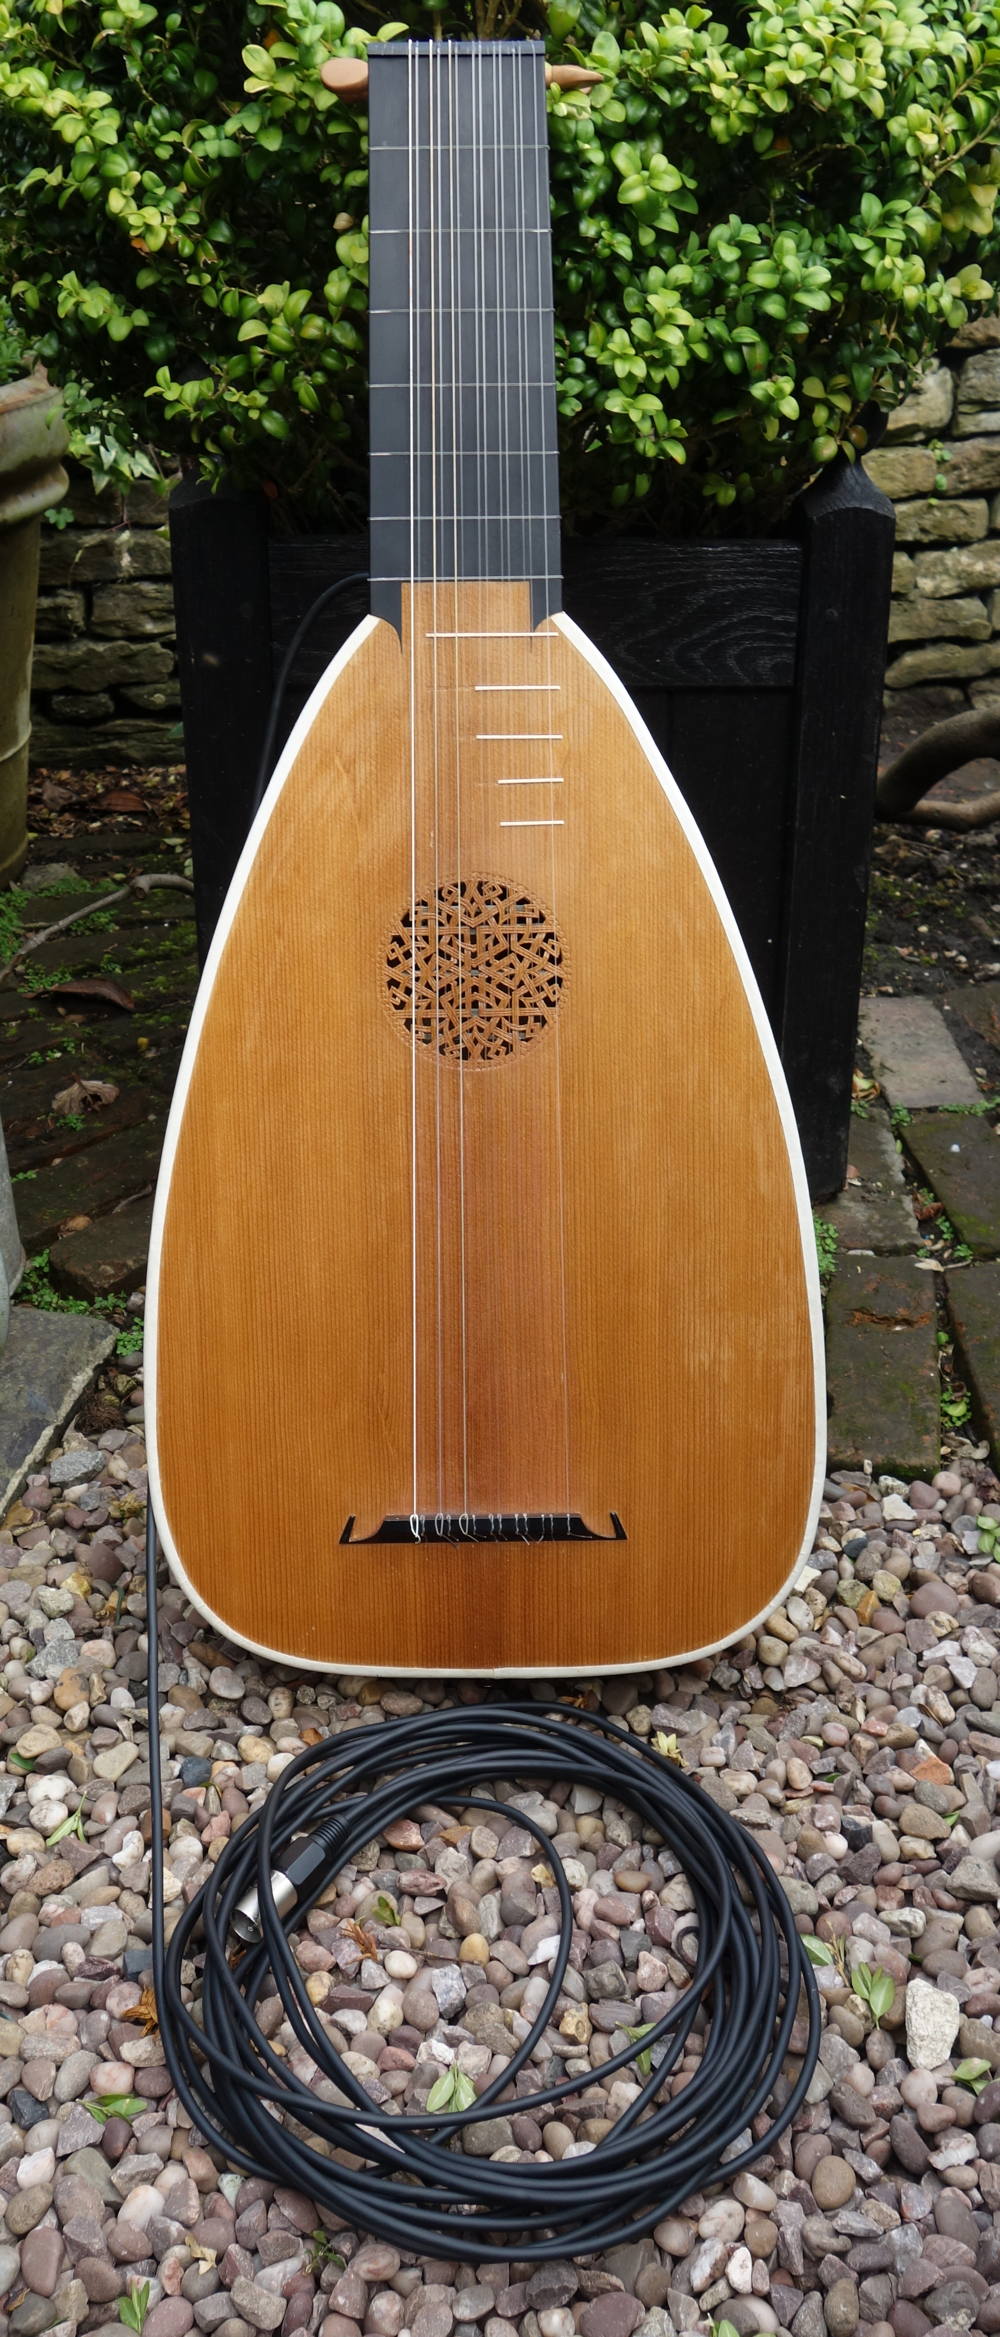
The test lute finished in summer 2016 with Mini XLR socket in the body and a Mini XLR to XLR lead plugged into the lute.

This webpage is dedicated to Lynda Sayce and Freddie Cale, who have commissioned an amplified lute and whose continued interest and support have made the project possible.